• Home
  • Episodes 
  • Blog
  • Be a Guest
  • About
  • Media
  • Podcast Production
  • Shop
  • Contact
Menu

FINDING ARIZONA PODCAST

Street Address
City, State, Zip
Phone Number
Podcast for Arizona, in Arizona, by Arizona

Your Custom Text Here

FINDING ARIZONA PODCAST

  • Home
  • Episodes 
  • Blog
  • Be a Guest
  • About
  • Media
  • Podcast Production
  • Shop
  • Contact

A LEGO ROOM BUILT TO GROW

January 29, 2026 Britt Johnson
 

From Design Sketches to a Real-Life LEGO Dream Room, Atlas’ big boy LEGO room is officially complete! What started as a tip toe in the world of LEGO, turned into a full cannonball into a DIY LEGO bedroom makeover that blended creativity, function, and a whole lot of patience. This wasn’t just a room refresh. This was a Pinterest board come to life—from custom LEGO storage to statement decor pieces and a car bed that took its sweet time to arrive. Worth it? Absolutely.


After 4 years with my January birthday baby, I was ready to take a PARTY break for one year. I sat down Atlas and said: instead of 1 day to celebrate- what if we redid your room so you can have a party, everyday!

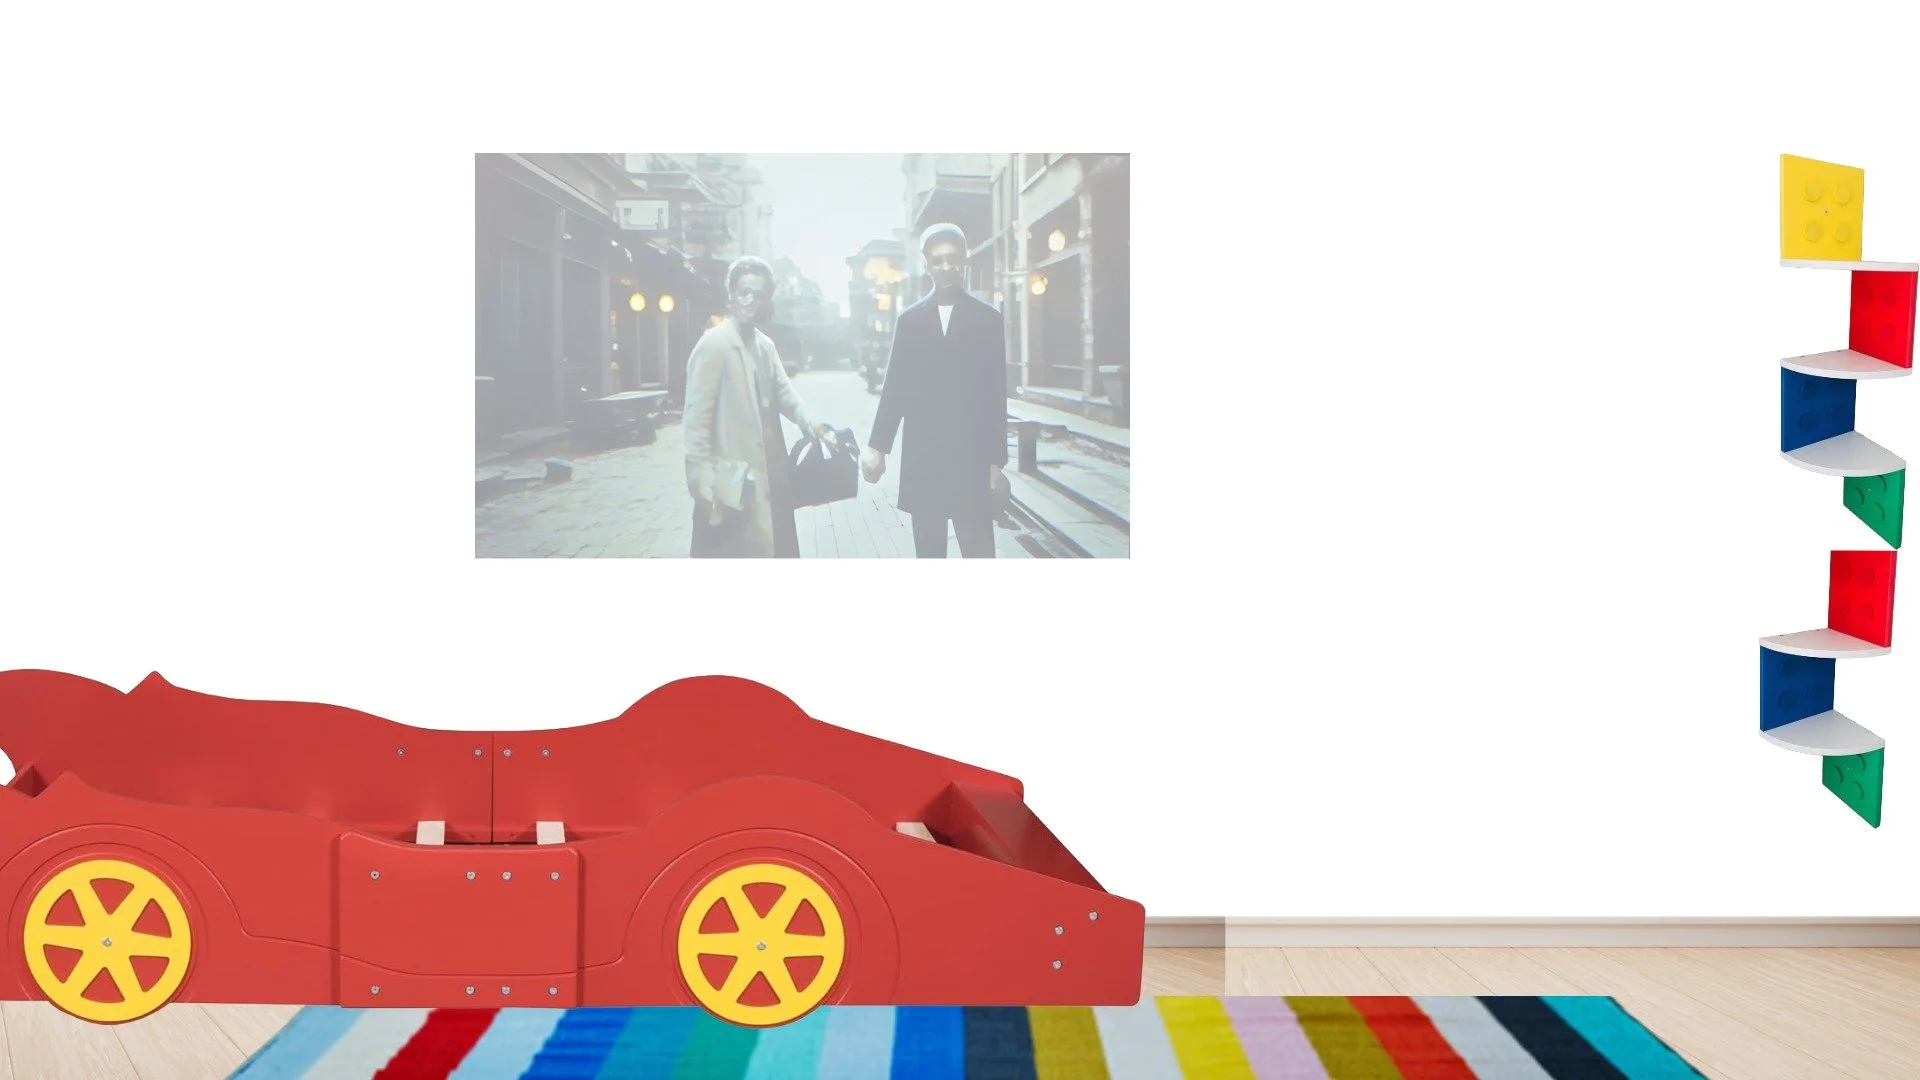
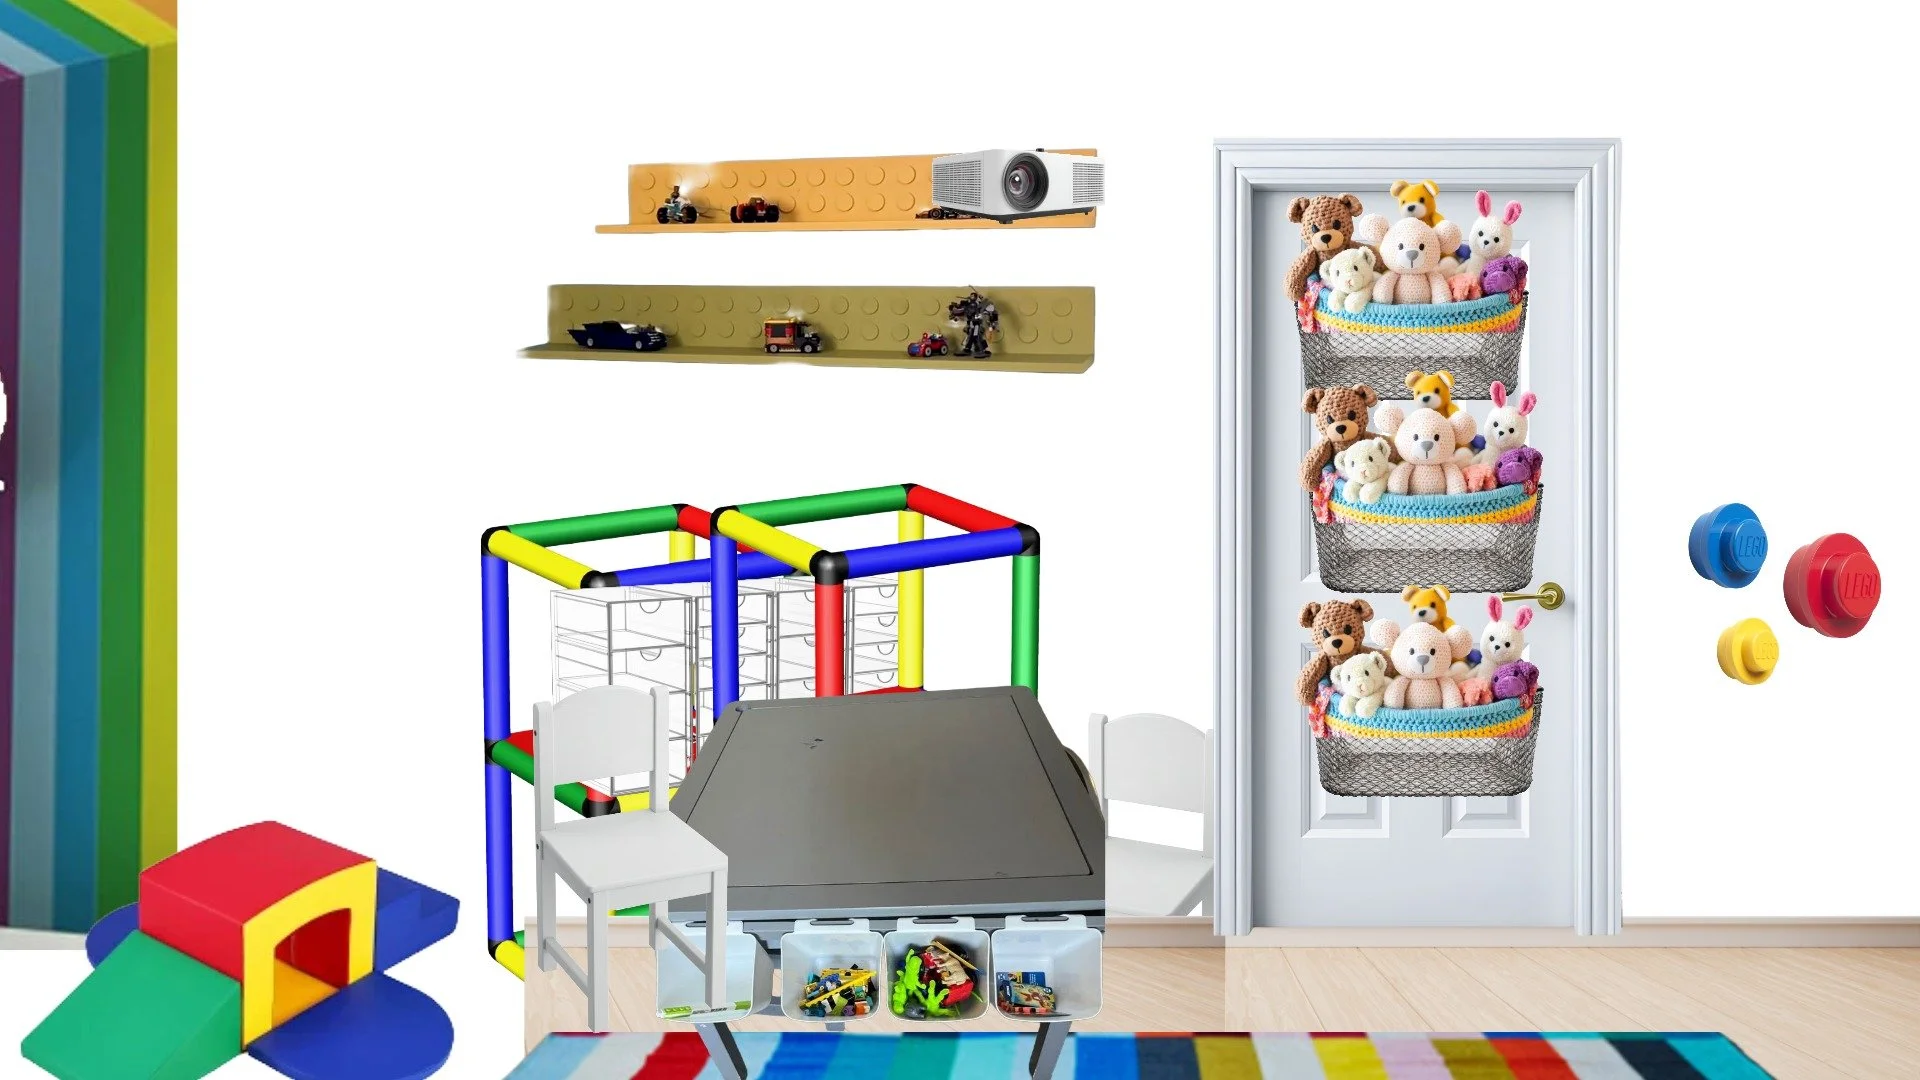
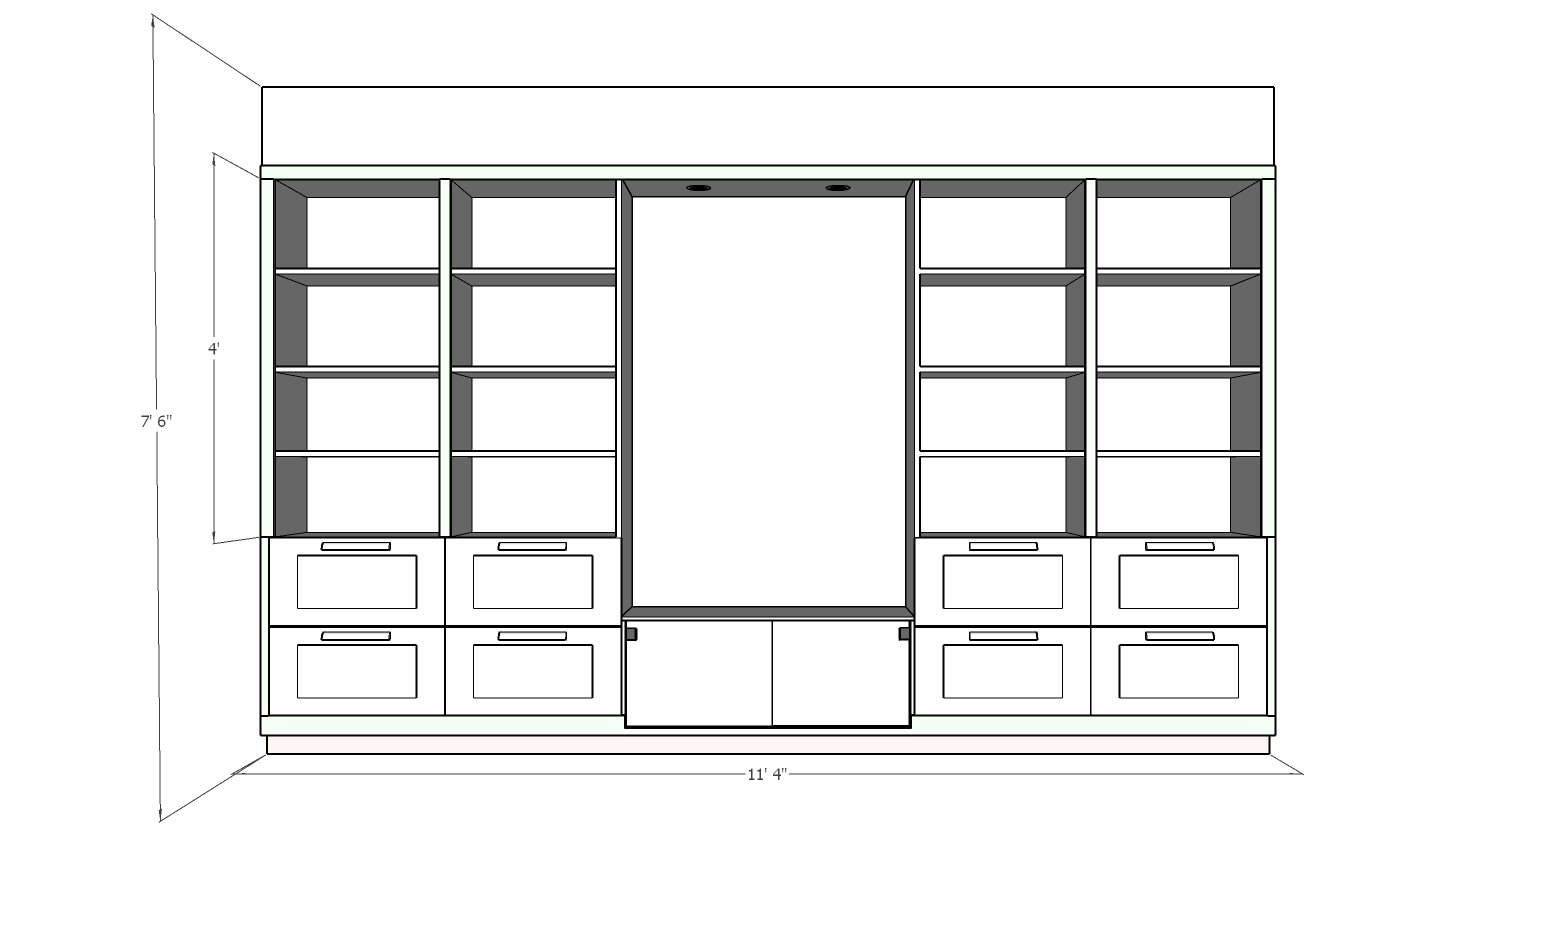
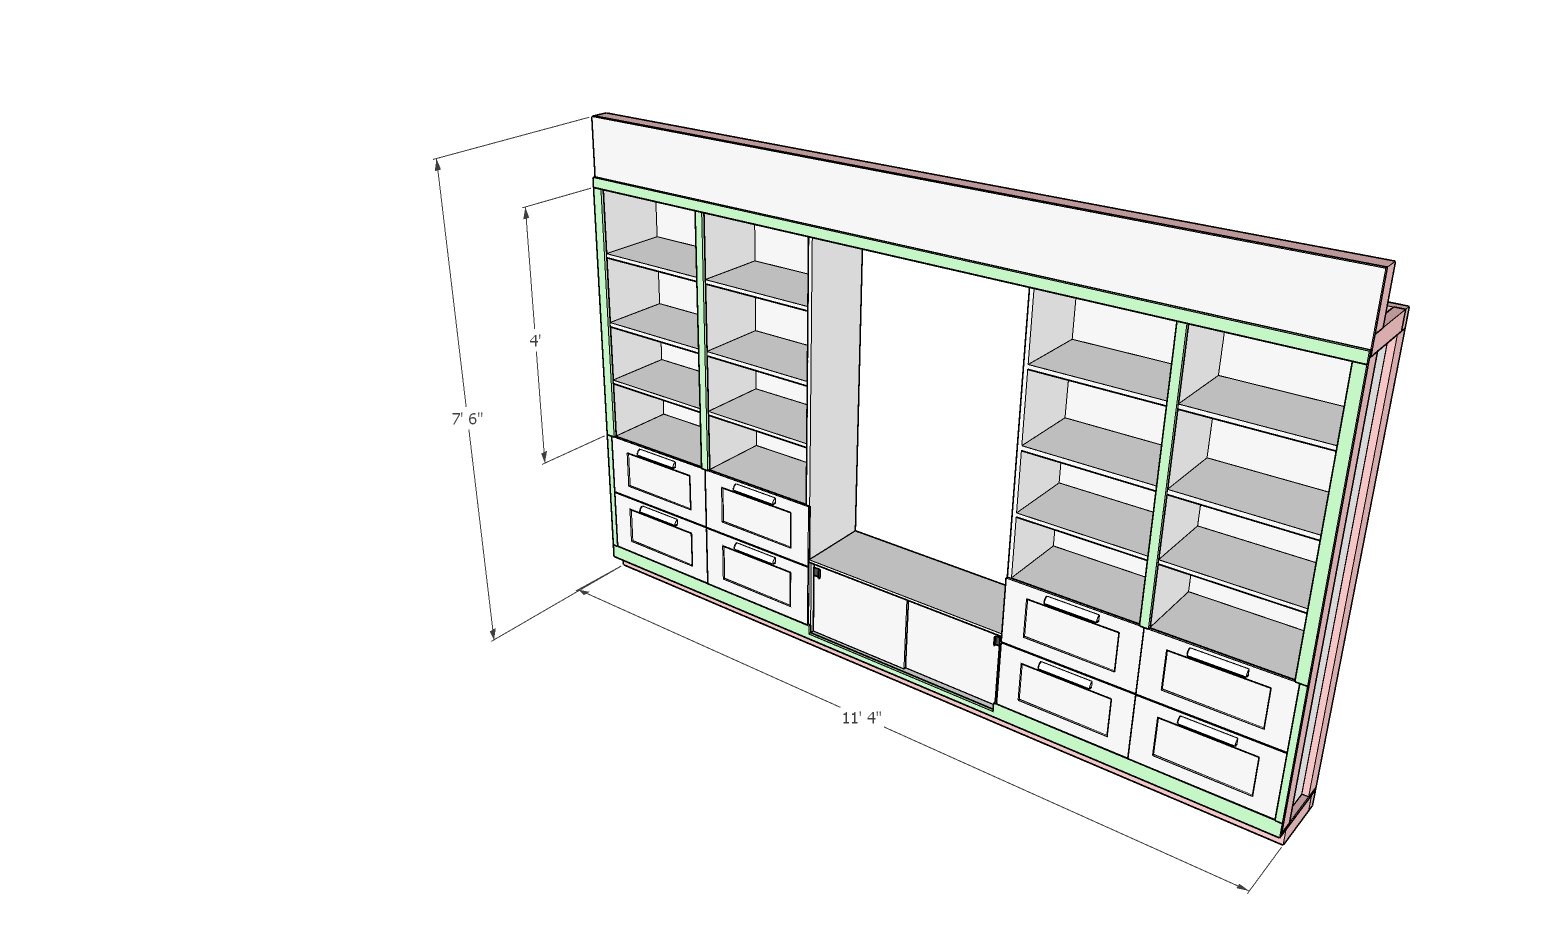
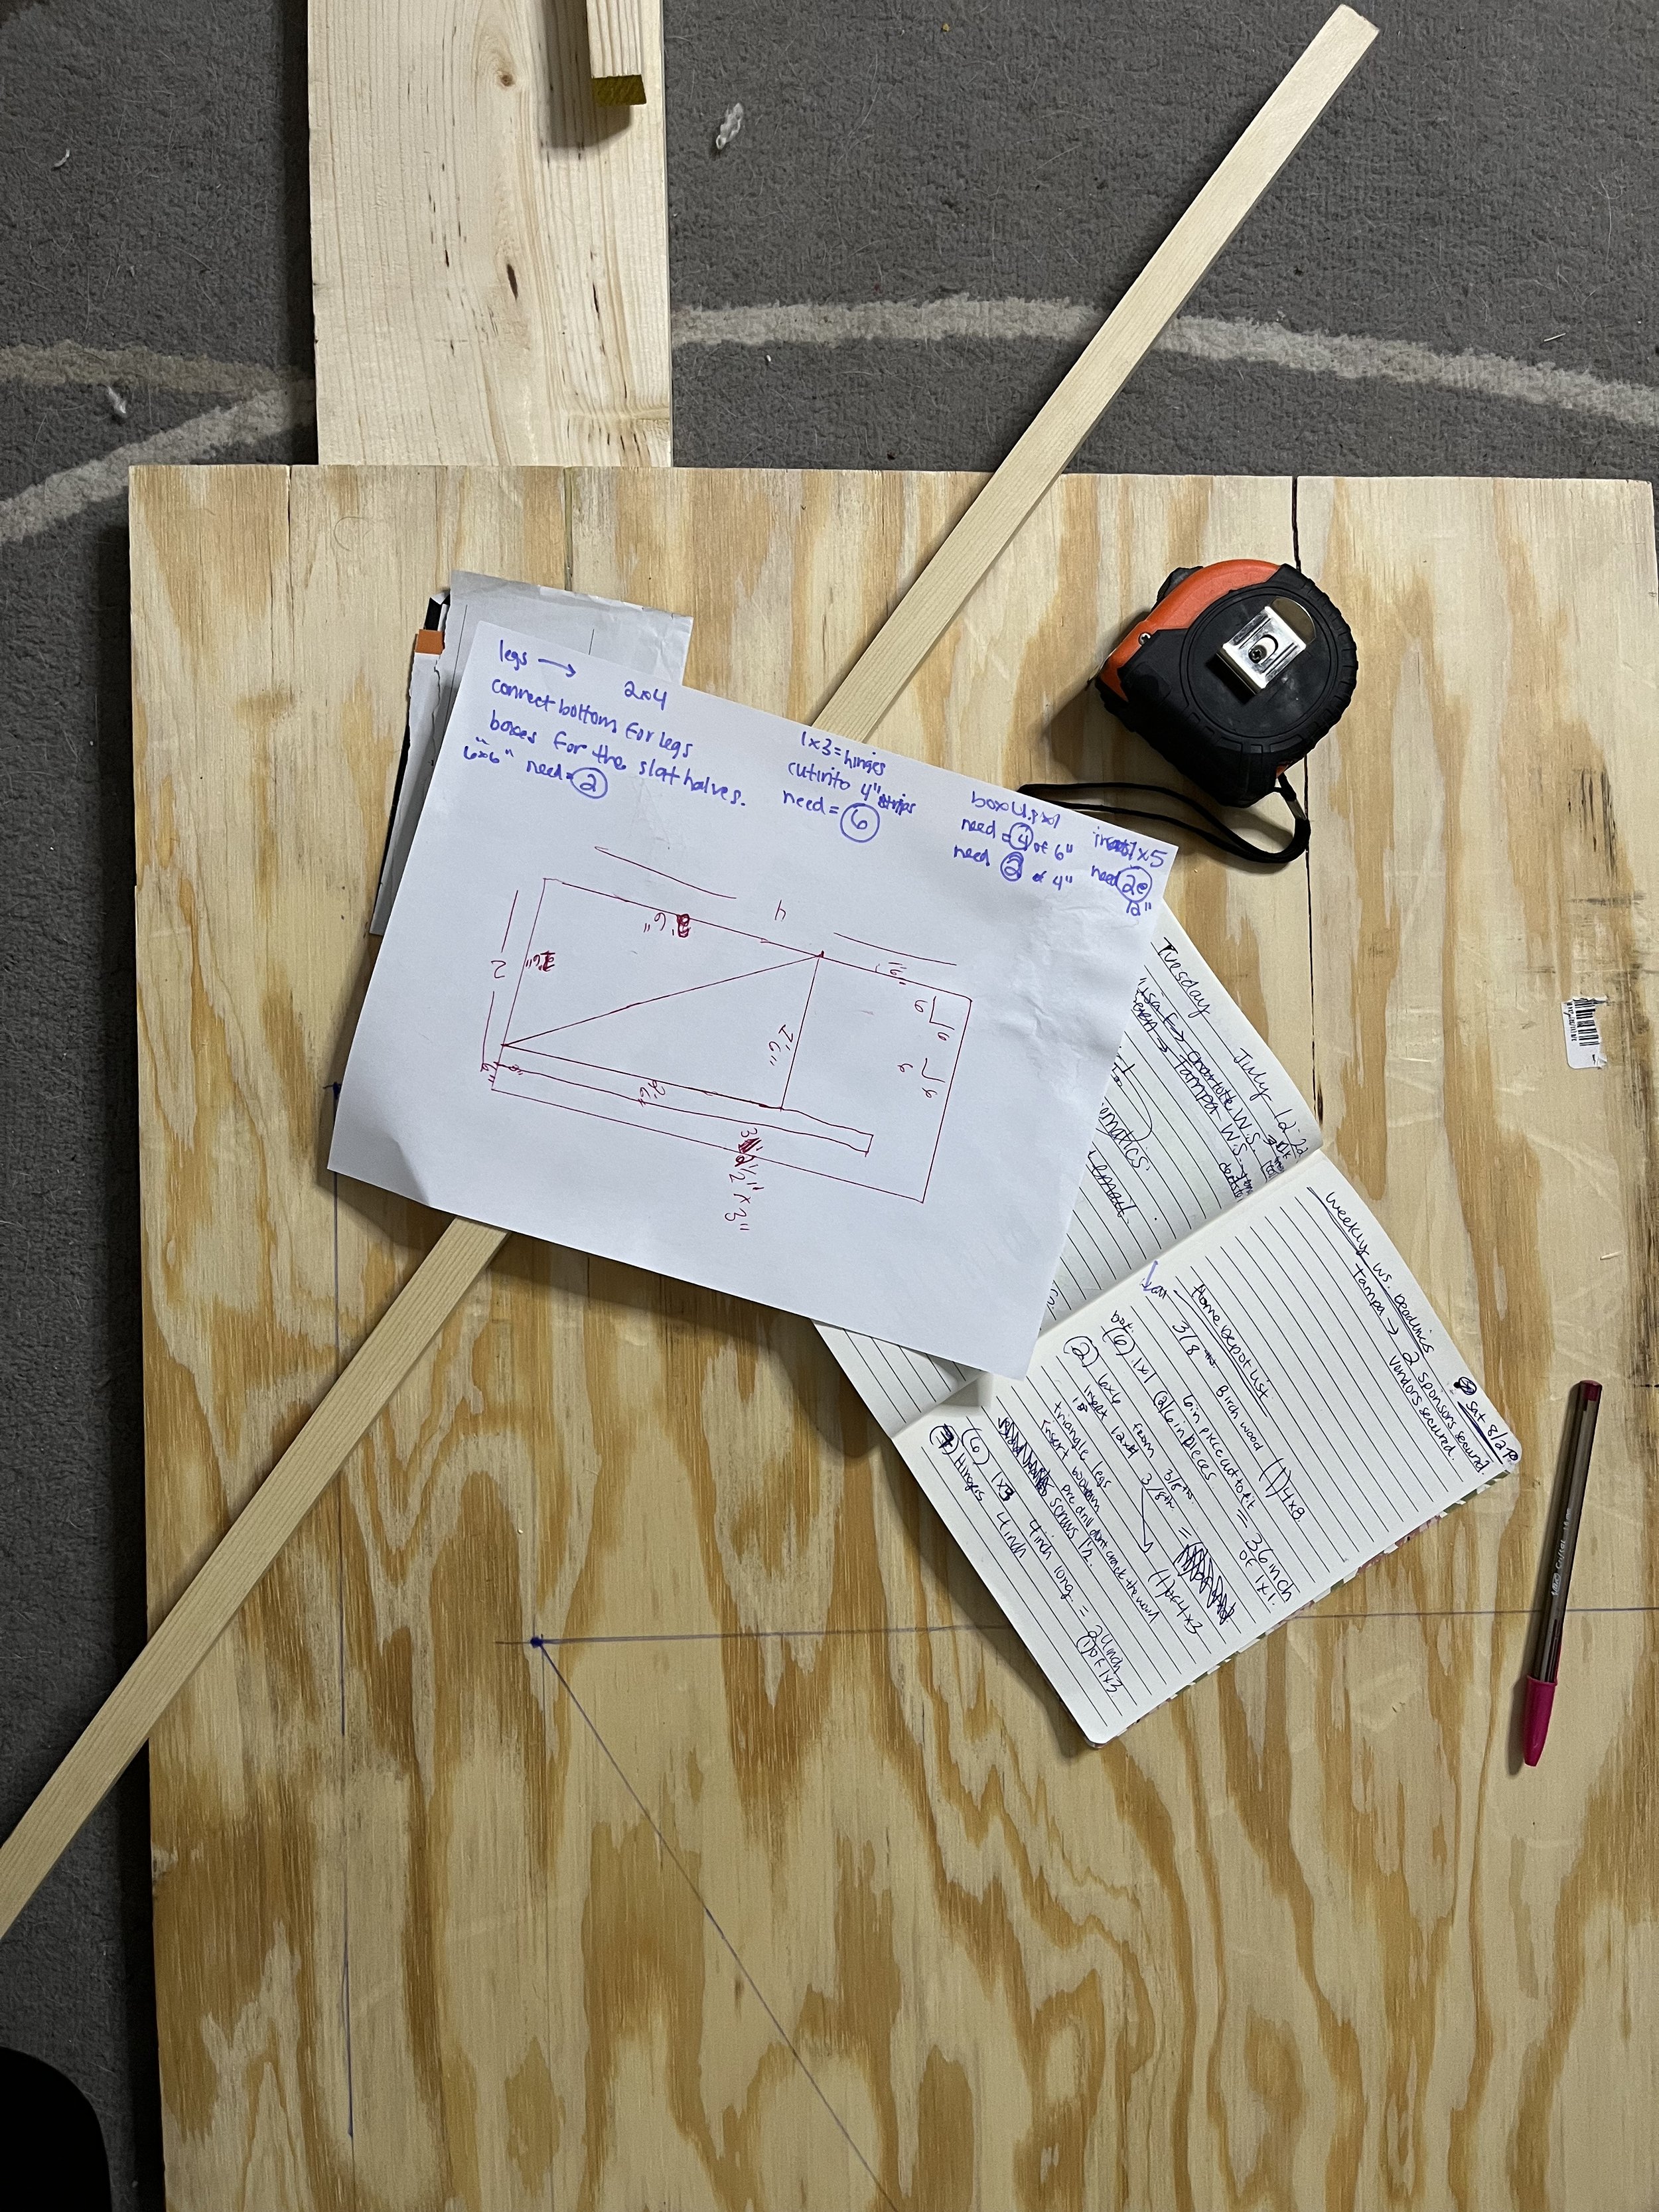
Like any good project, this one started on a screen. I mocked up the layout in Adobe (of course I did), mapping out shelving, lighting, and how we could create a space that would grow with him—not just something cute for right now.

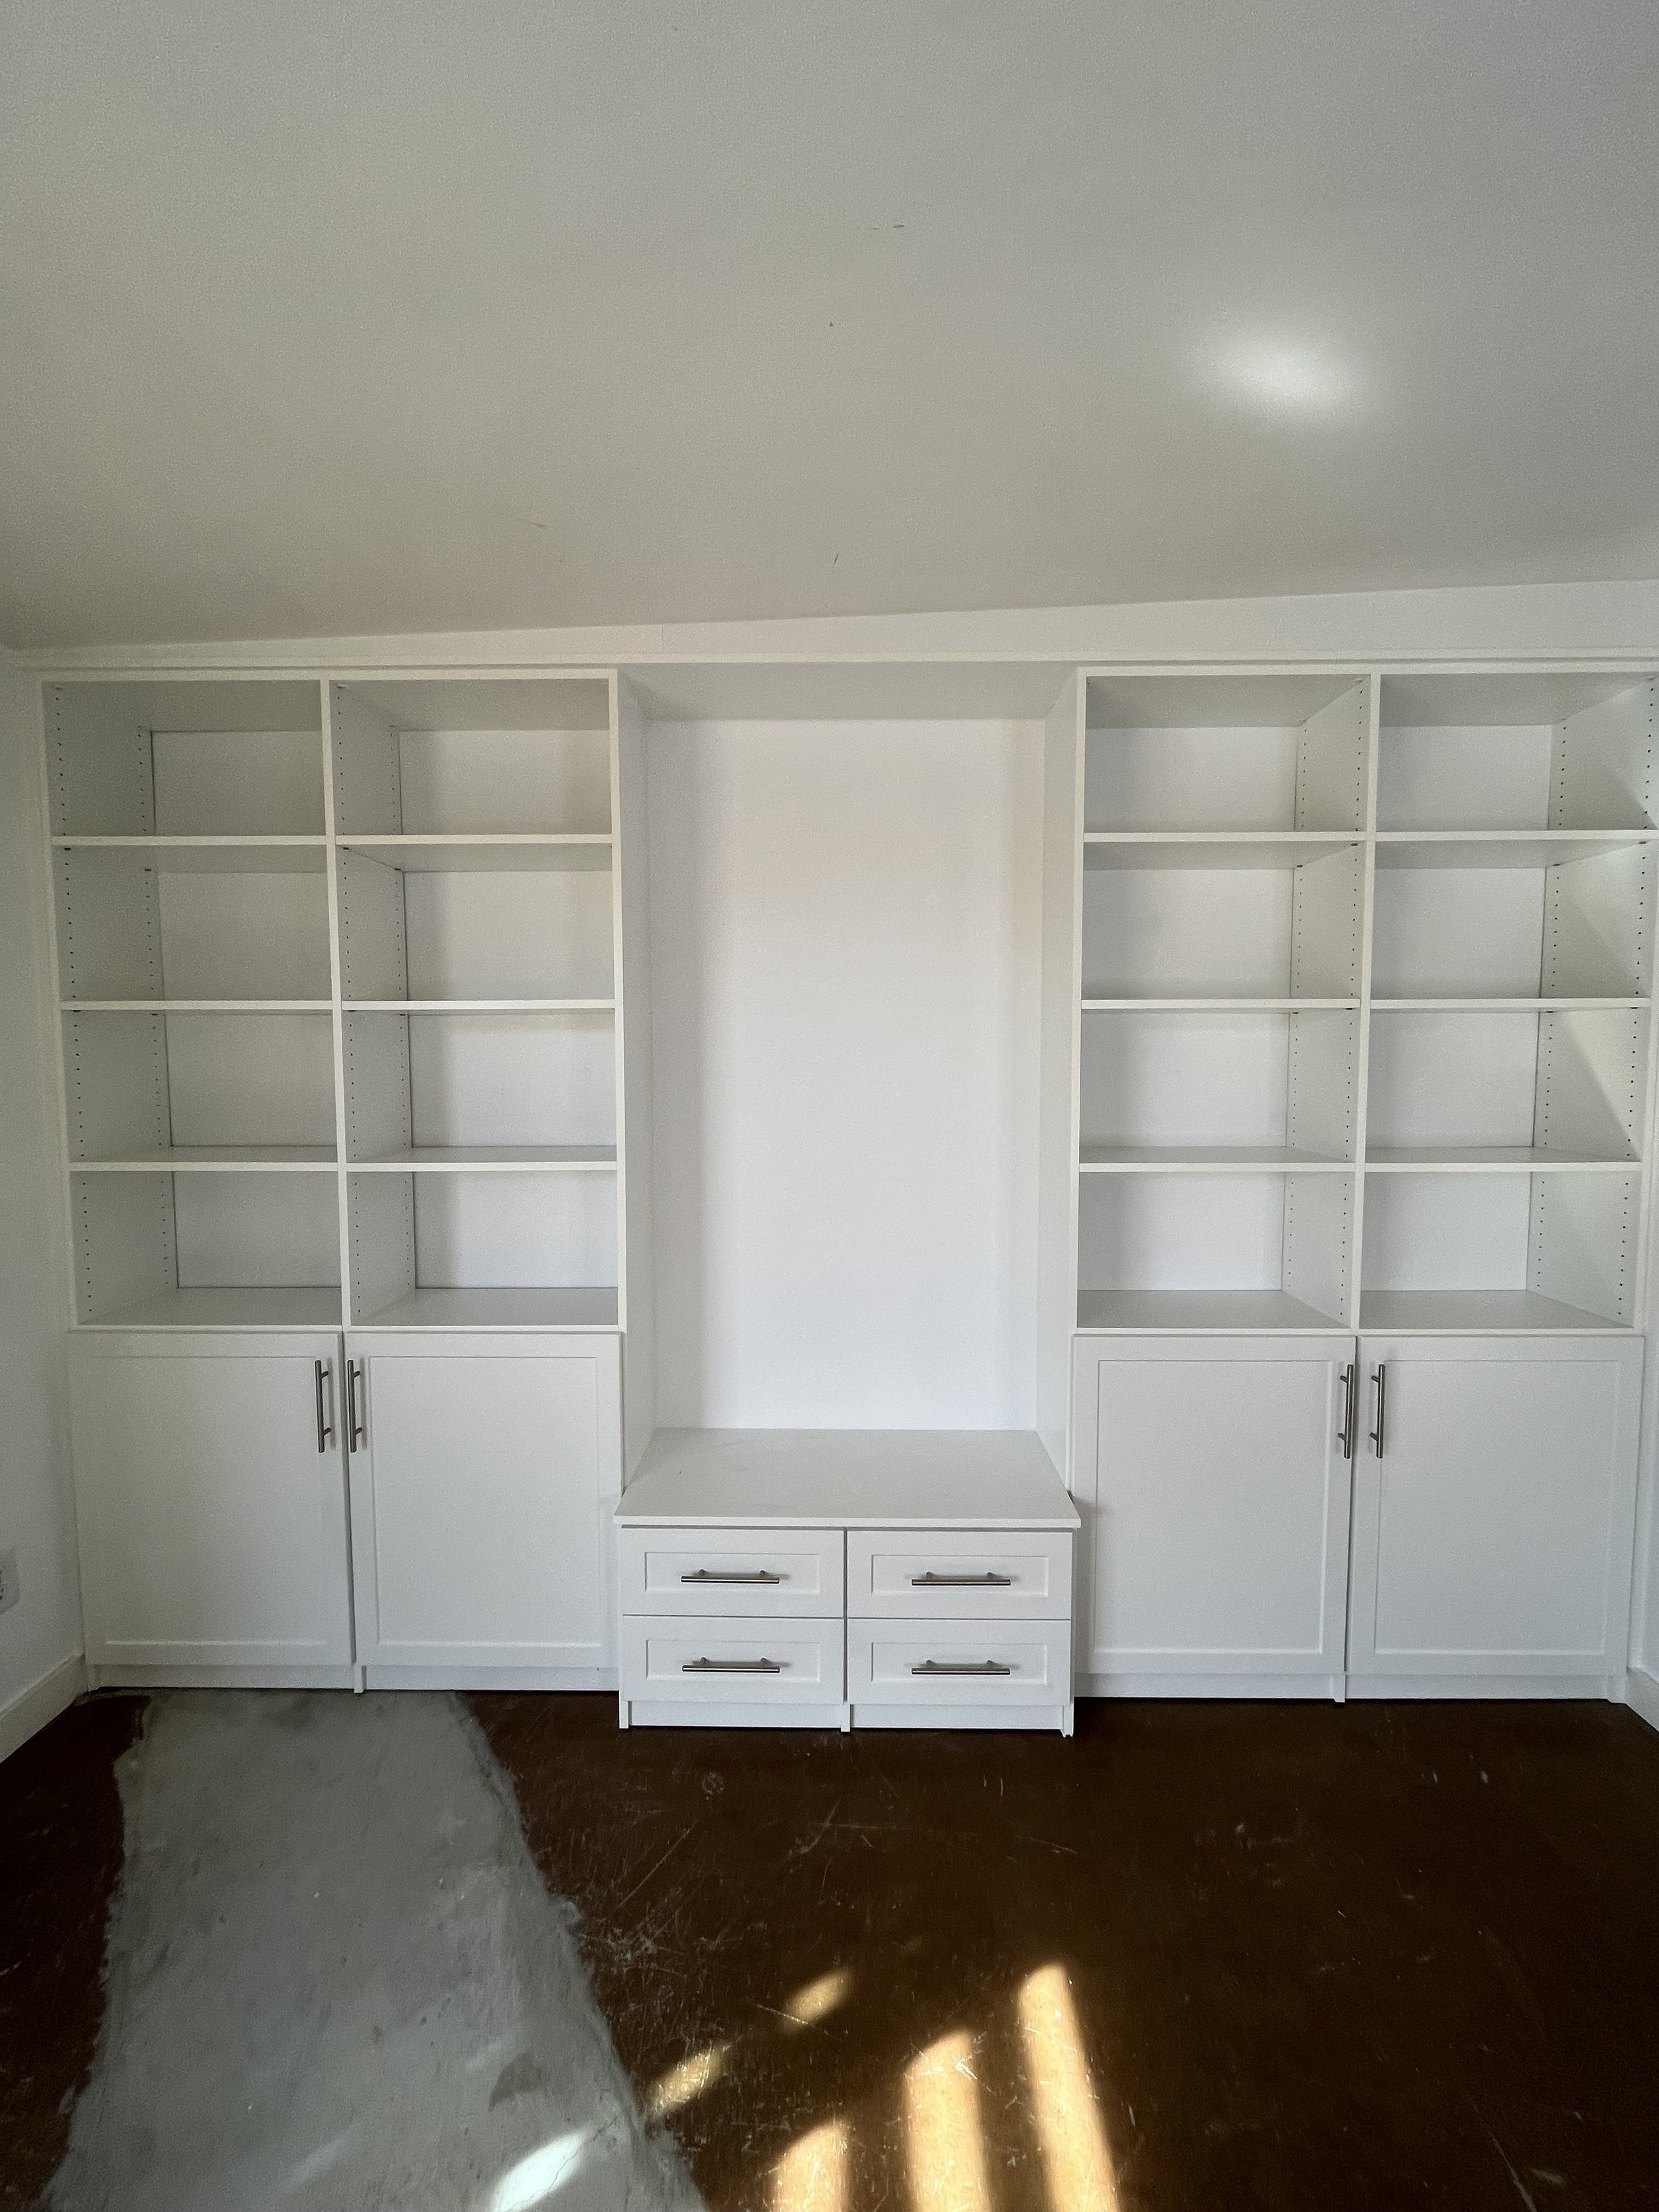
Seeing those sketches translate into a real LEGO playroom felt surreal. Every build, shelf, and detail had a purpose.


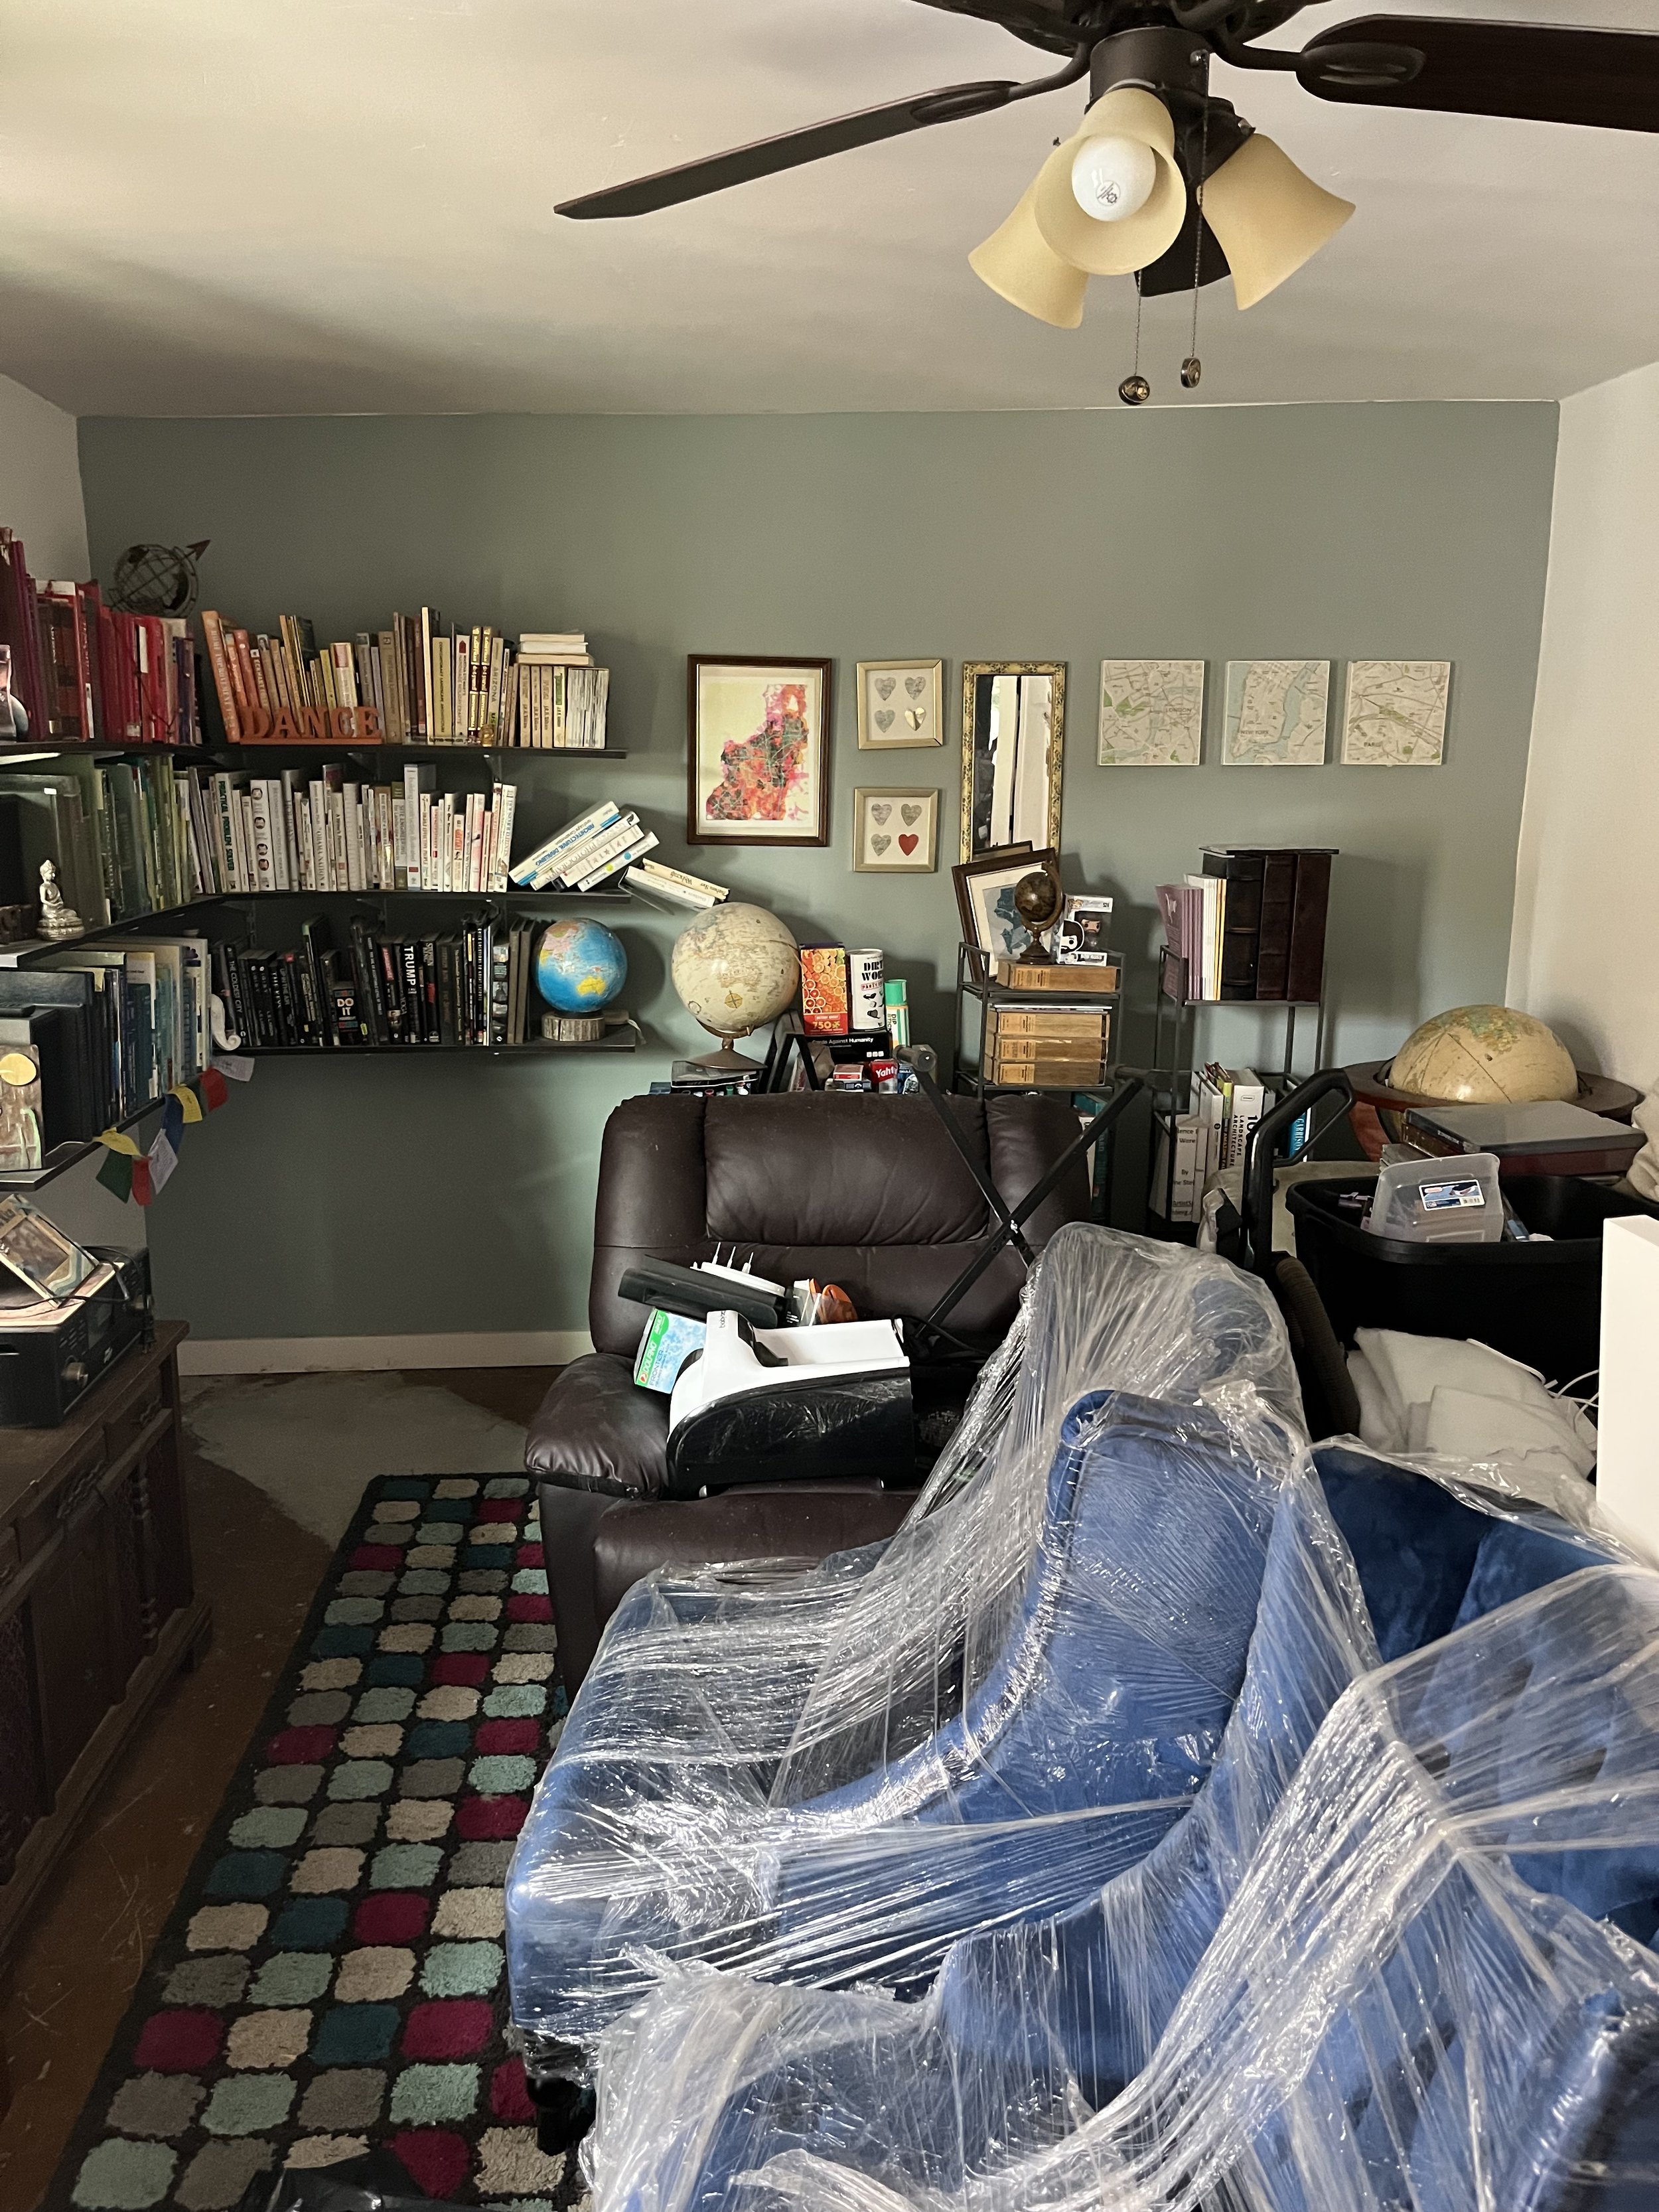
What were we working with? Five years of outgrown nursery. We transitioned his crib the max three times, we over used the infamous IKEA KALLAX units vertically and horizontally. The peel and stick wallpaper- was barely holding on.

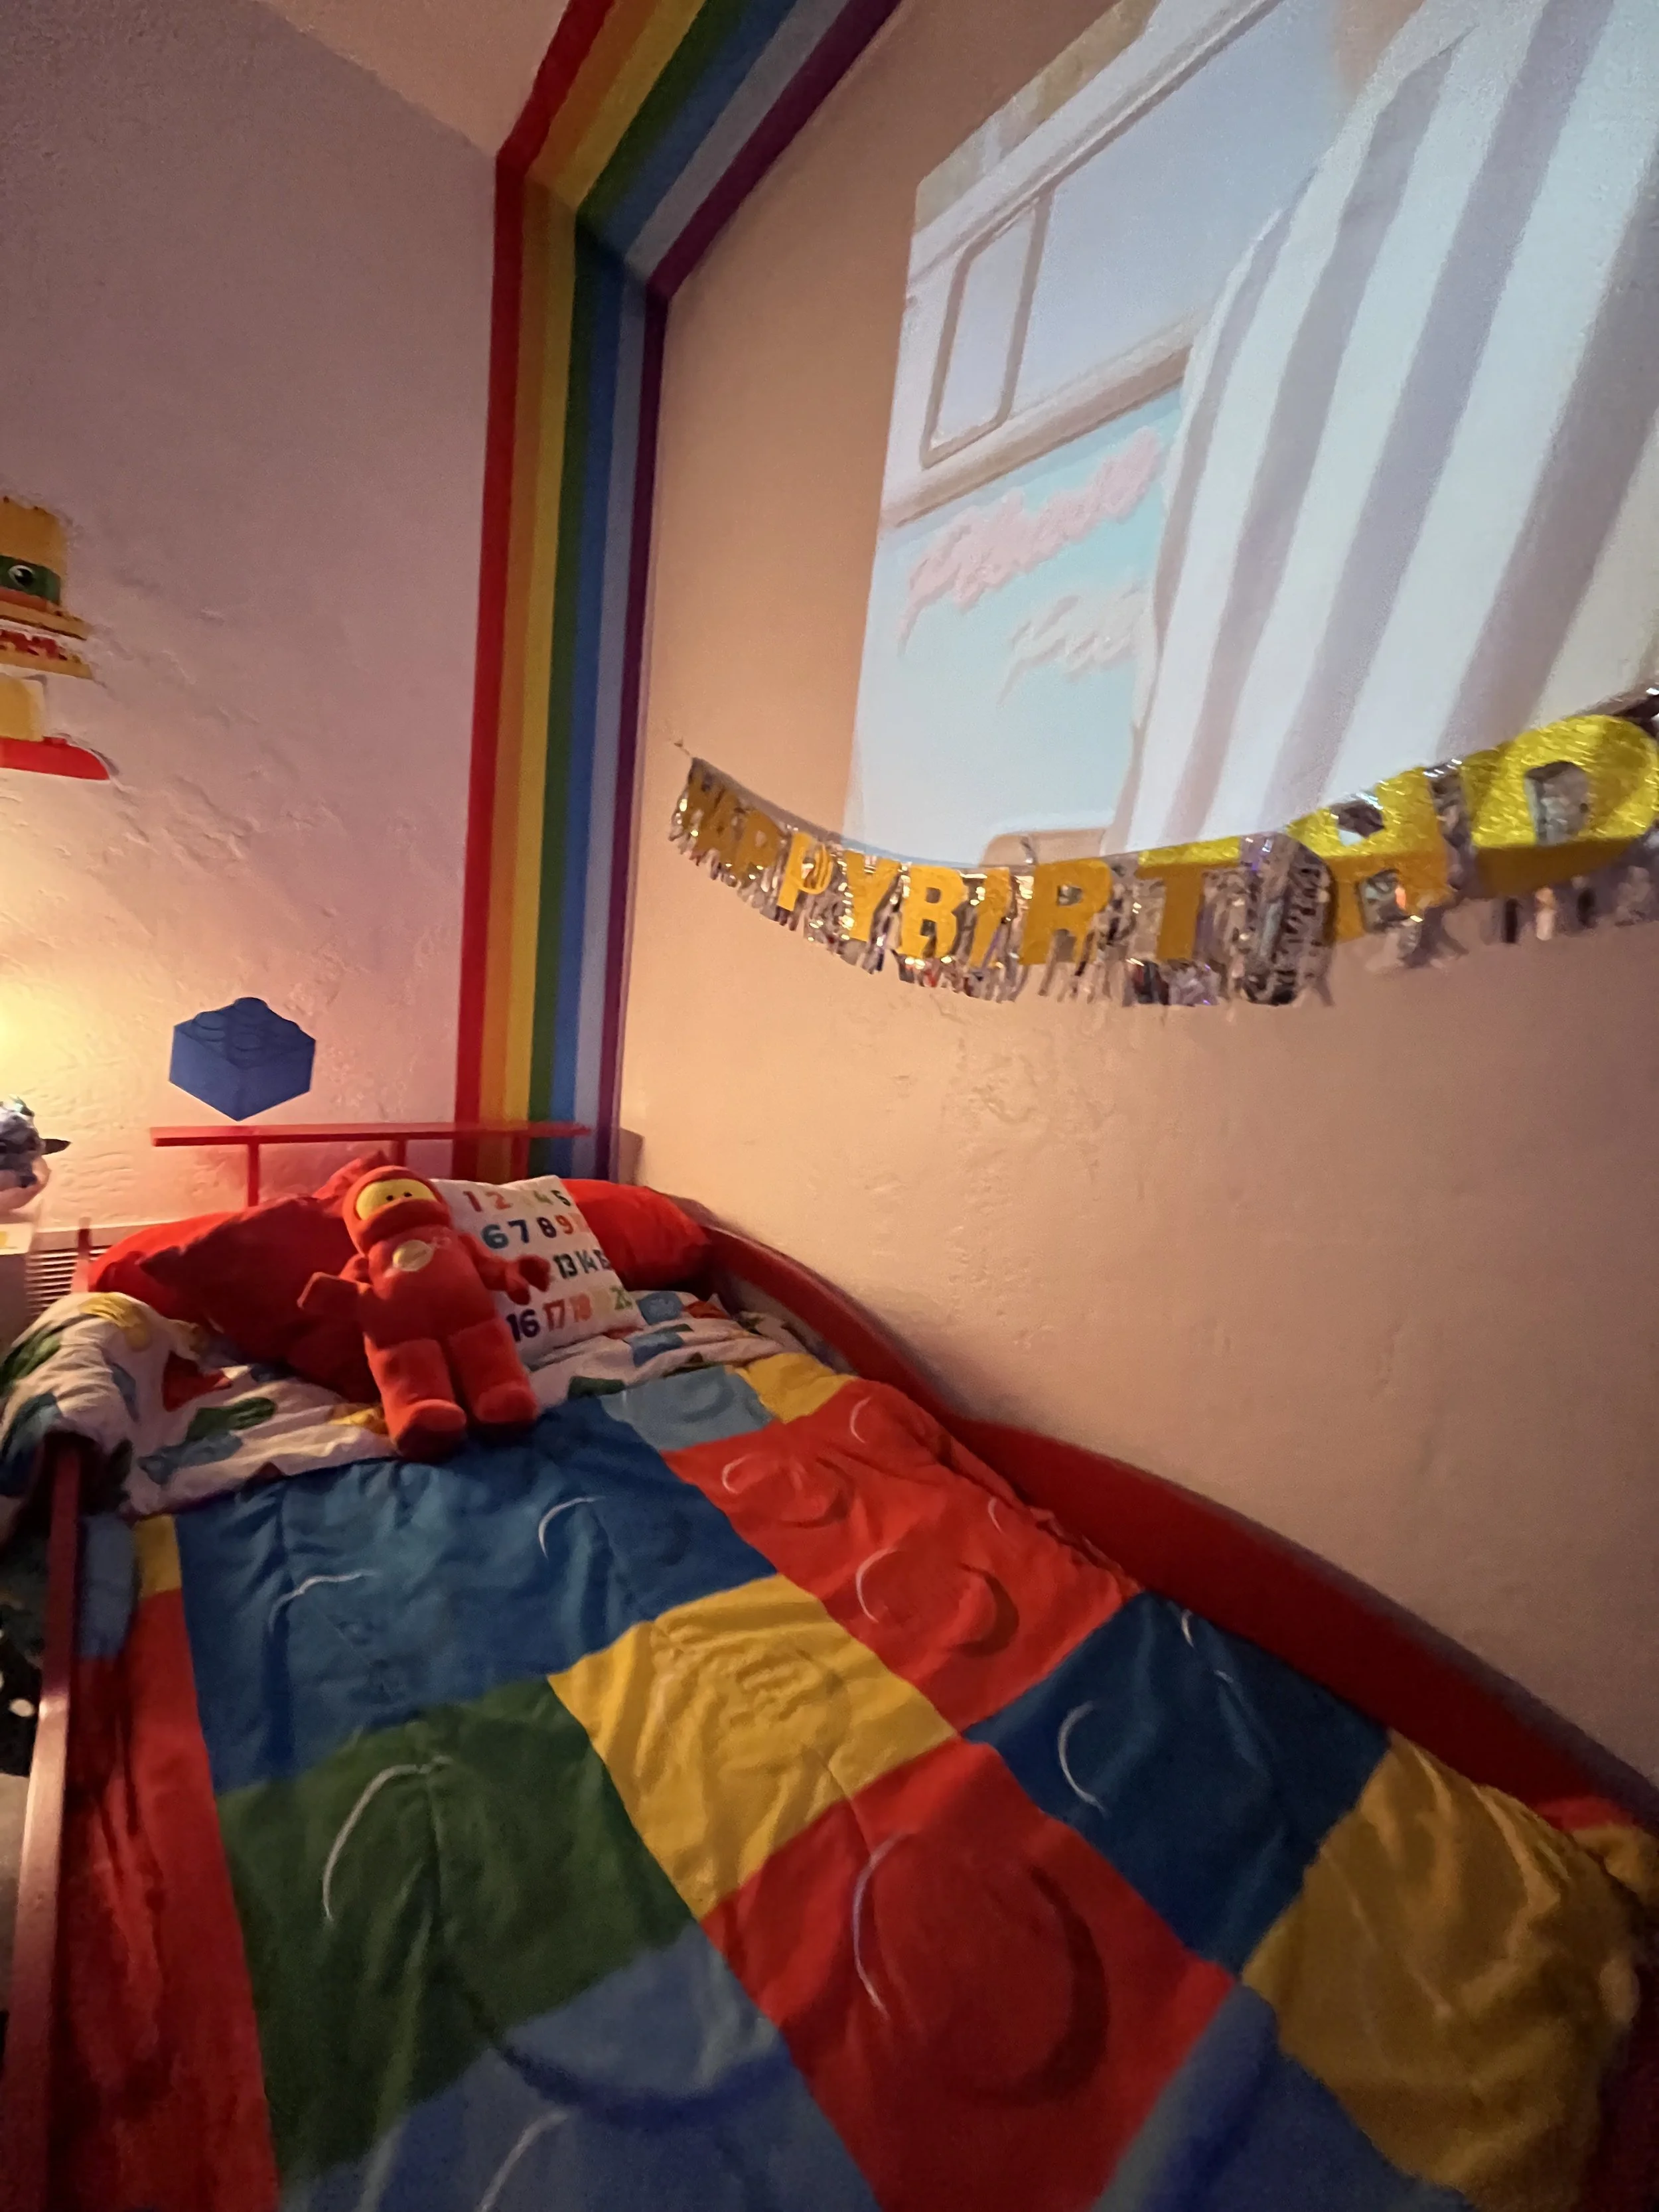
After operation clear out and before room install, we had to rewire electrical to accommodate a projector. One small idea turned into a full-blown project, but now the room doubles as a LEGO build zone and a cozy movie space. Totally worth the extra effort.

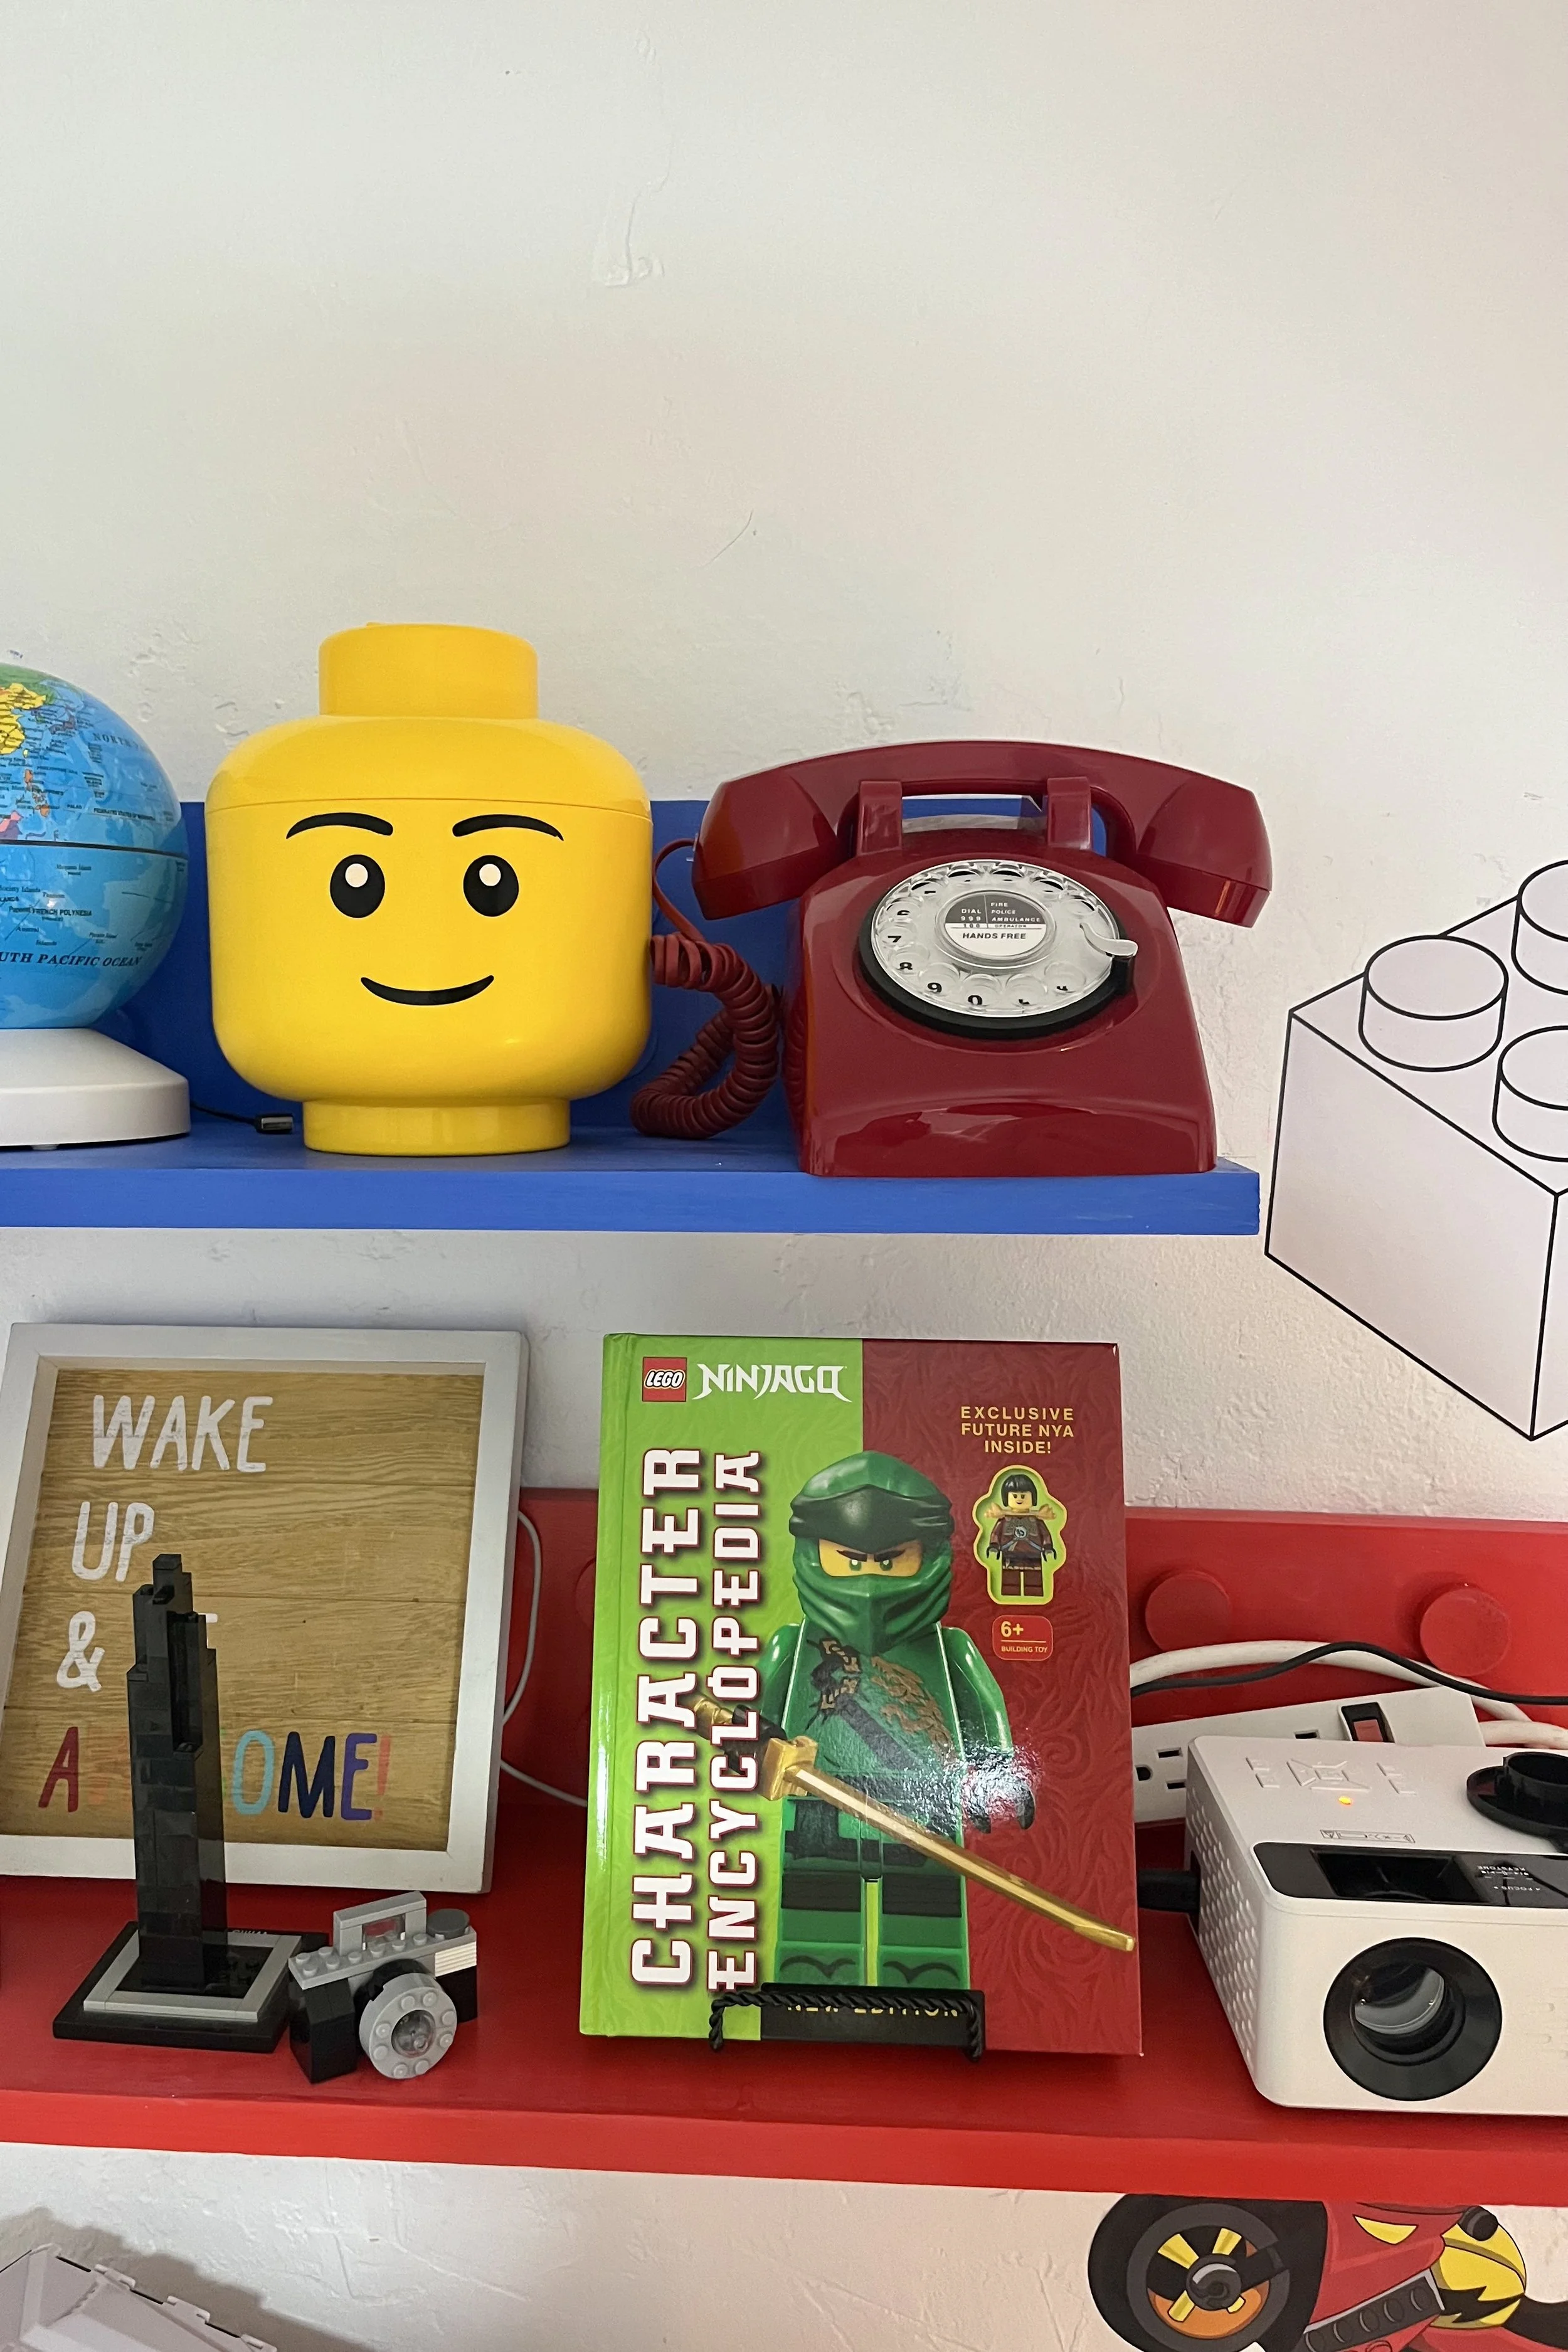
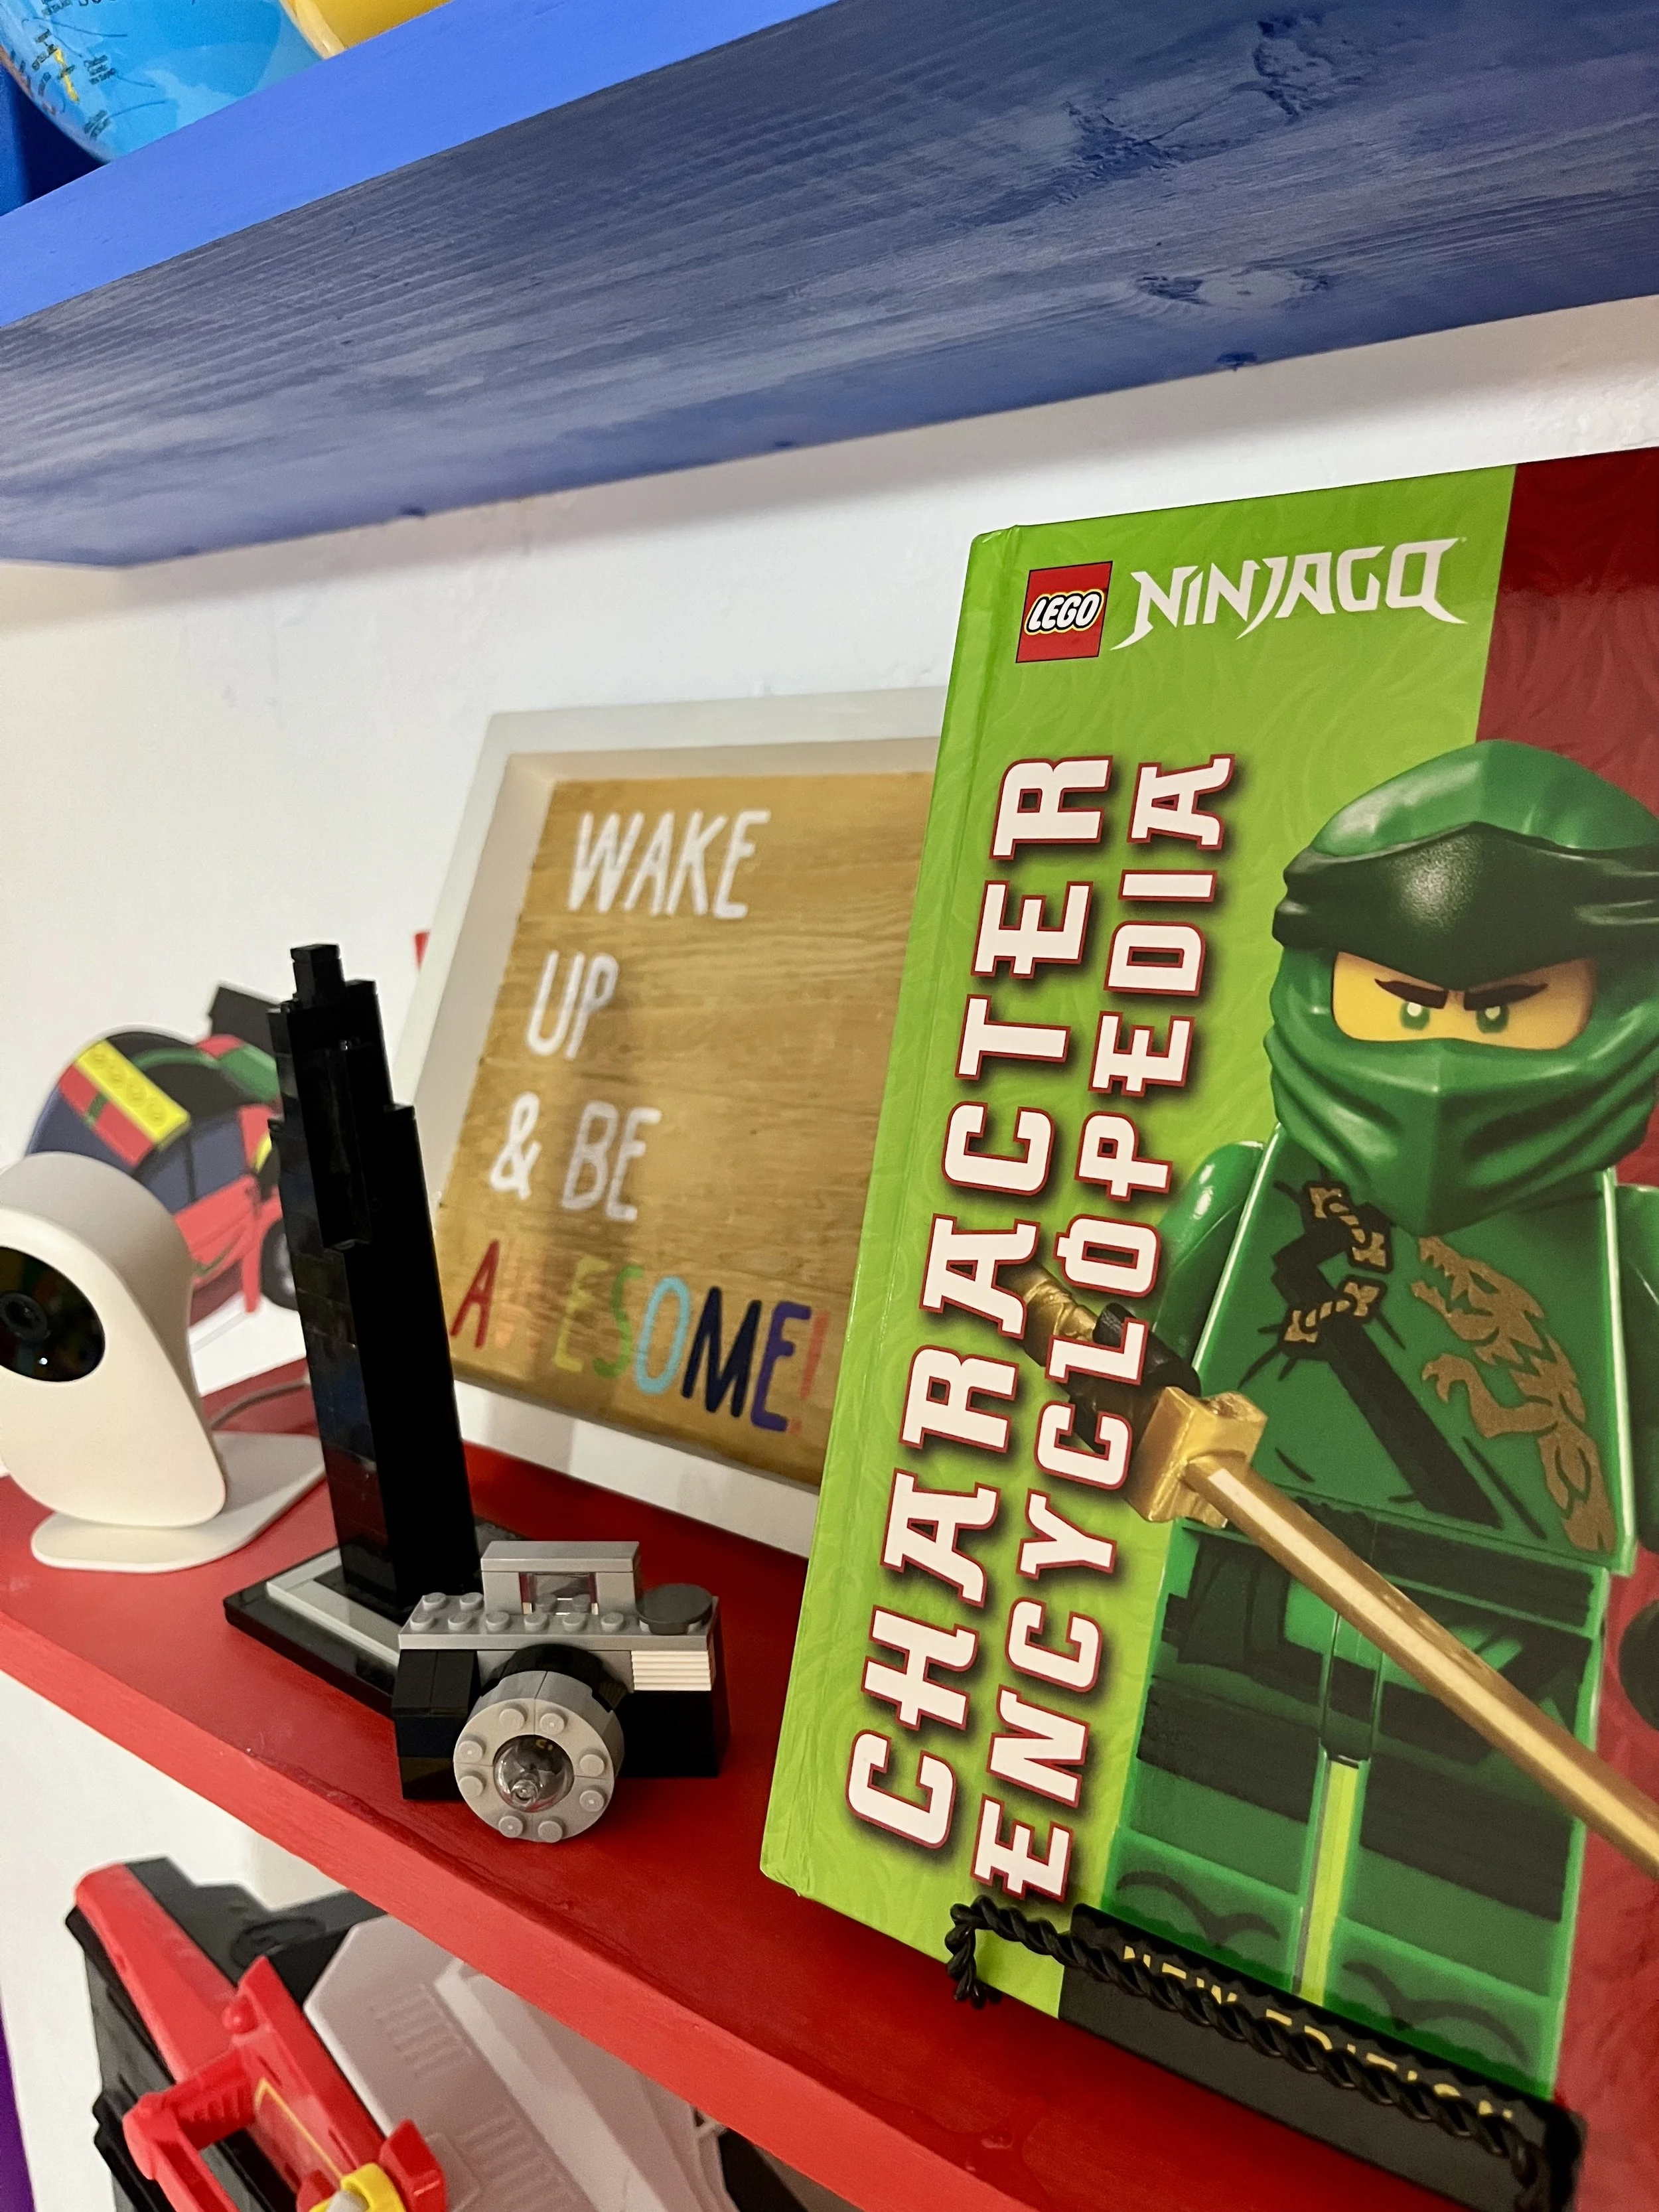
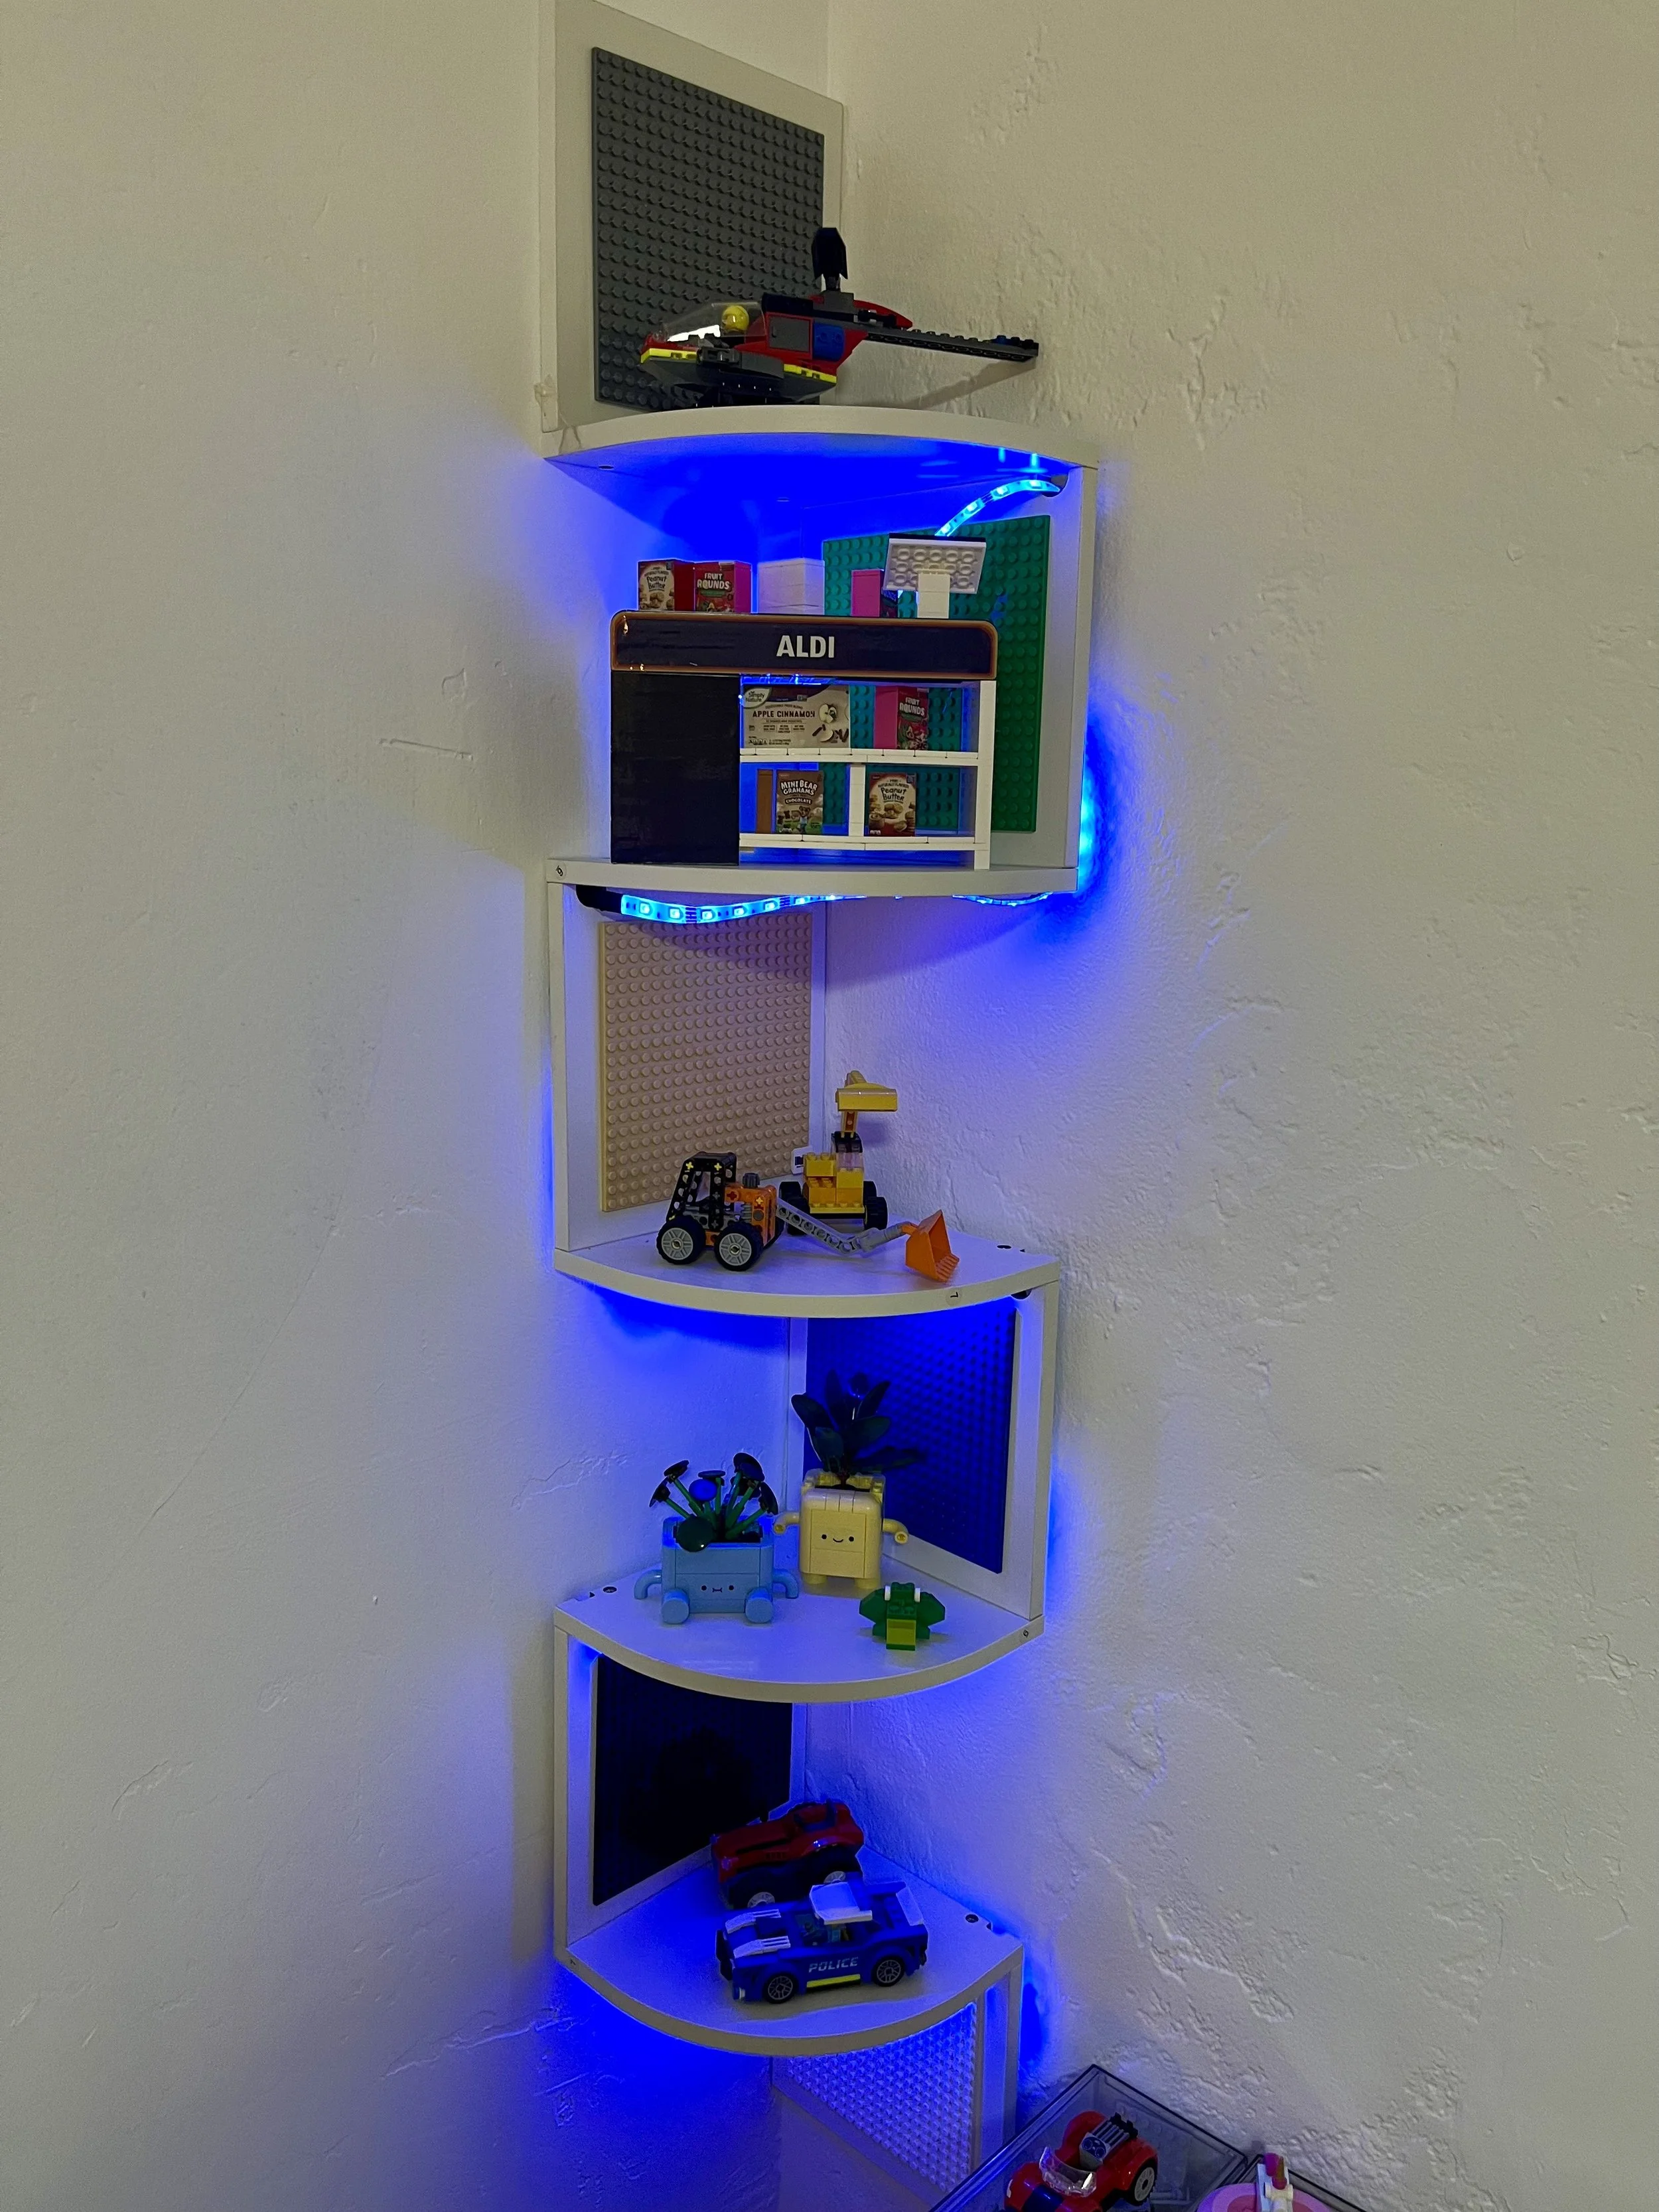
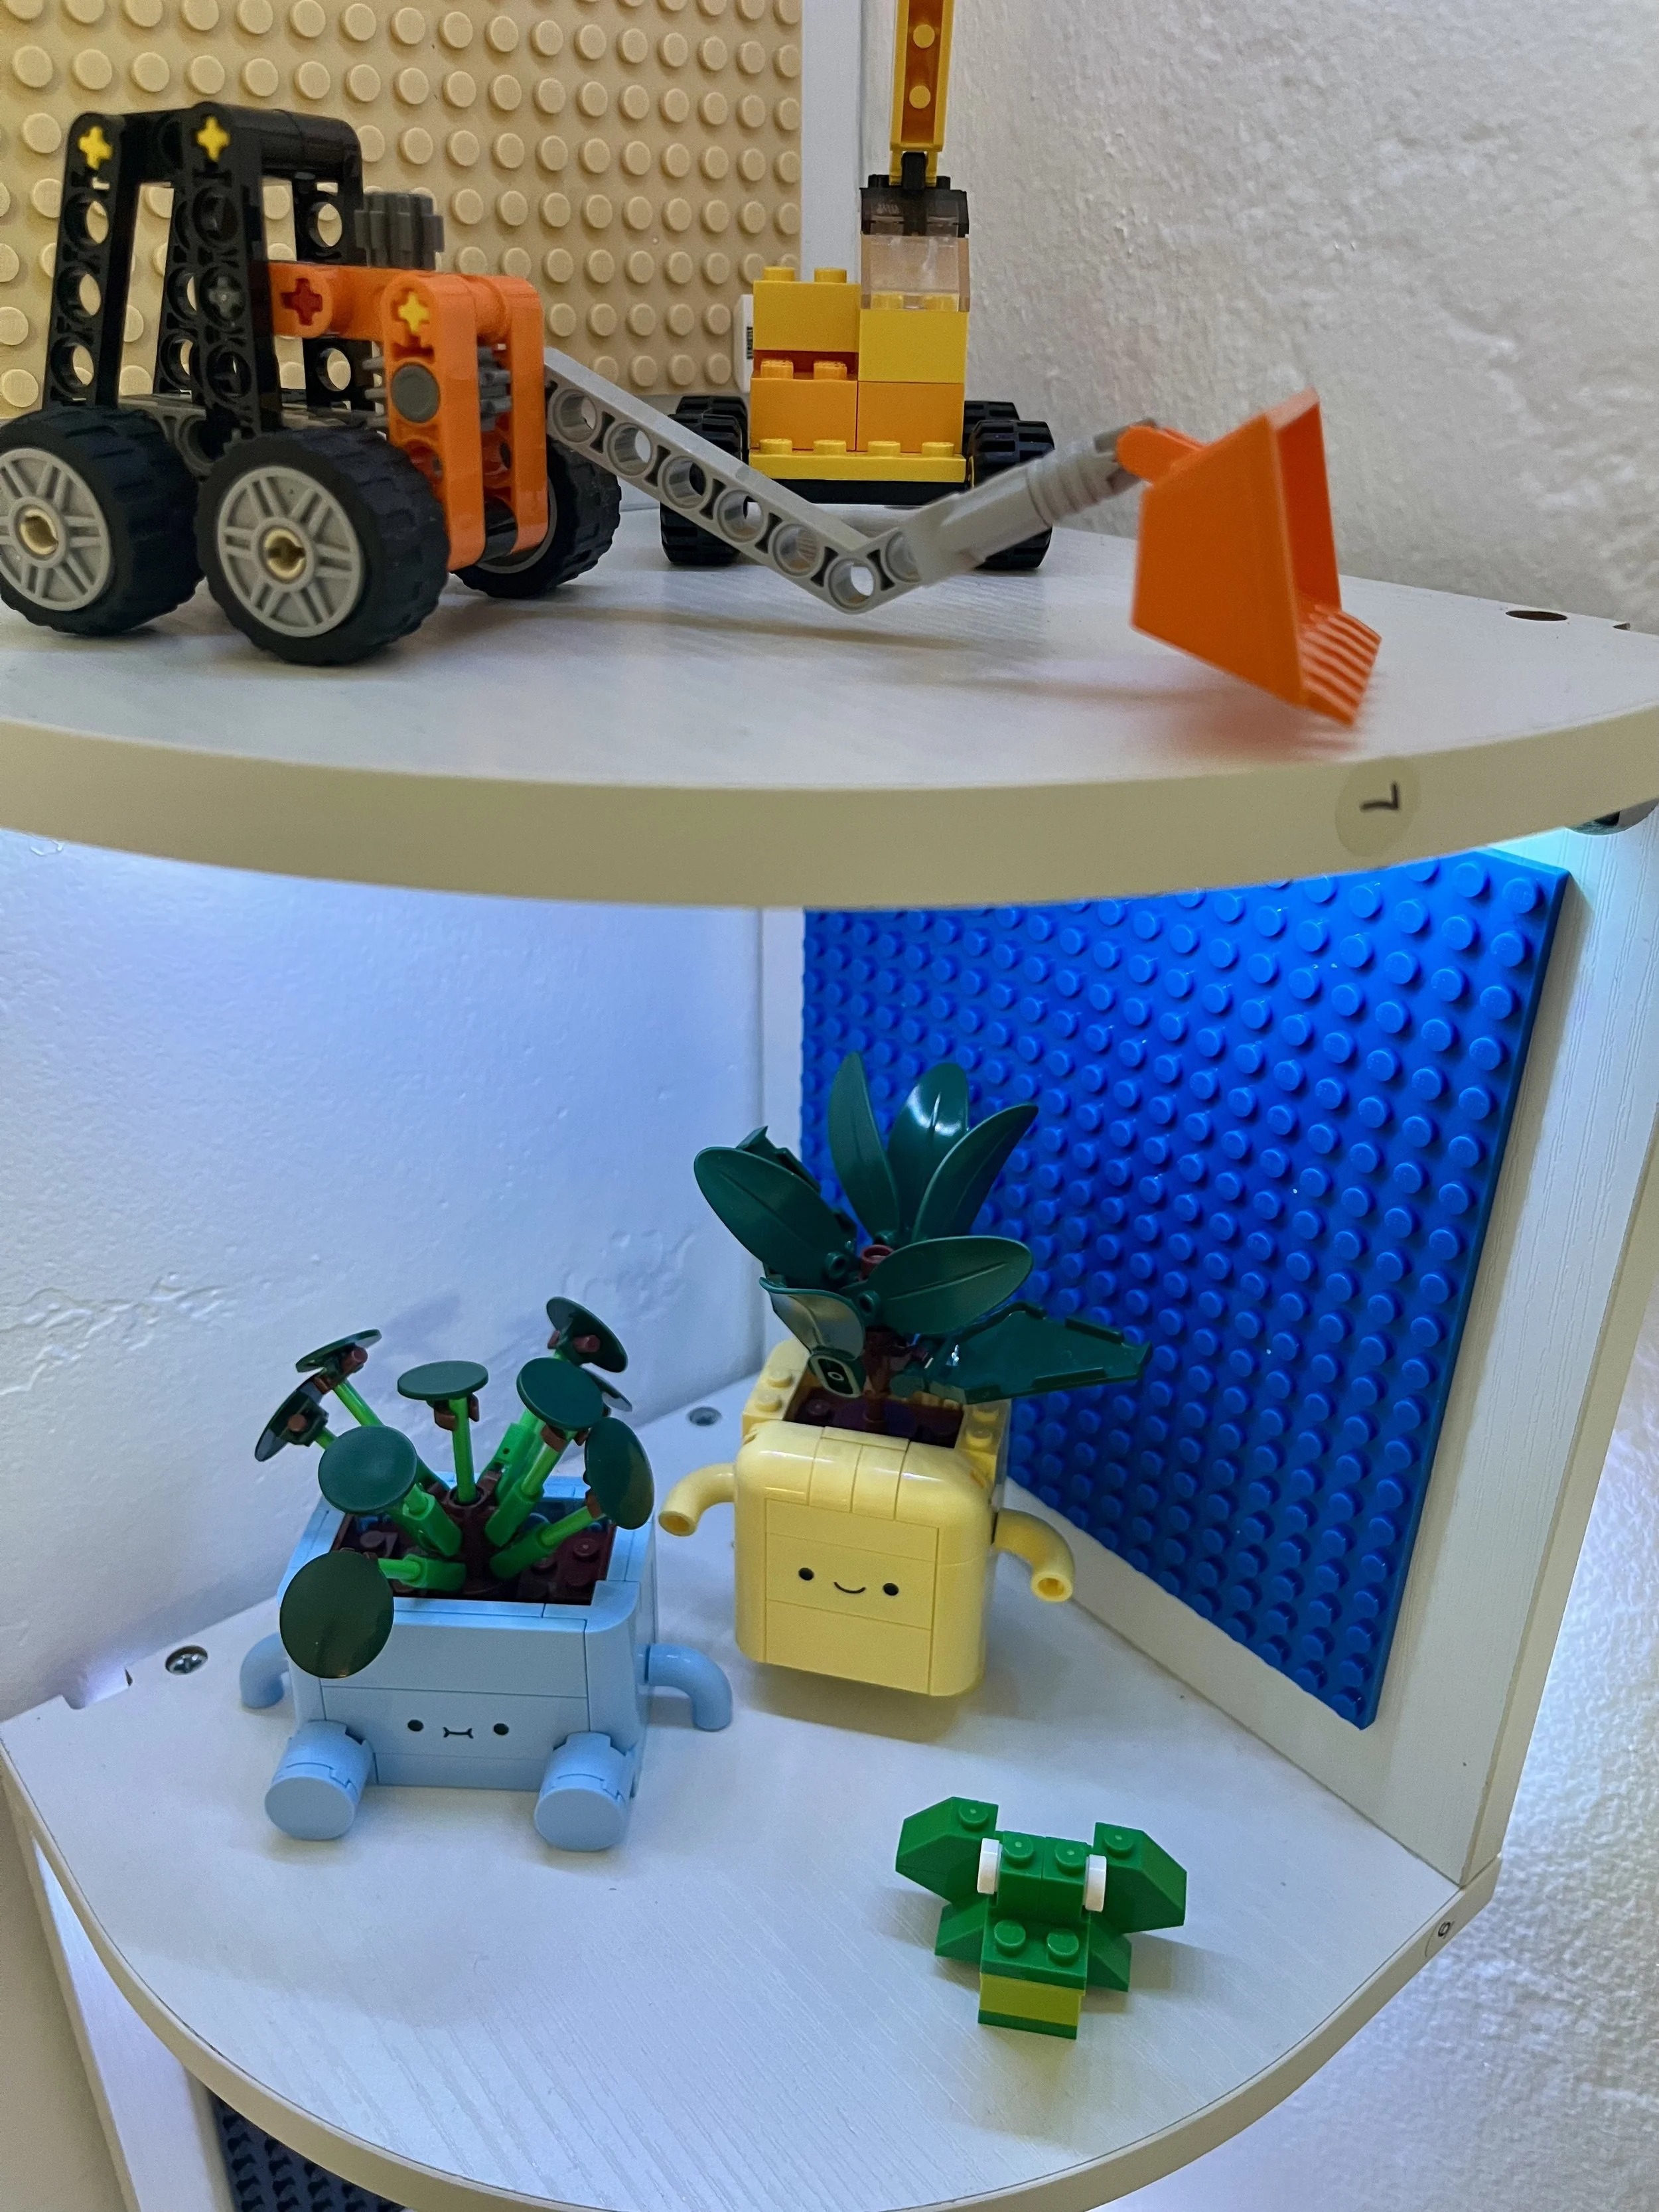
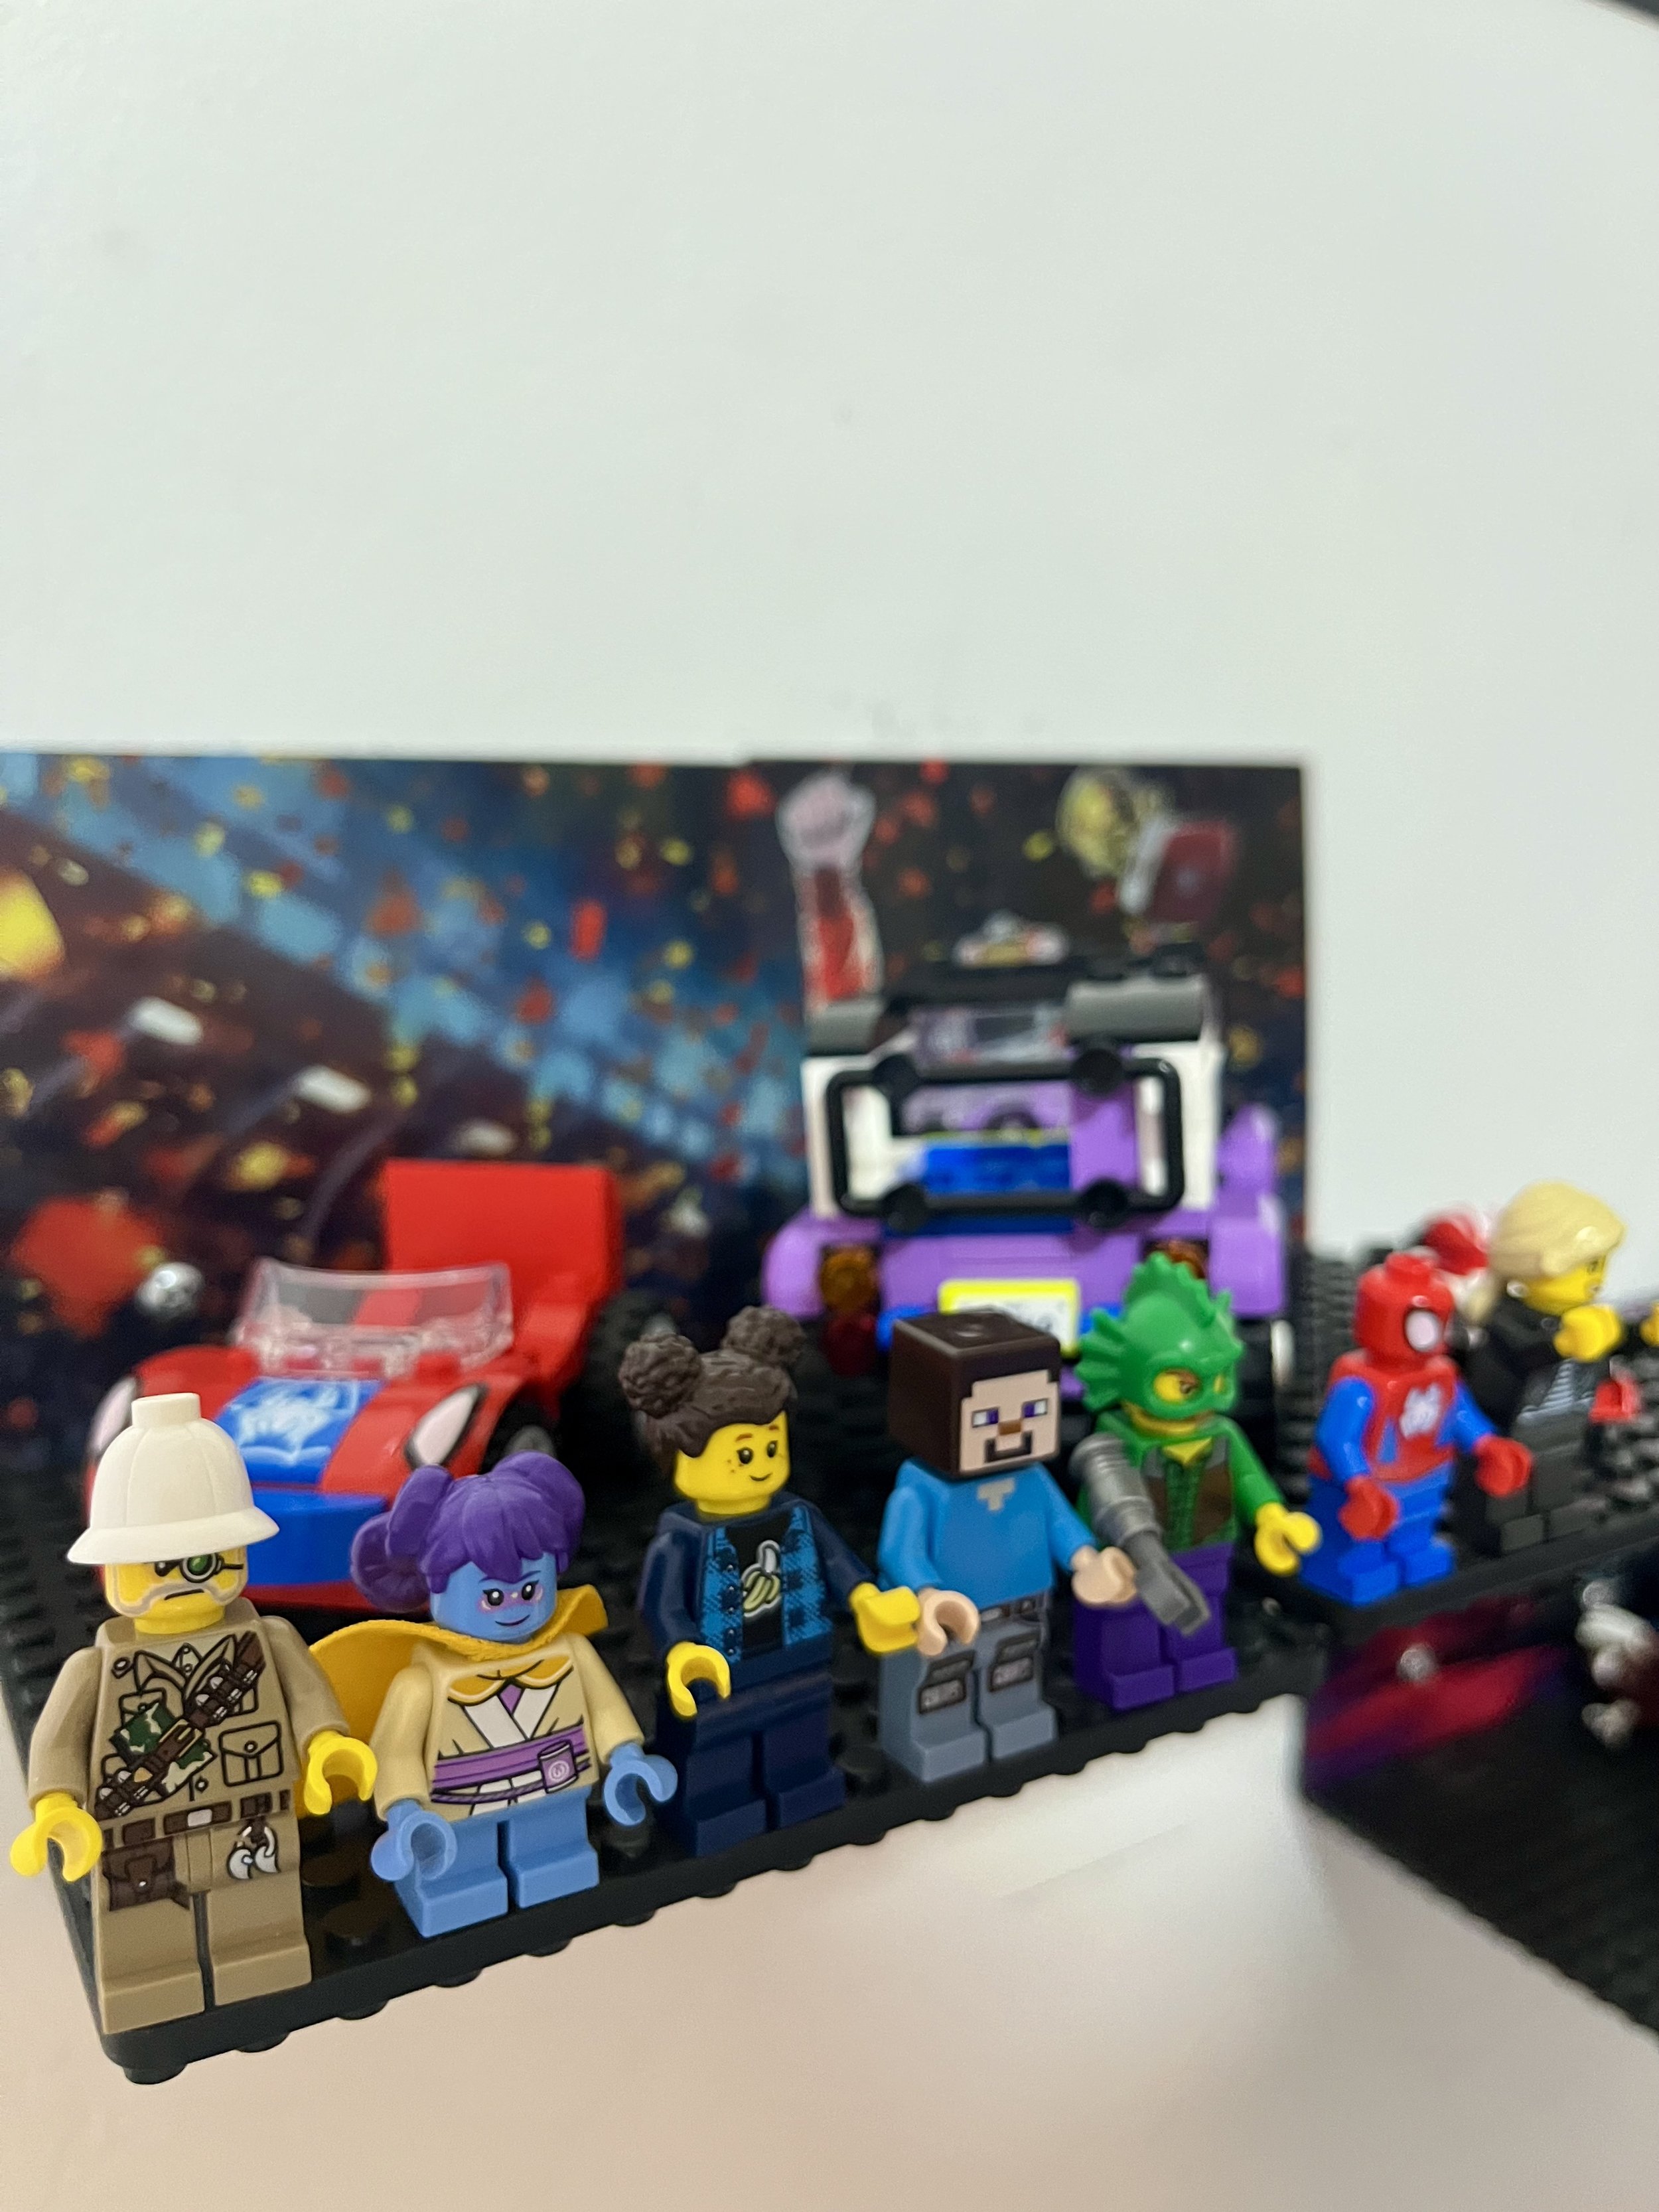
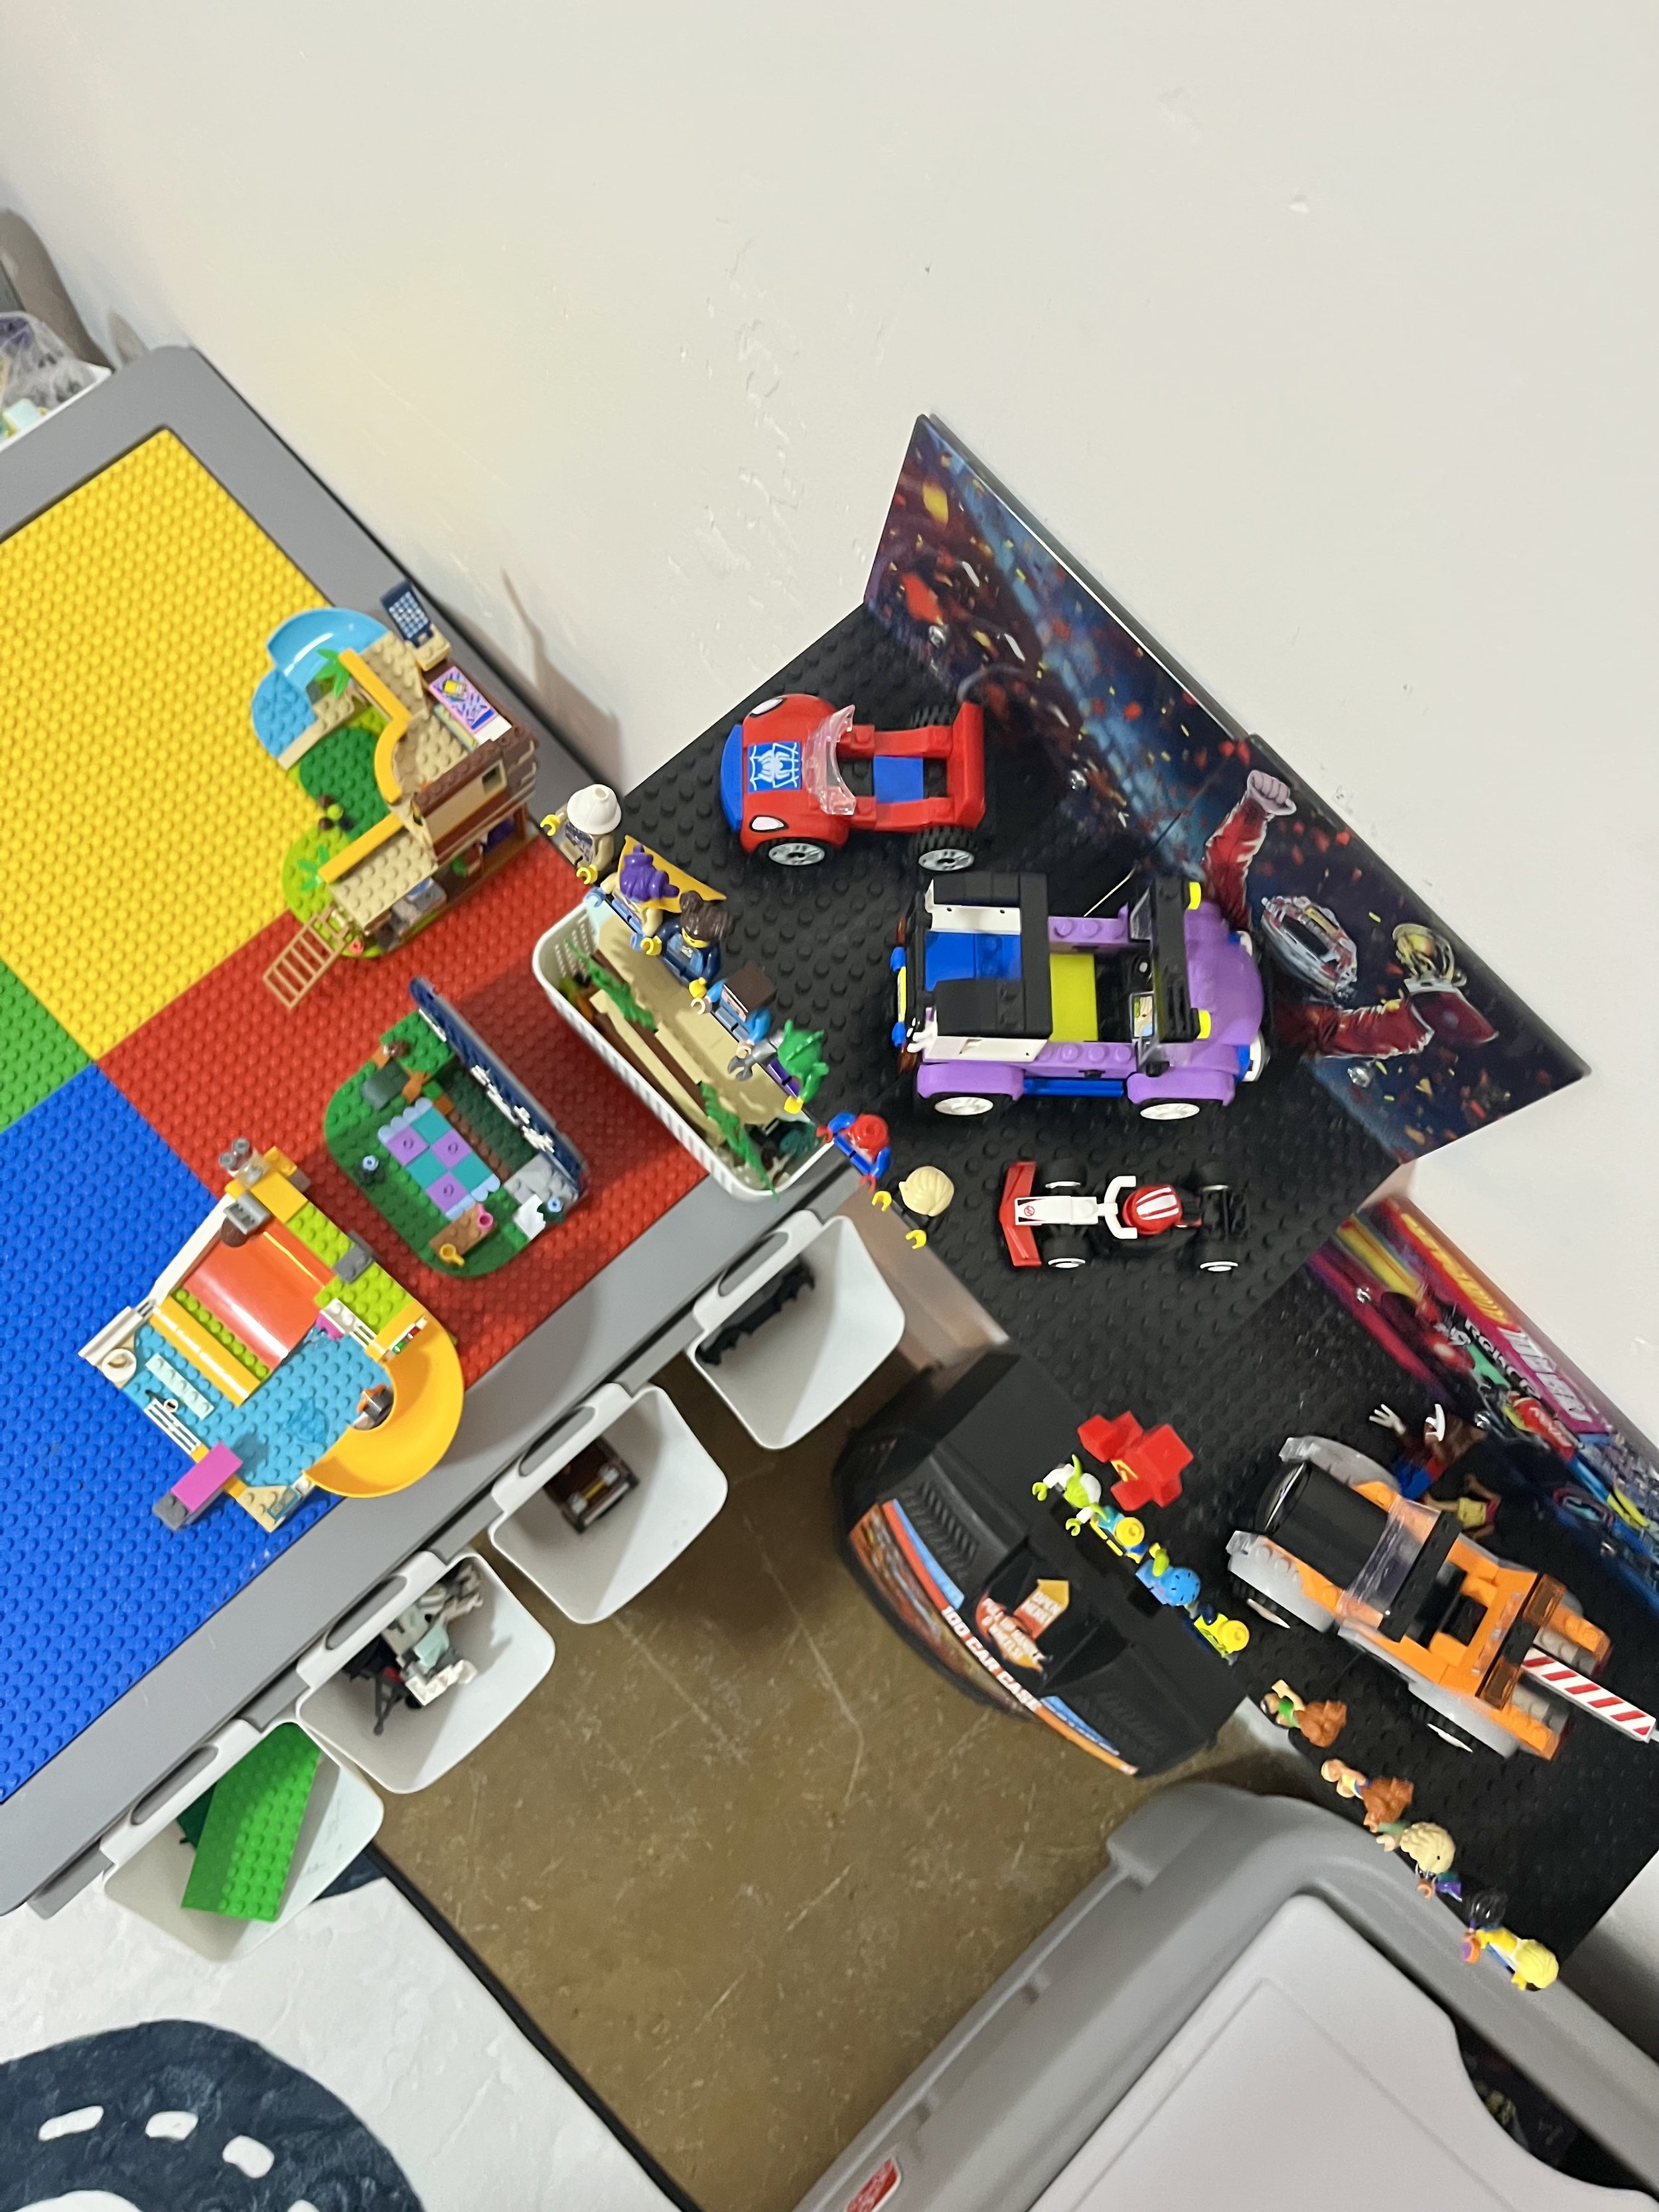
The biggest DIY win? Custom LEGO floating shelves. These shelves turned LEGO builds into actual displays- like art, but cooler. DIY projects like this gave the room character, not just minifigs.


Finds We Loved (Yes, Even With the Wait)

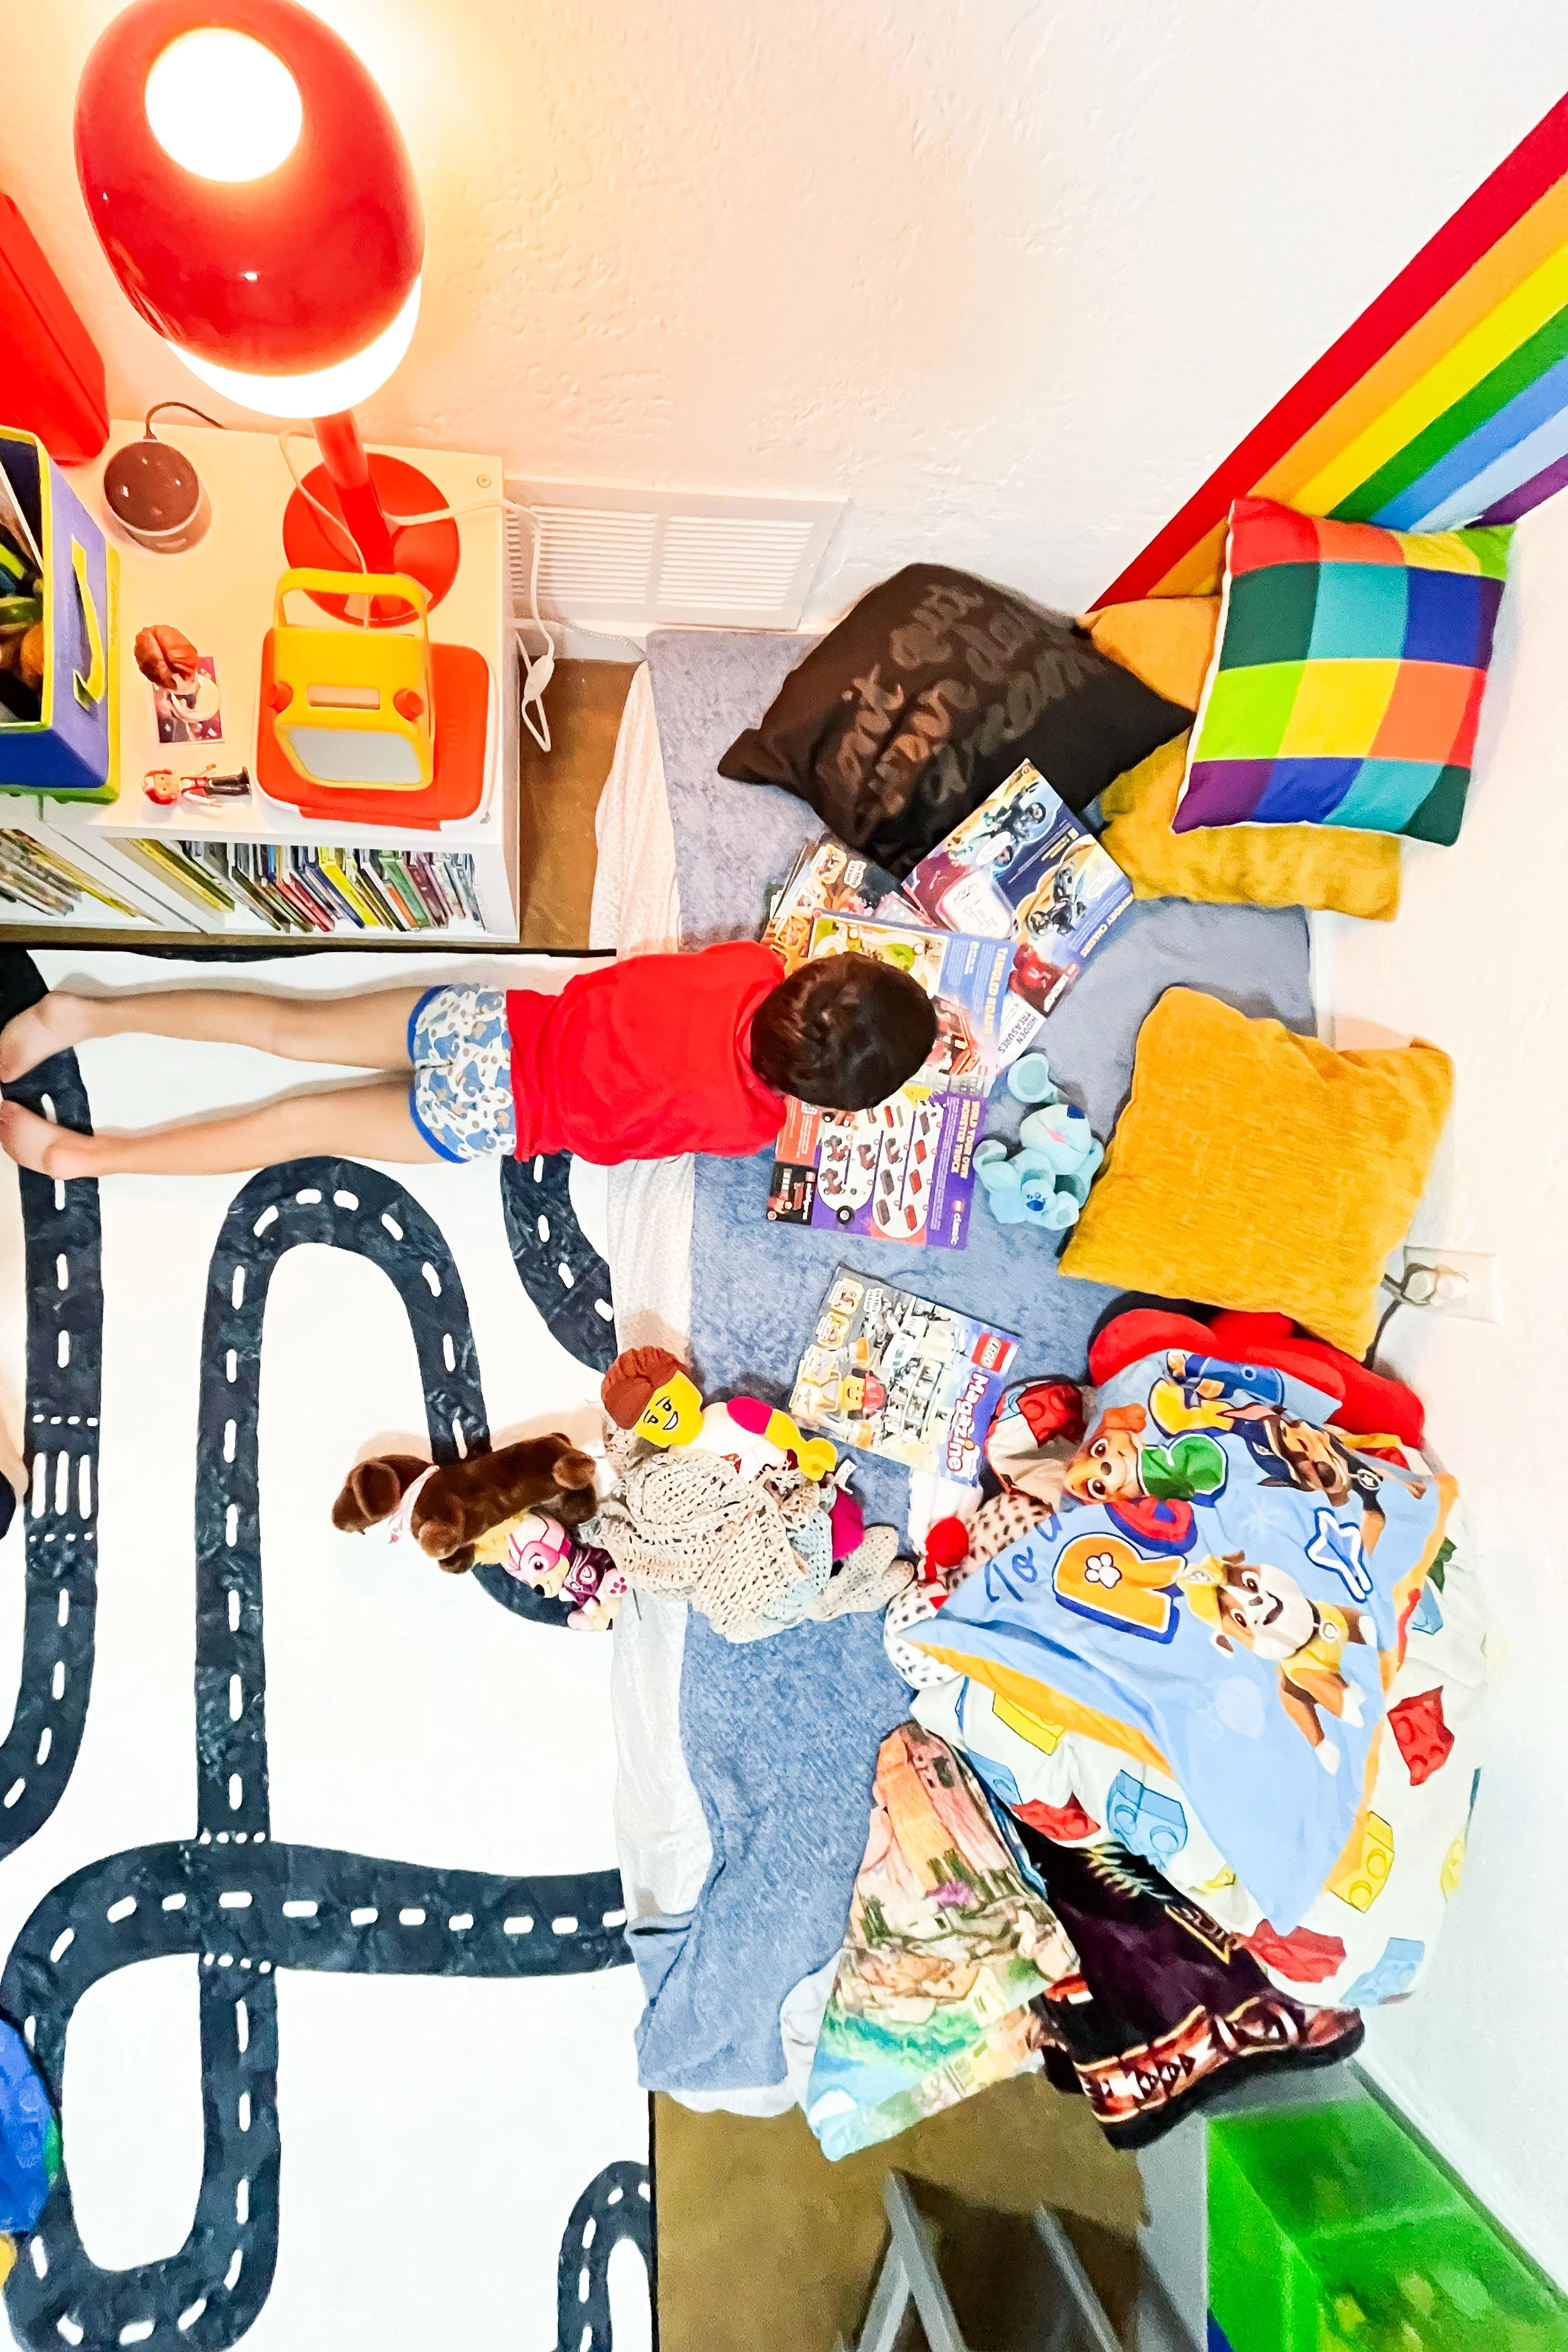
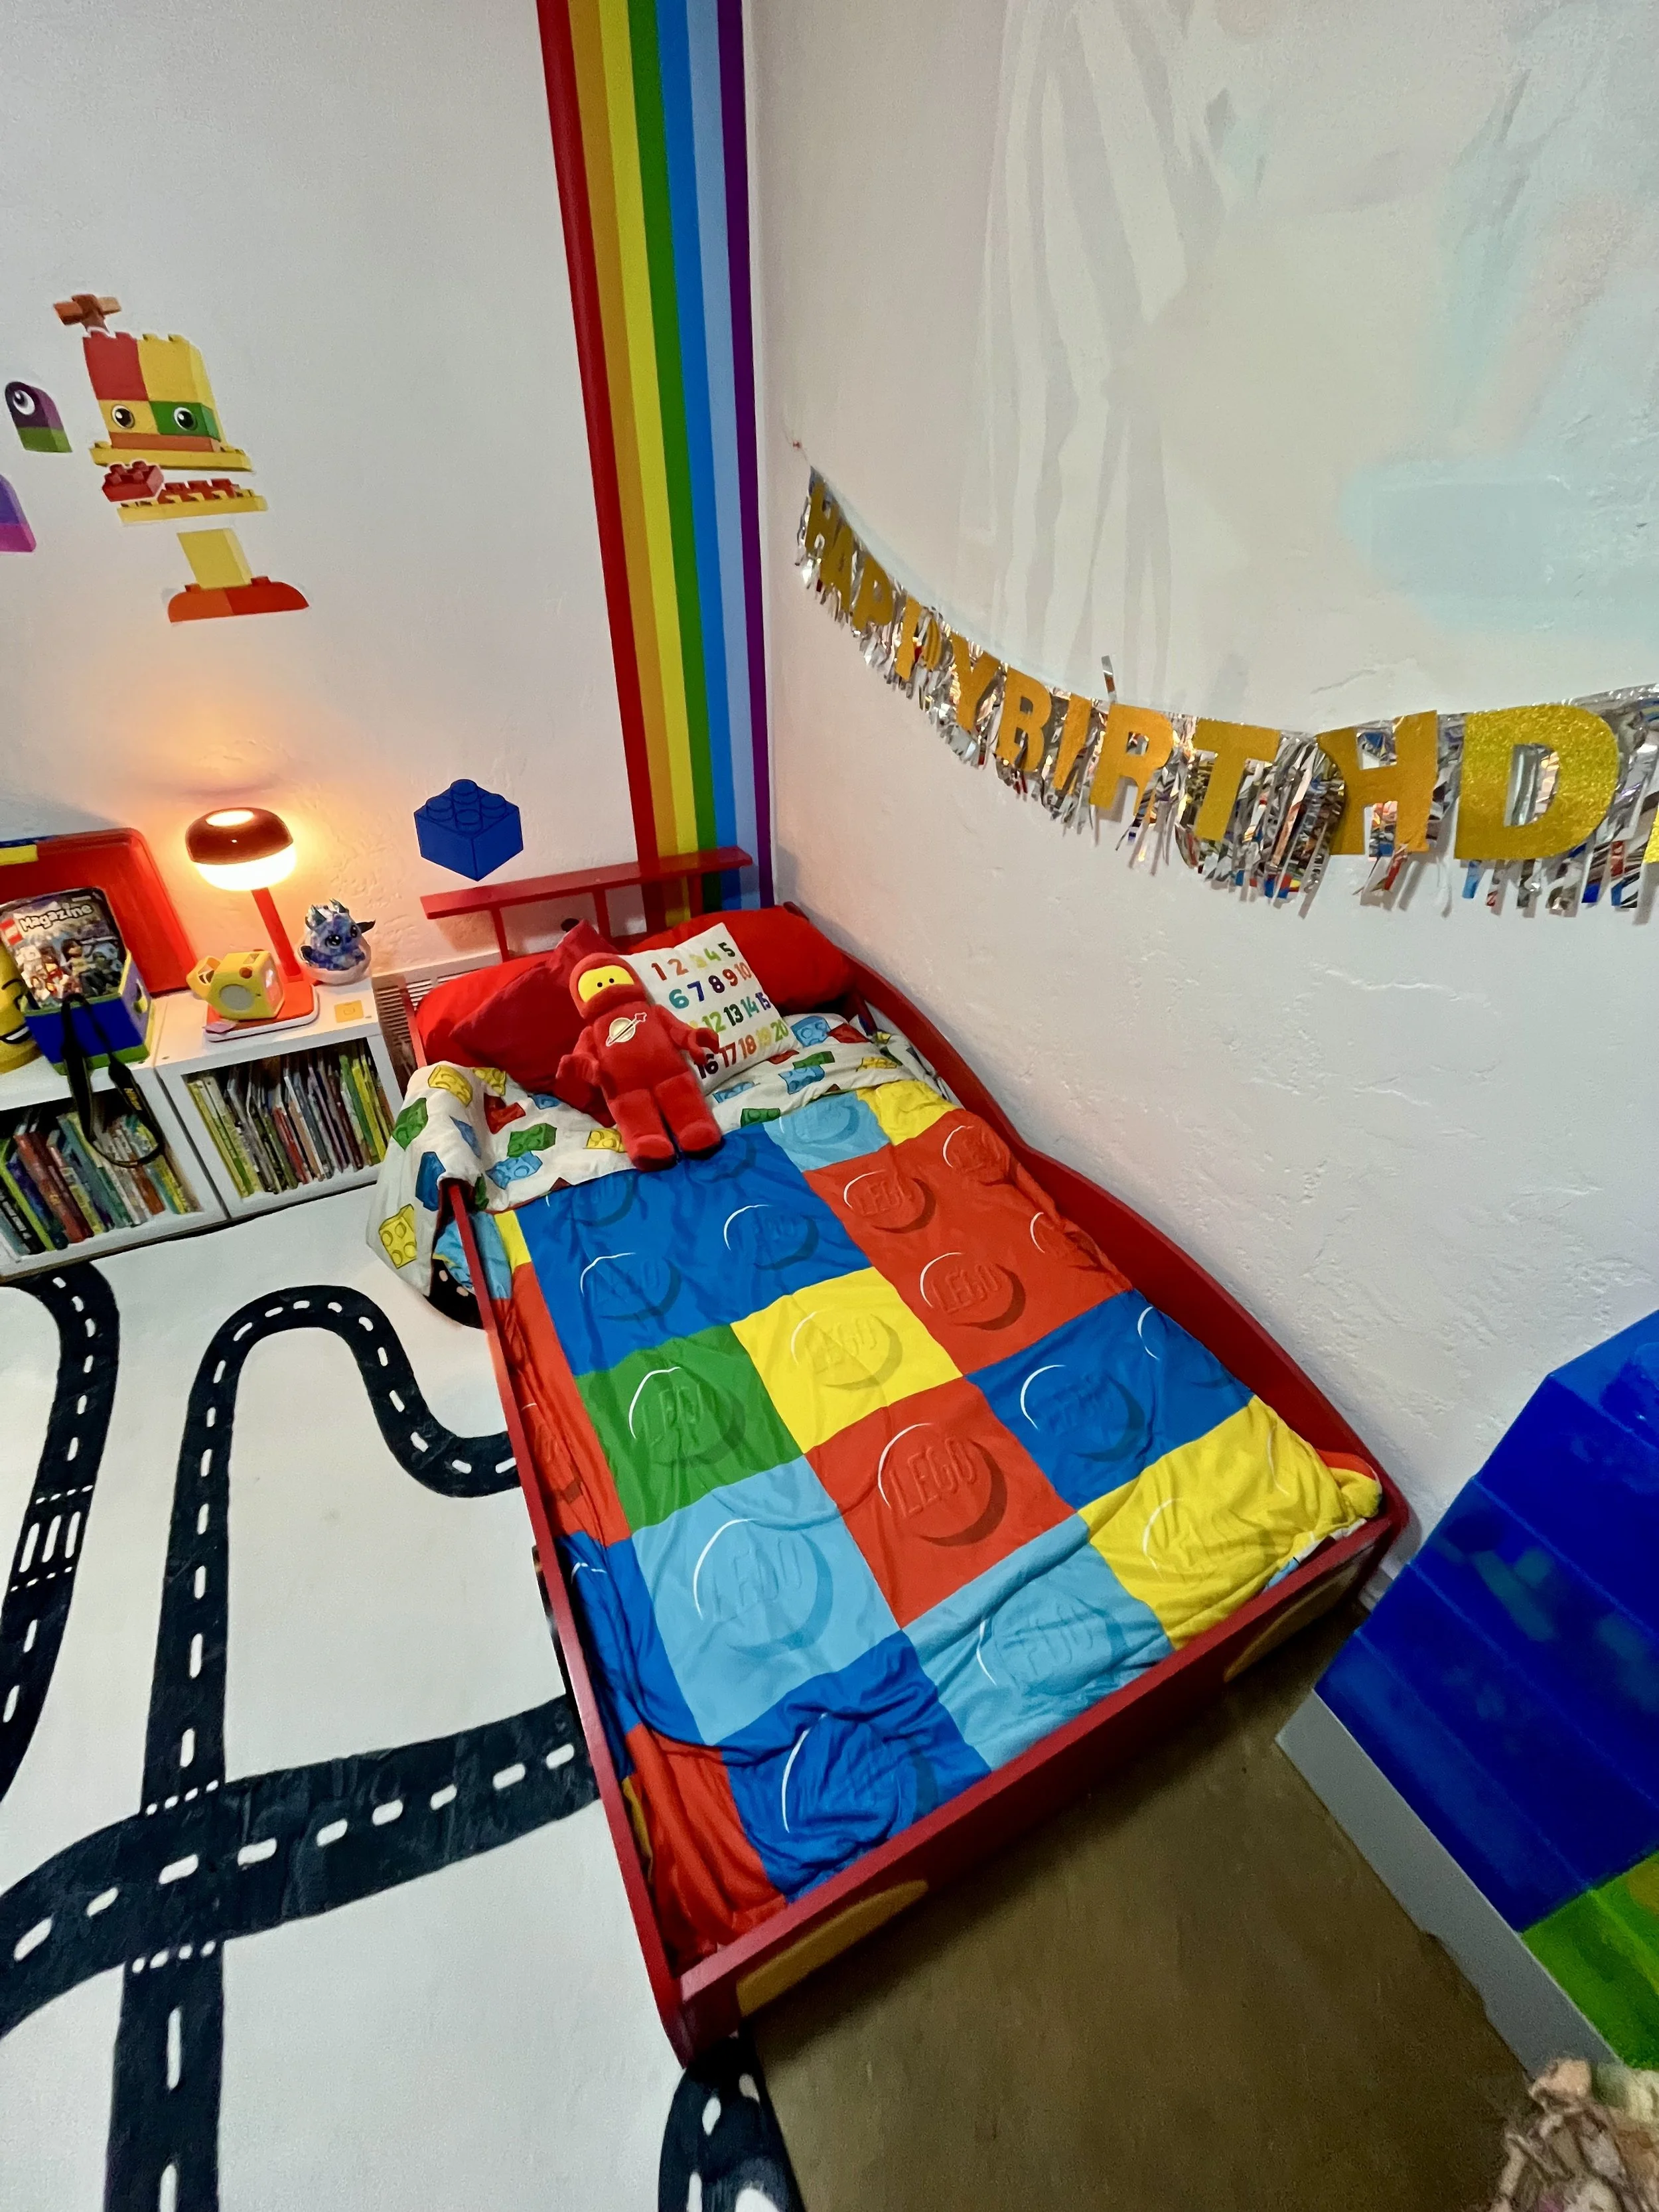
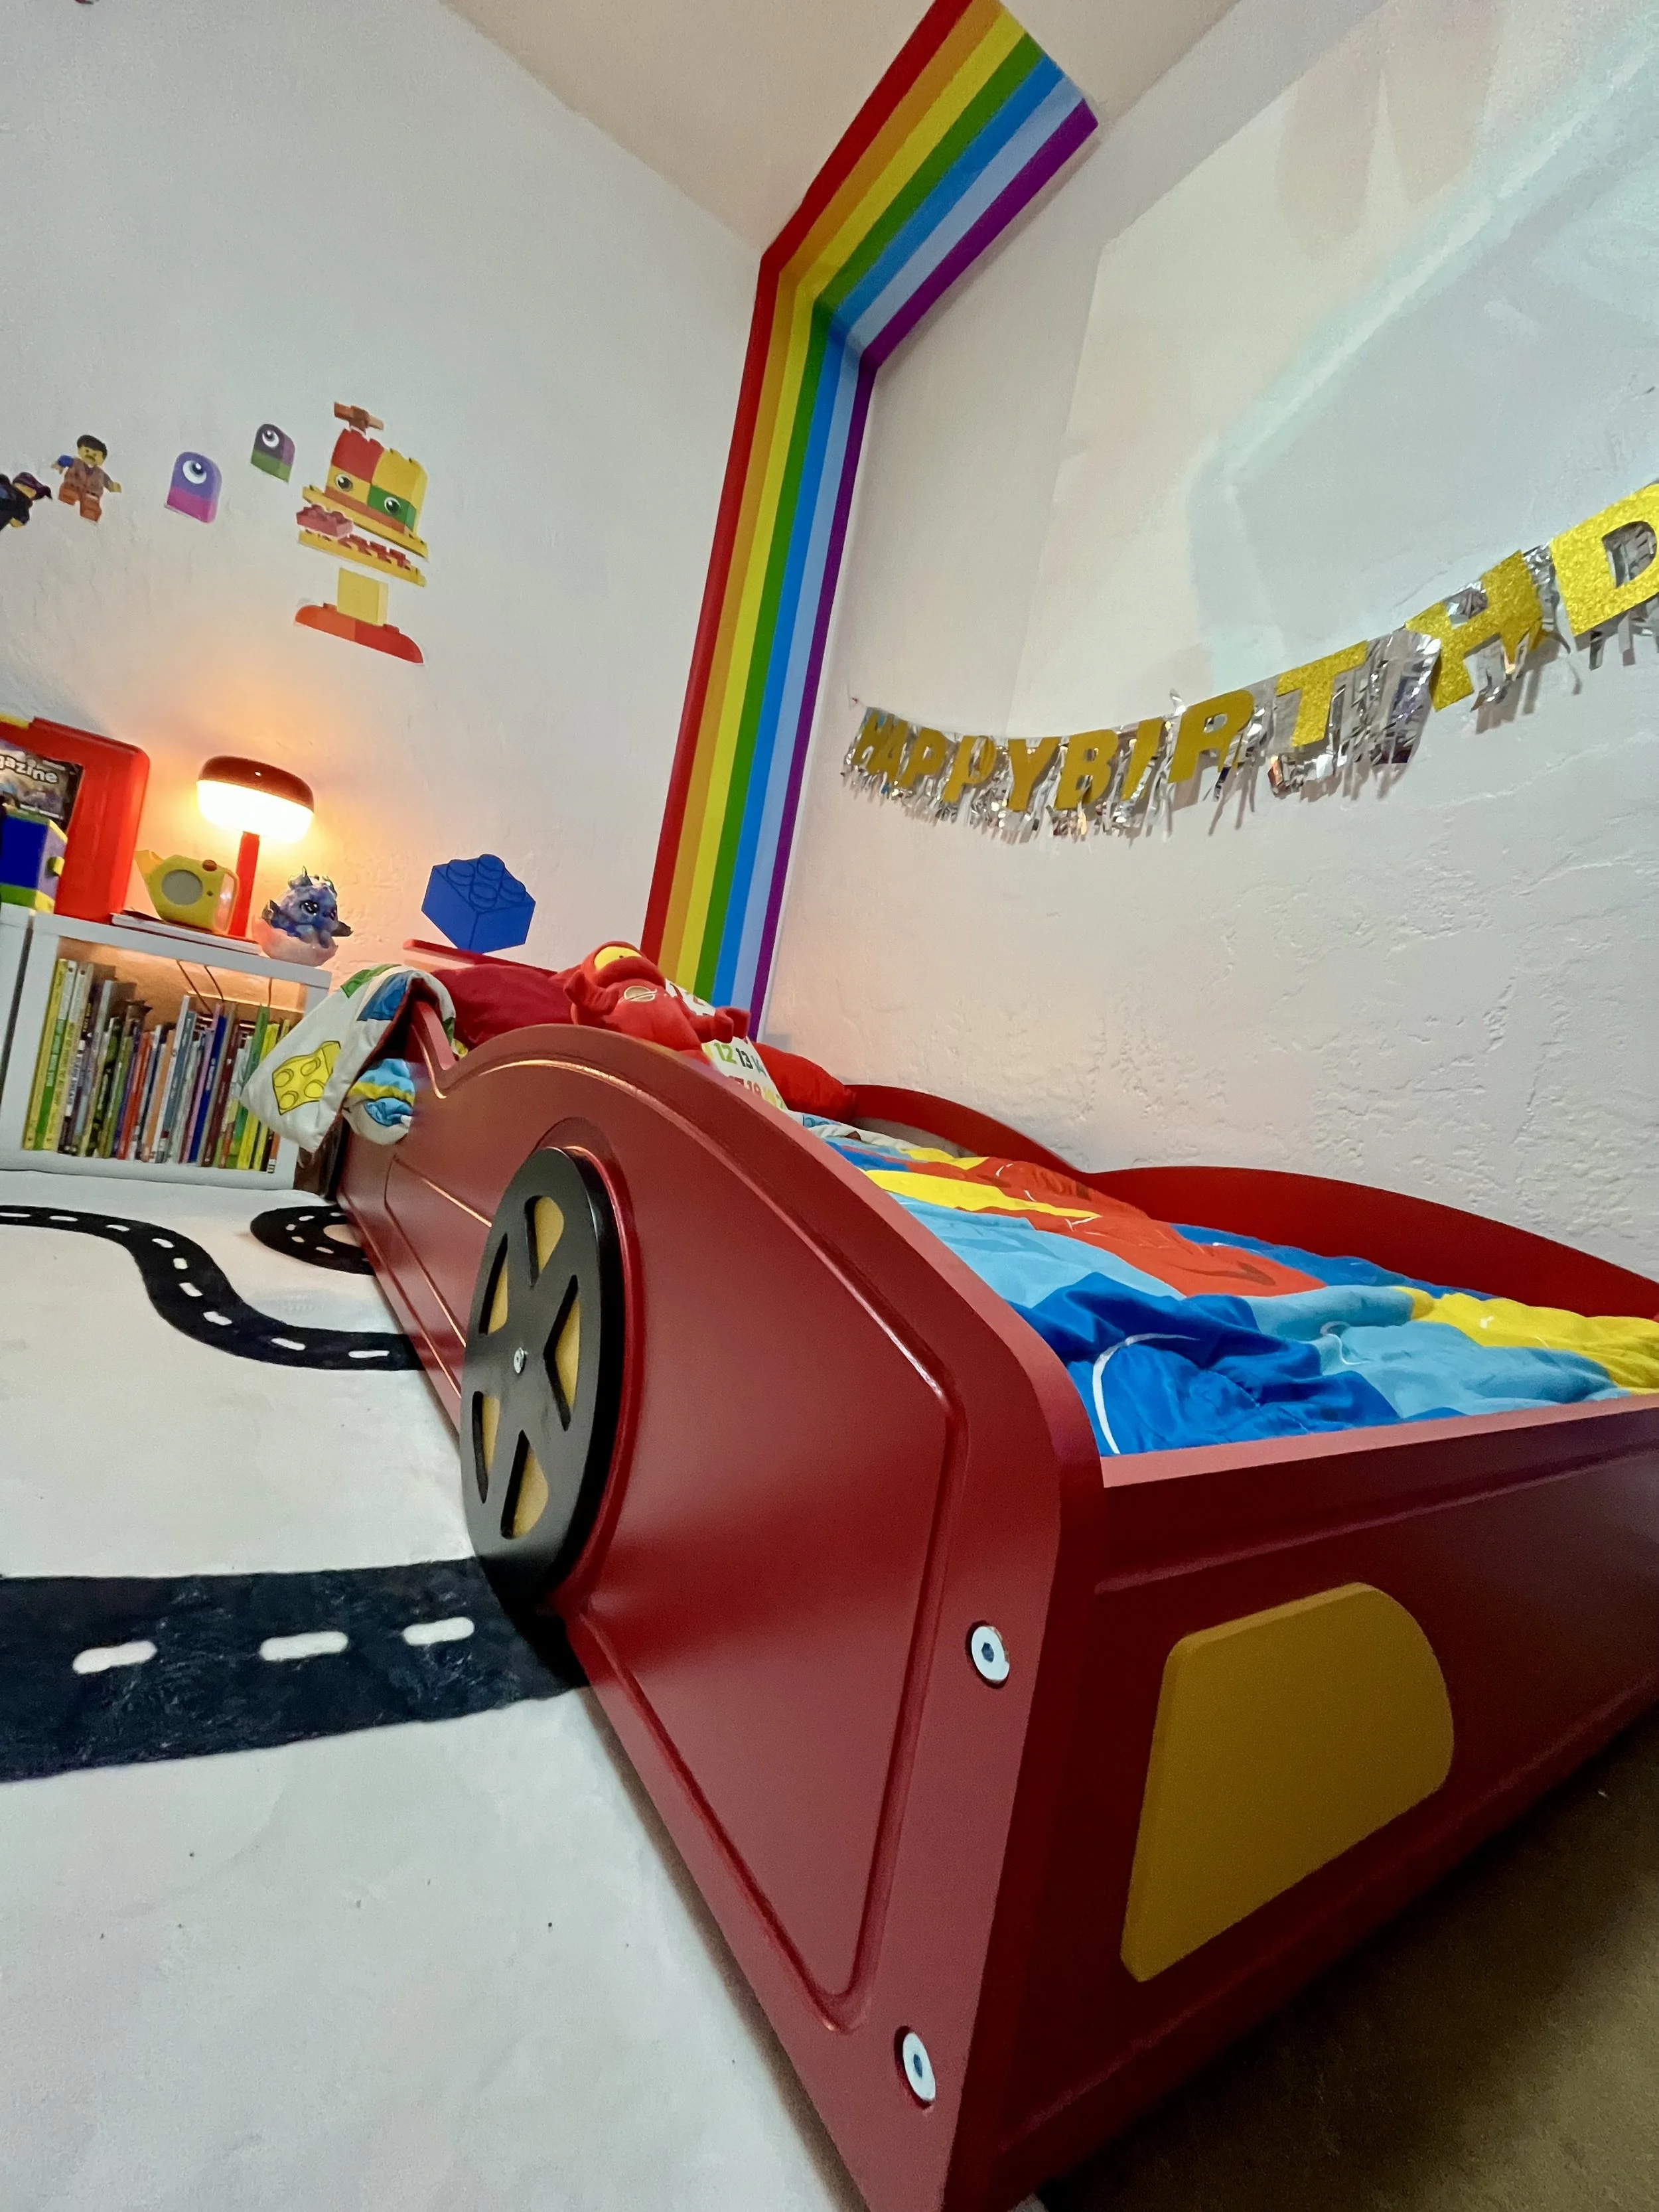
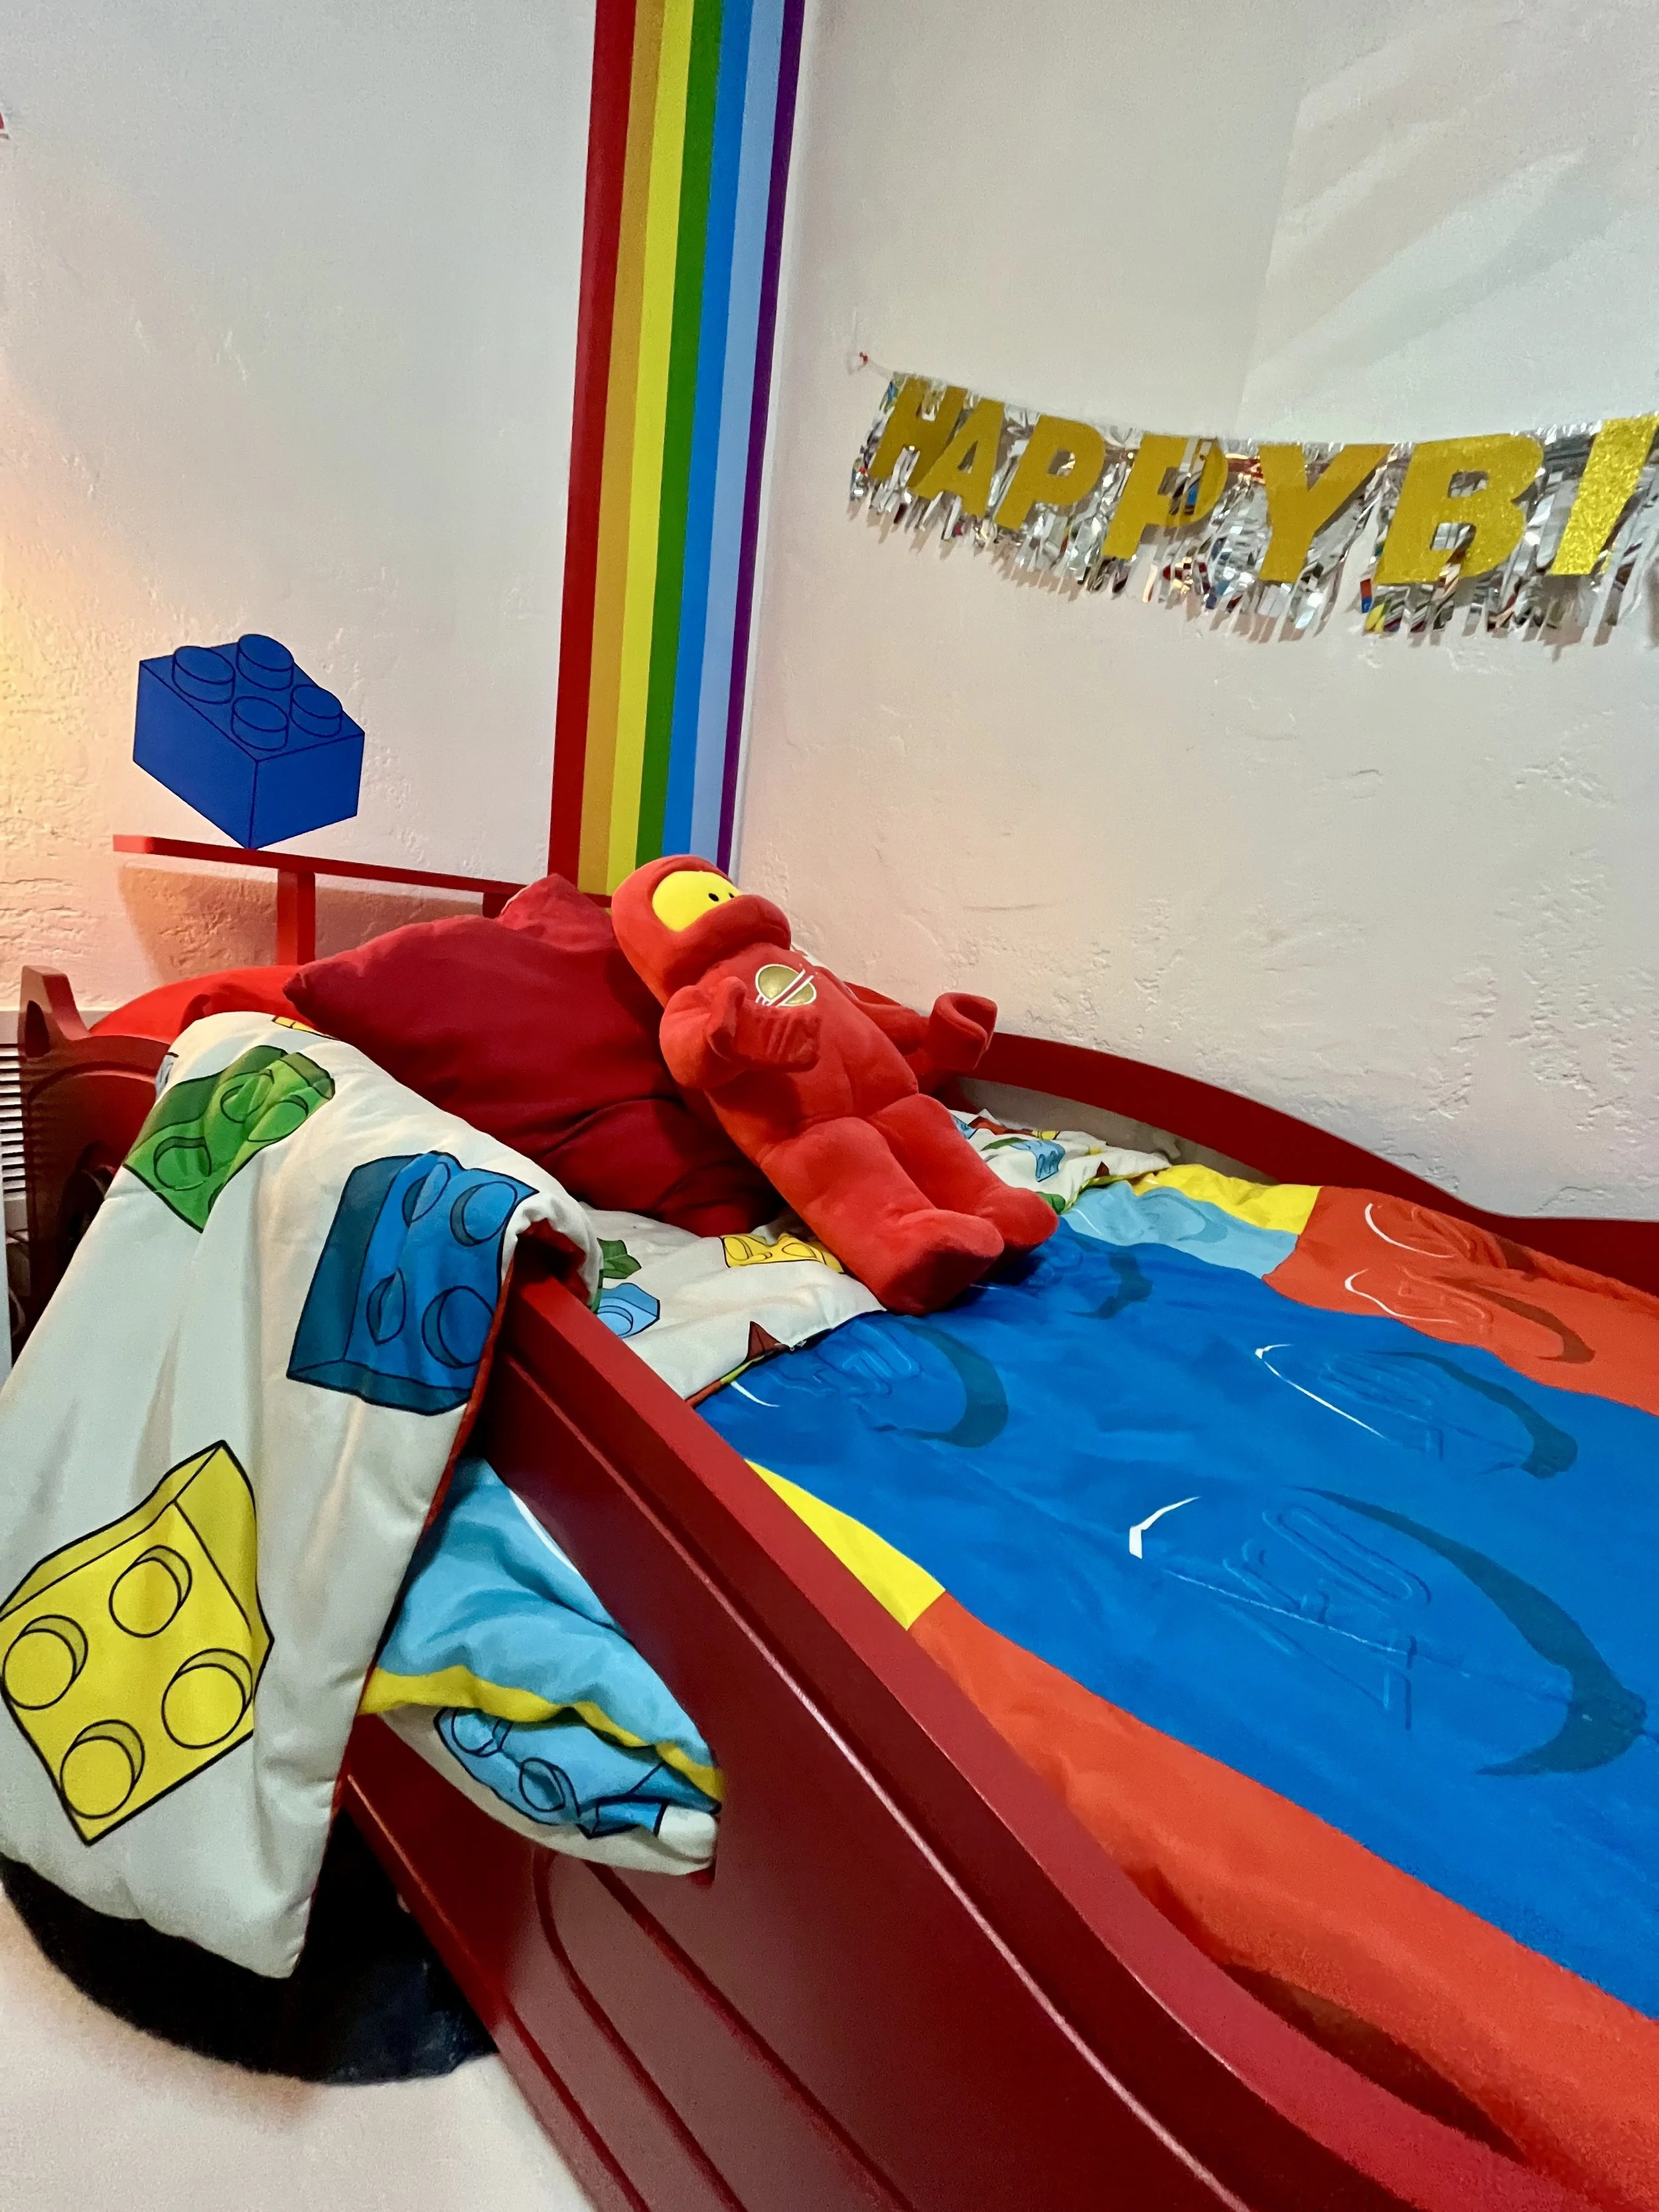
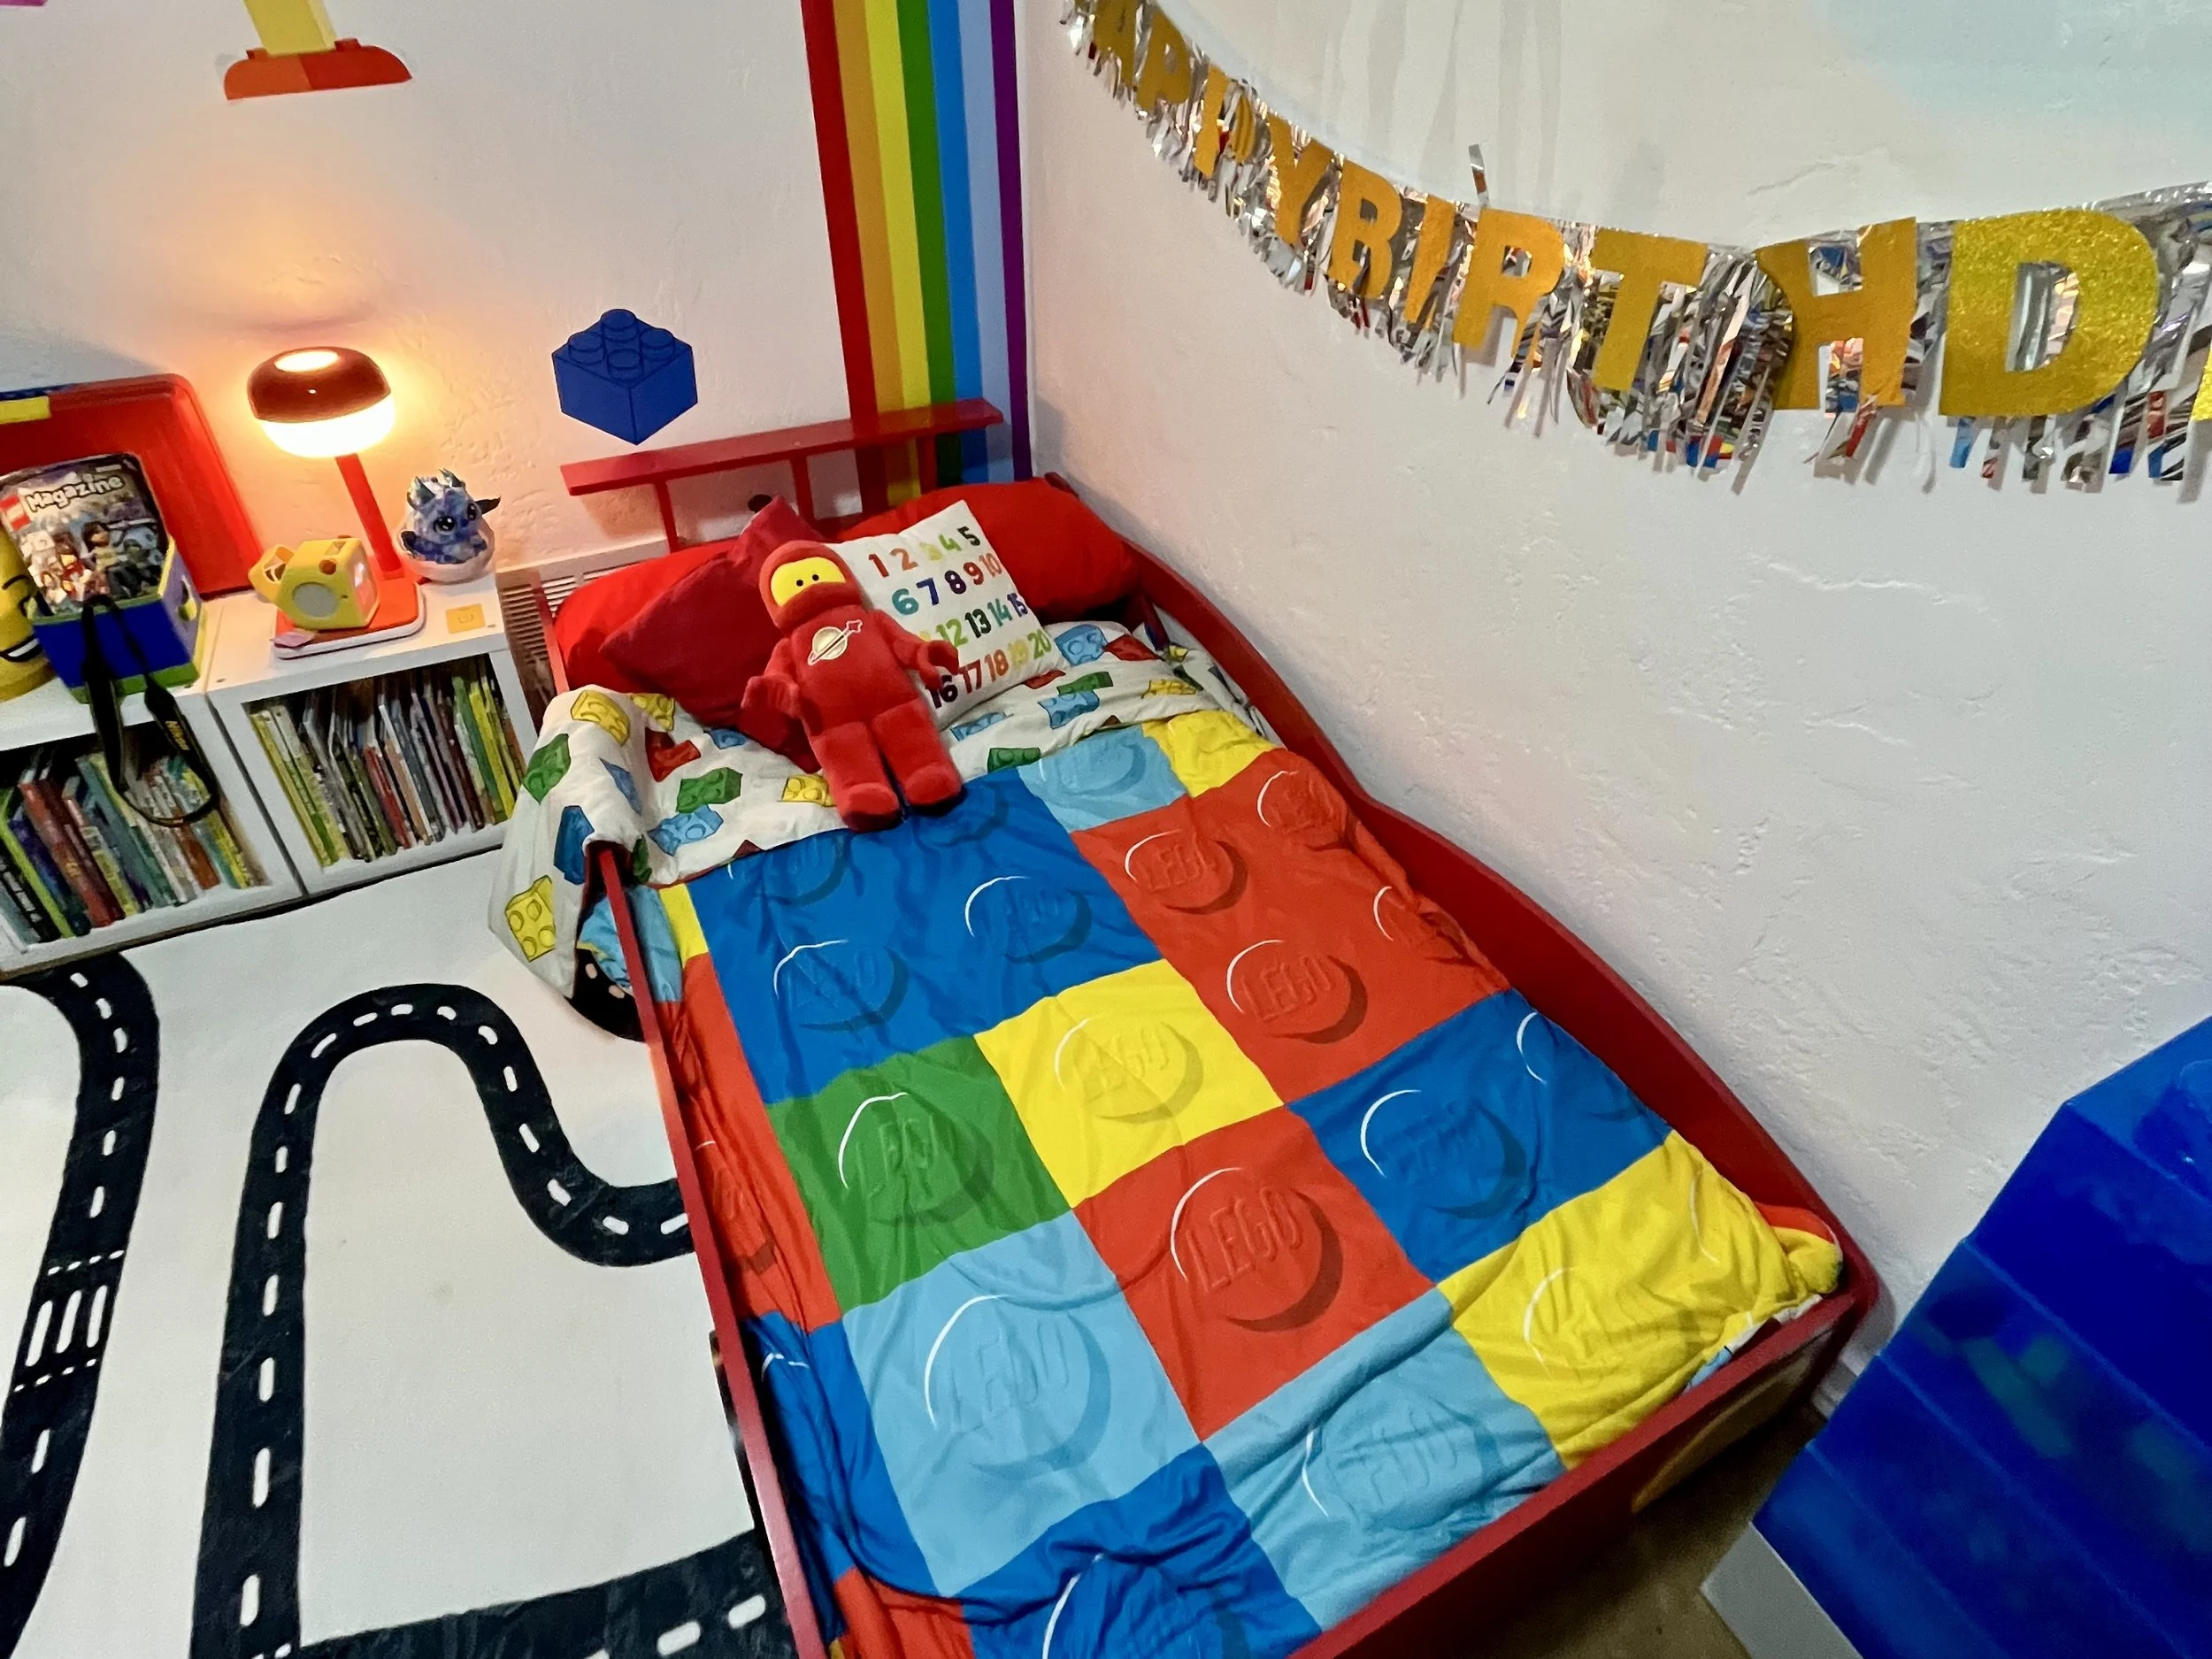
Let’s talk about the bed. He was NOT aggreeing to a basic bed. He also was NOT into bunk beds or beds with under stage desks. So what would ANY young boy want for a bed? A car bed! Maybe he can now get a CB radio and talk to other car beds!

This was a major Amazon score- even though delivery took a shocking 4–6 weeks (I know… AMAZON). Once it arrived, it anchored the entire room.

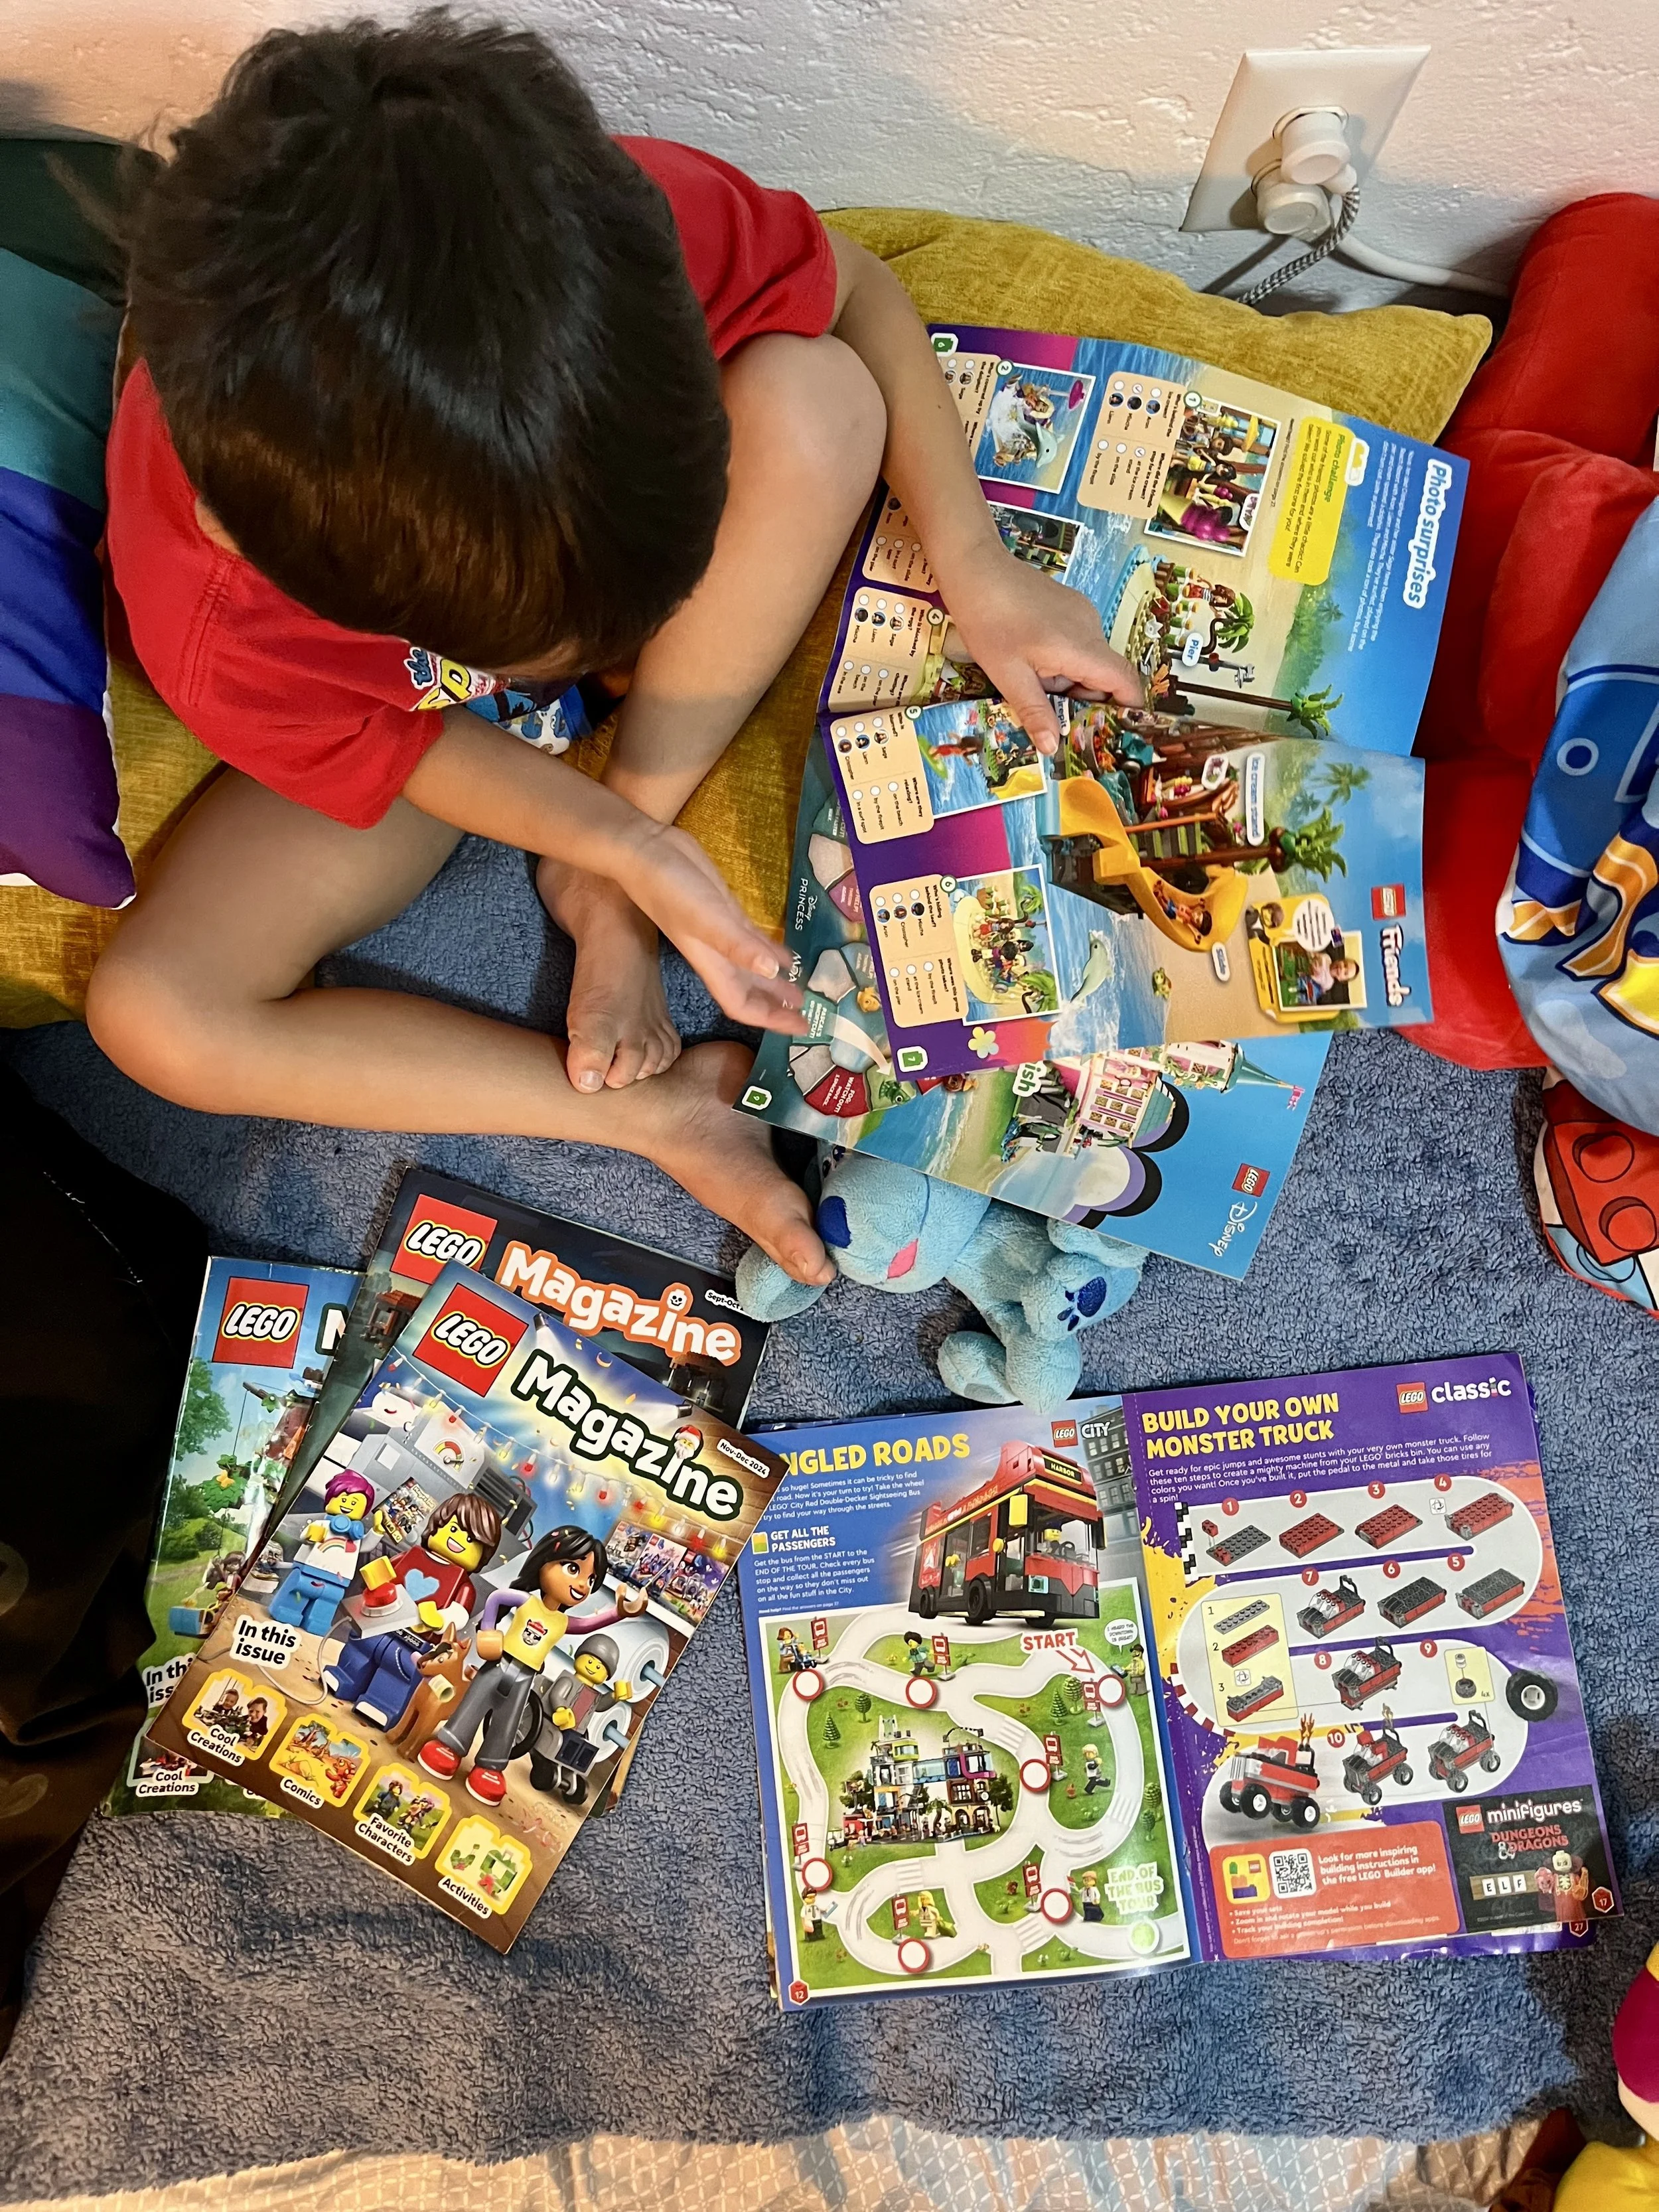
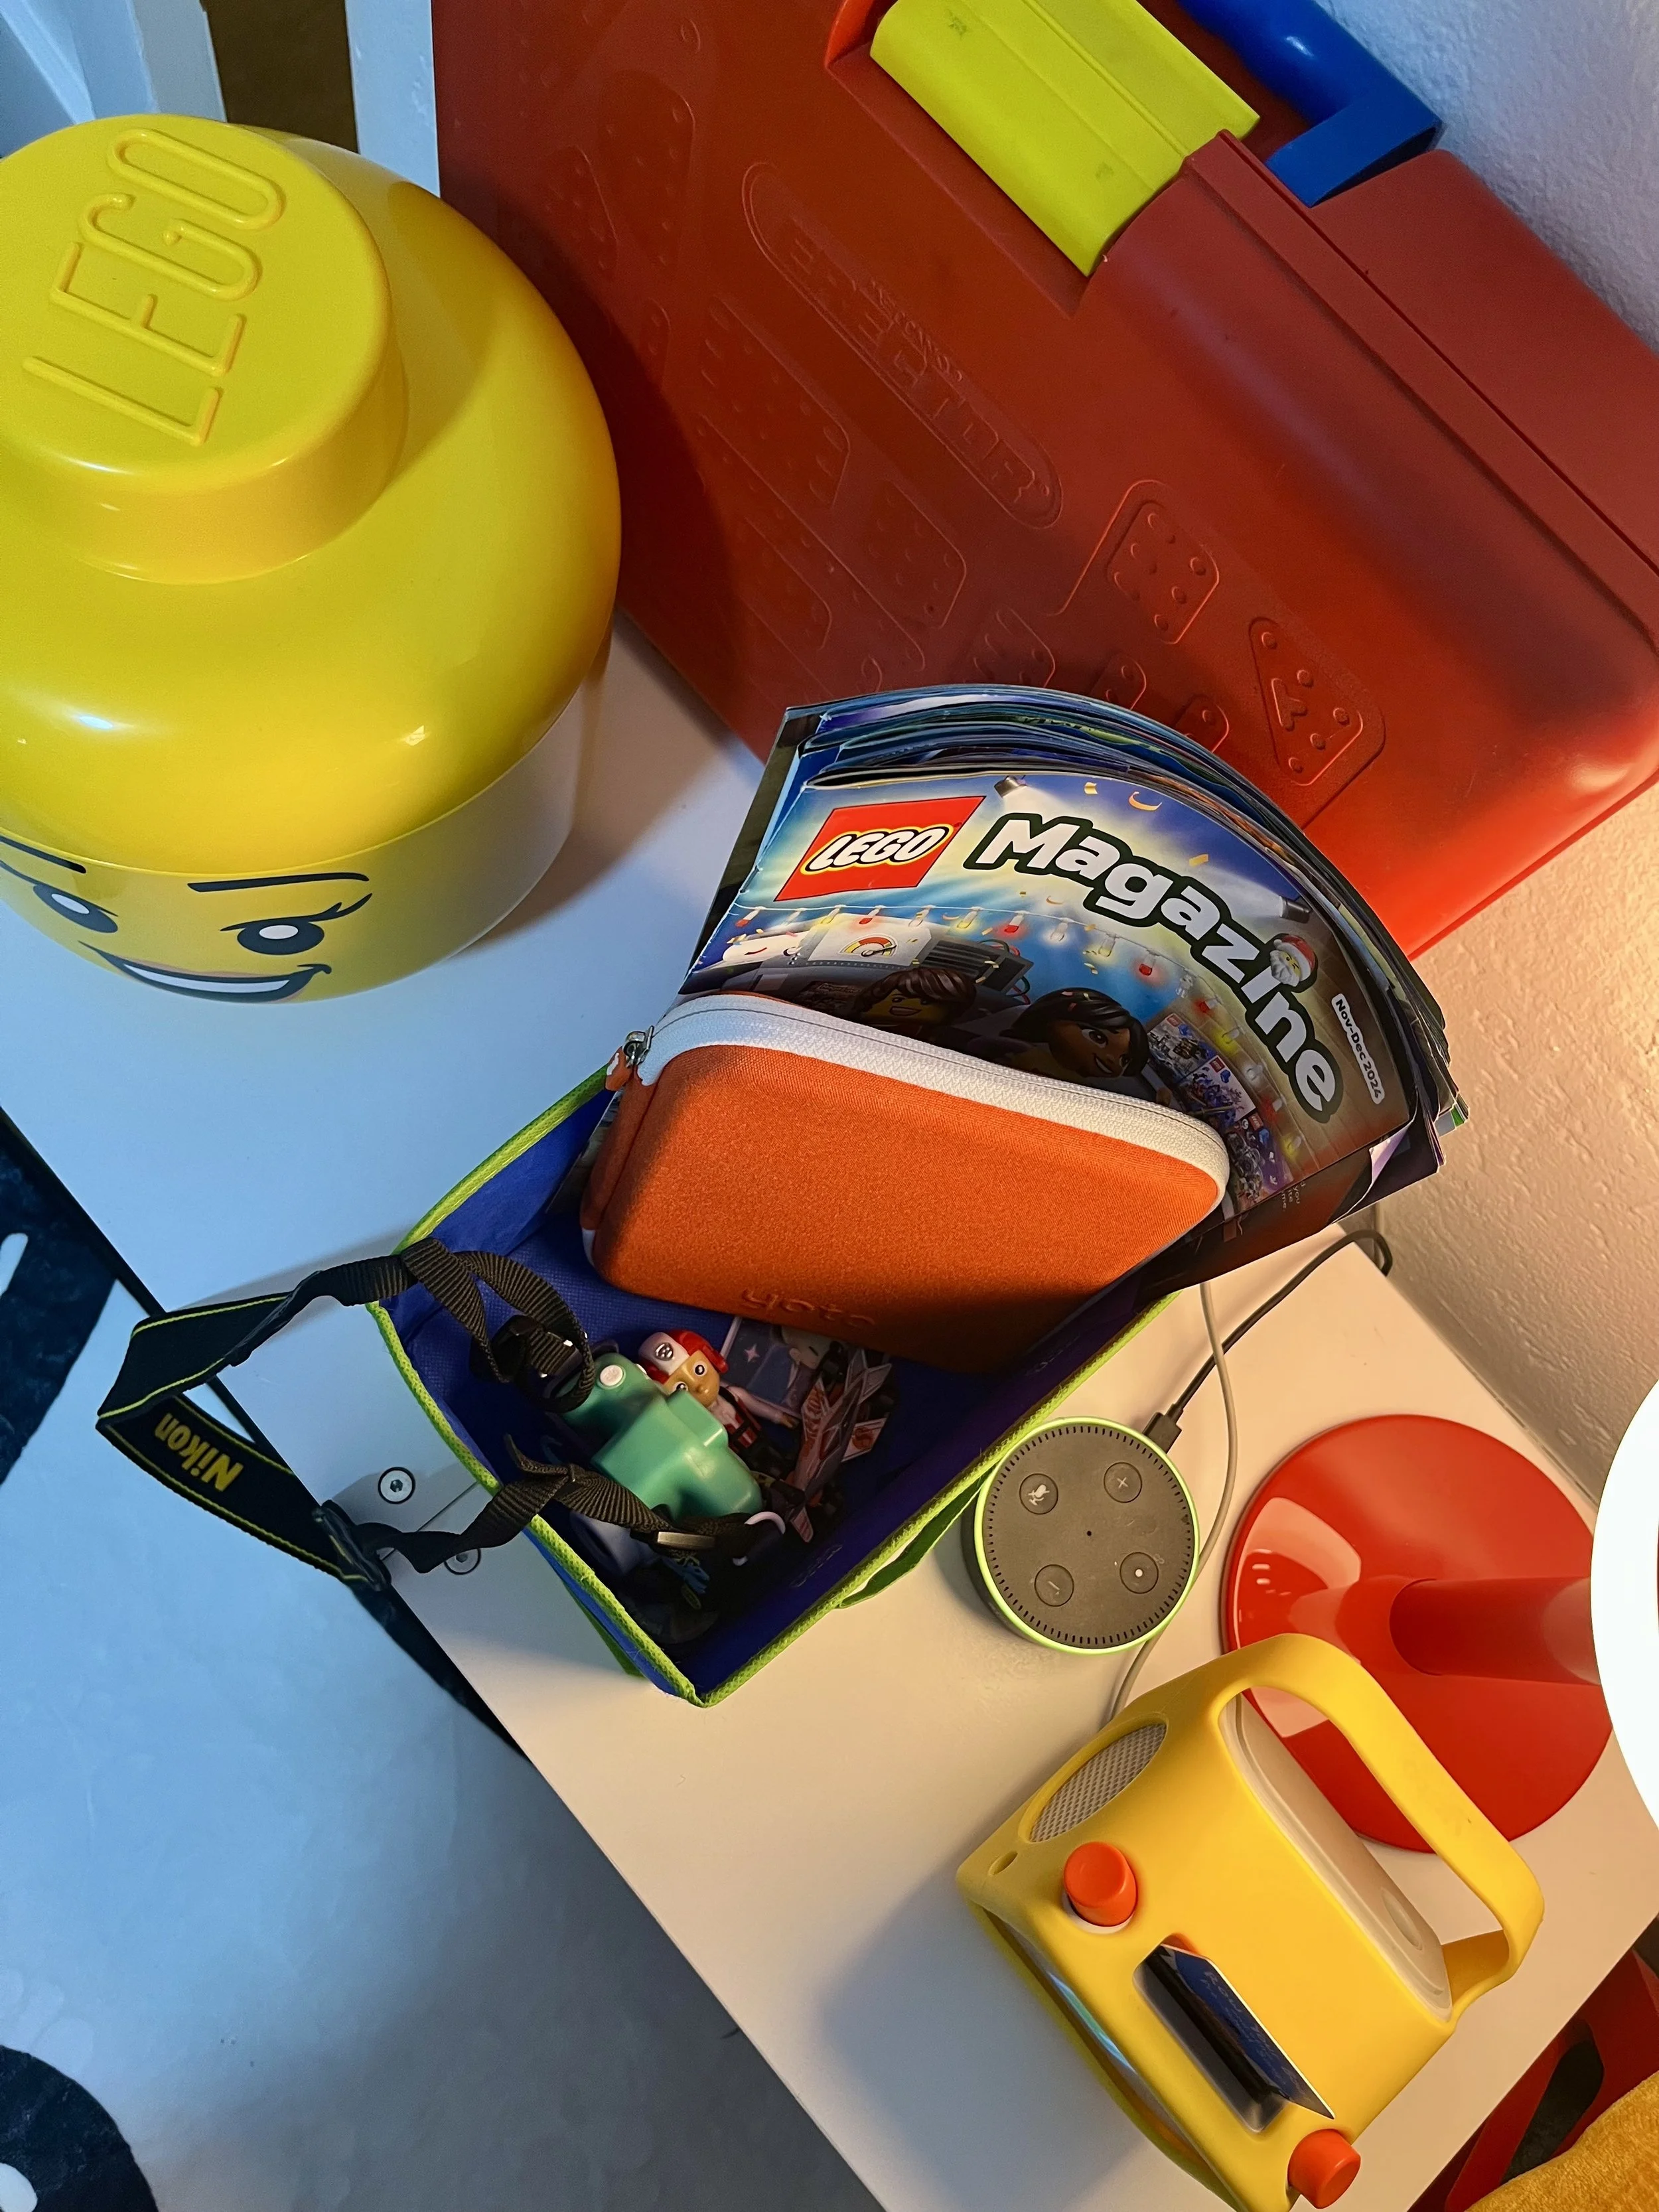
My other favorite Amazon find was his LEGO Comforter - It’s comfortable, playful, and even came with bonus school supplies like a pencil case and folders—which felt like an unexpected win. He opened it mid January after a Tuesday delivery drop of and screamed, “This is what I wanted for Christmas!”

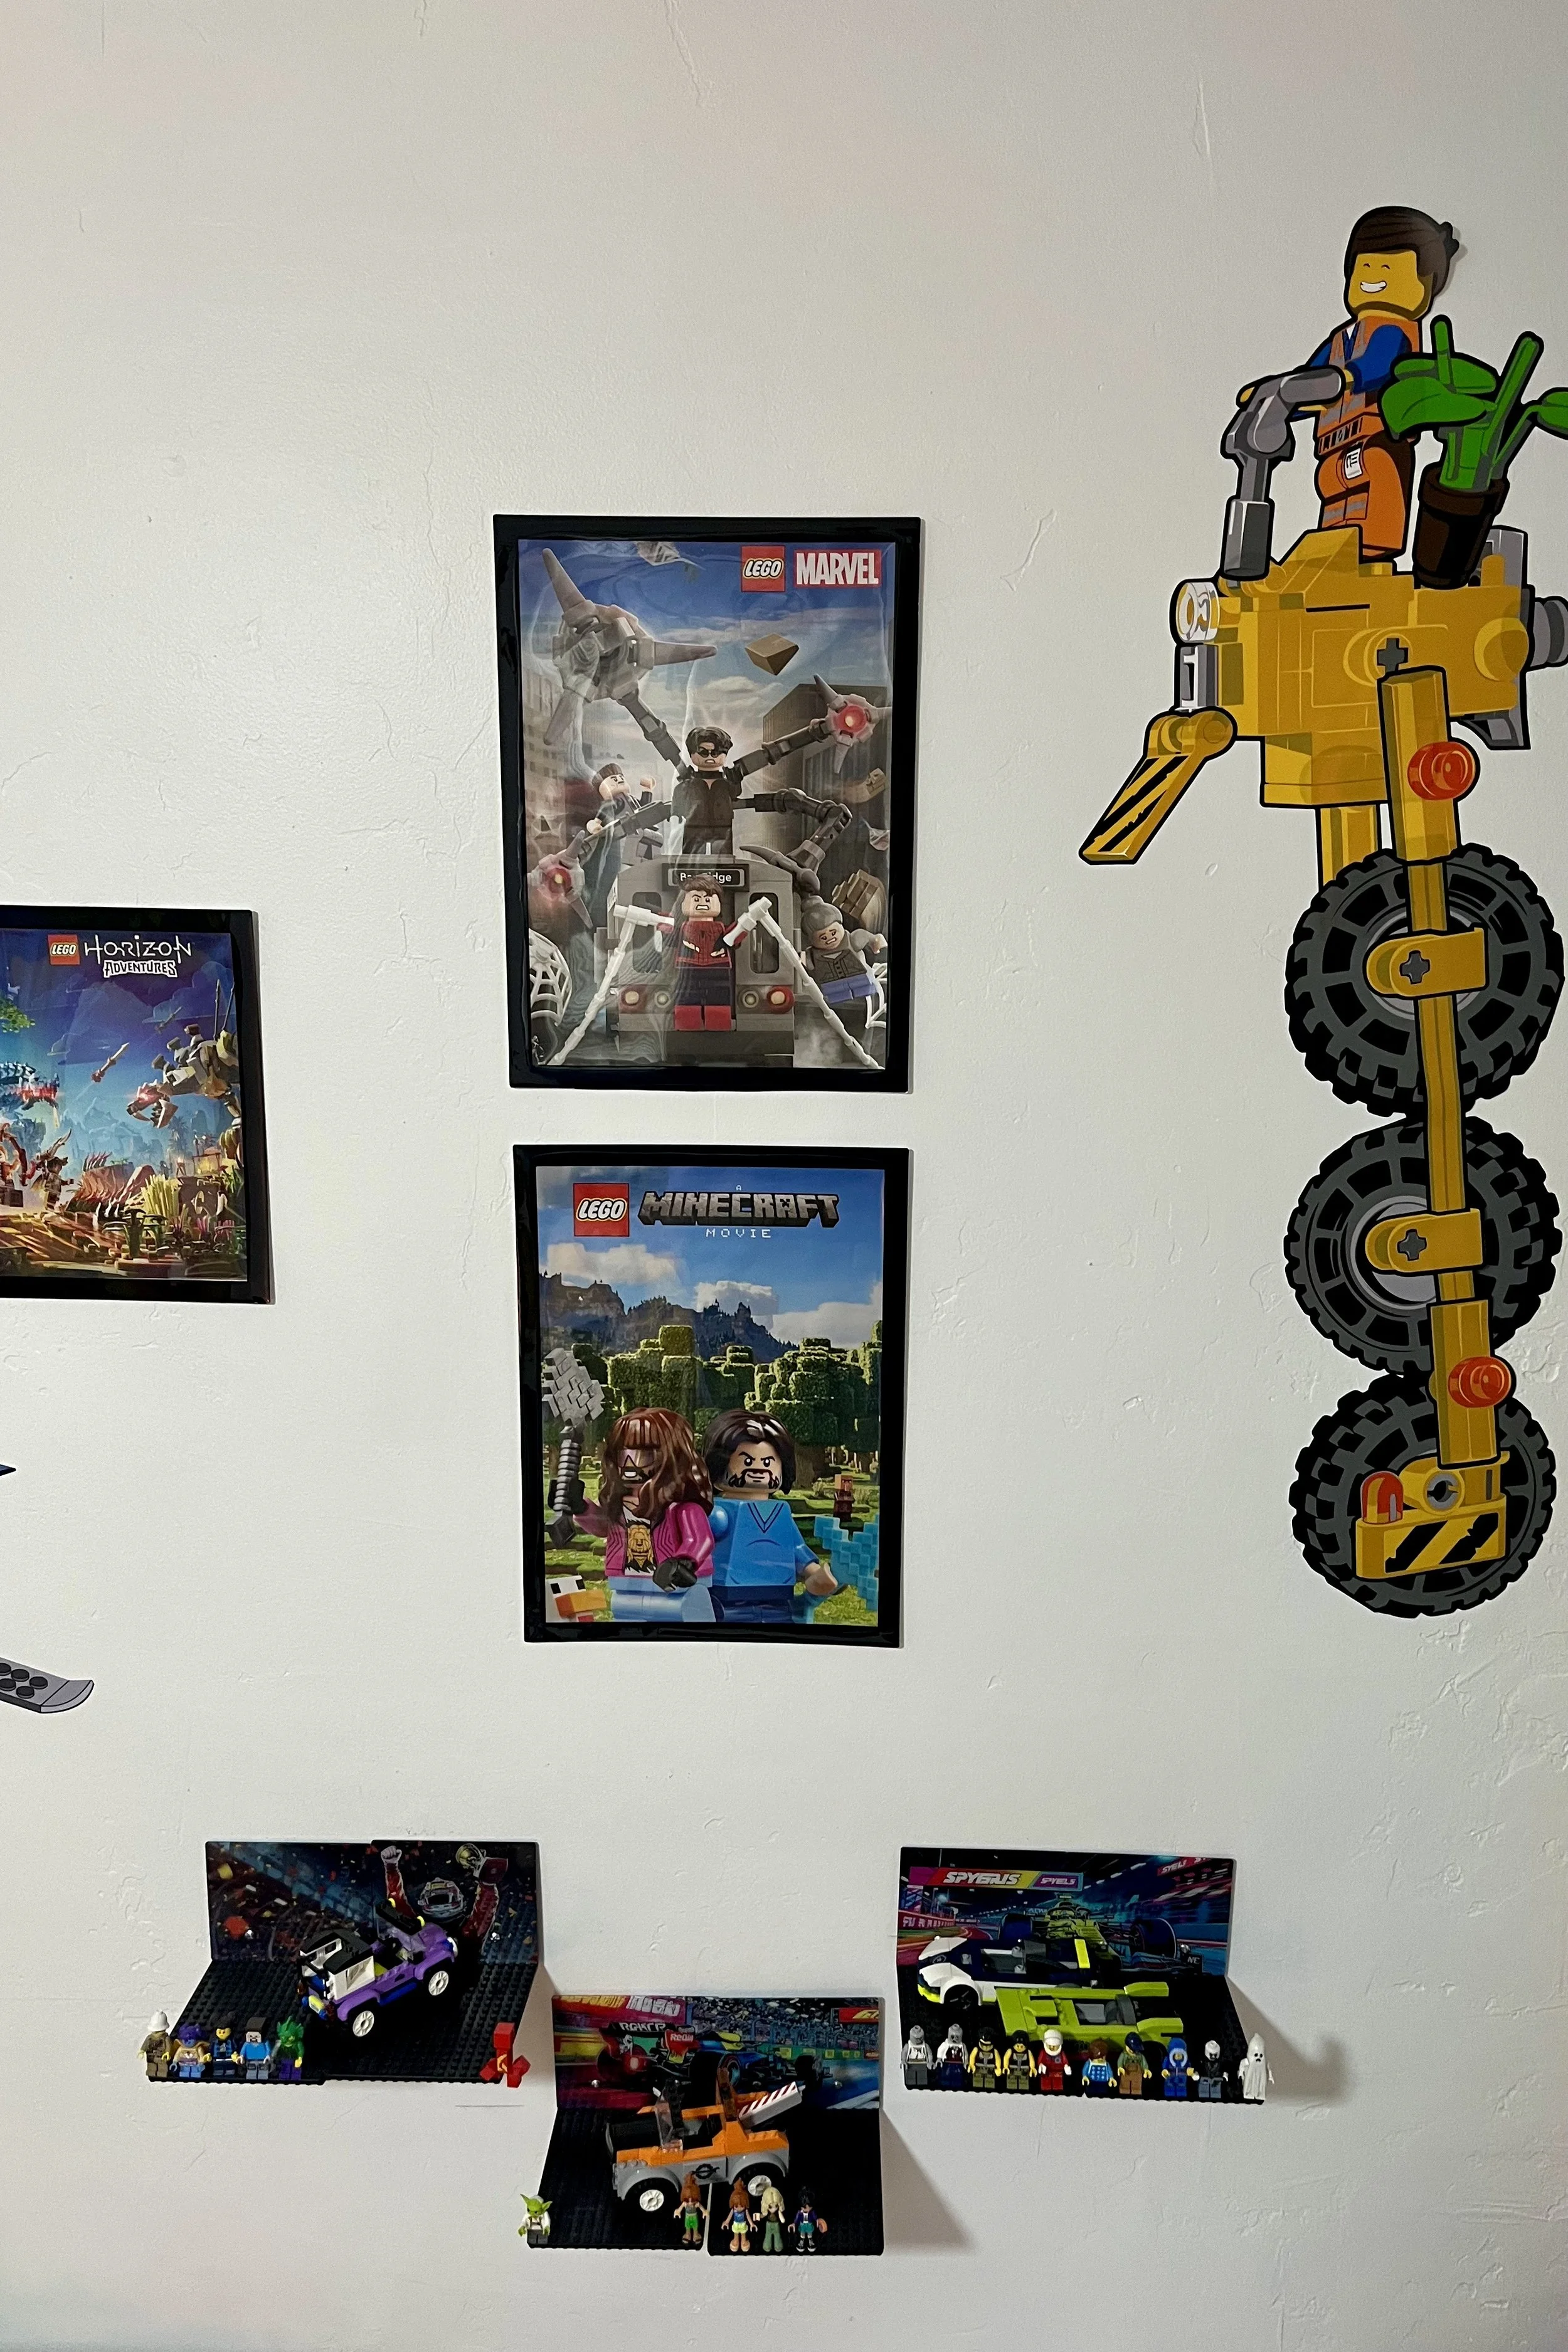
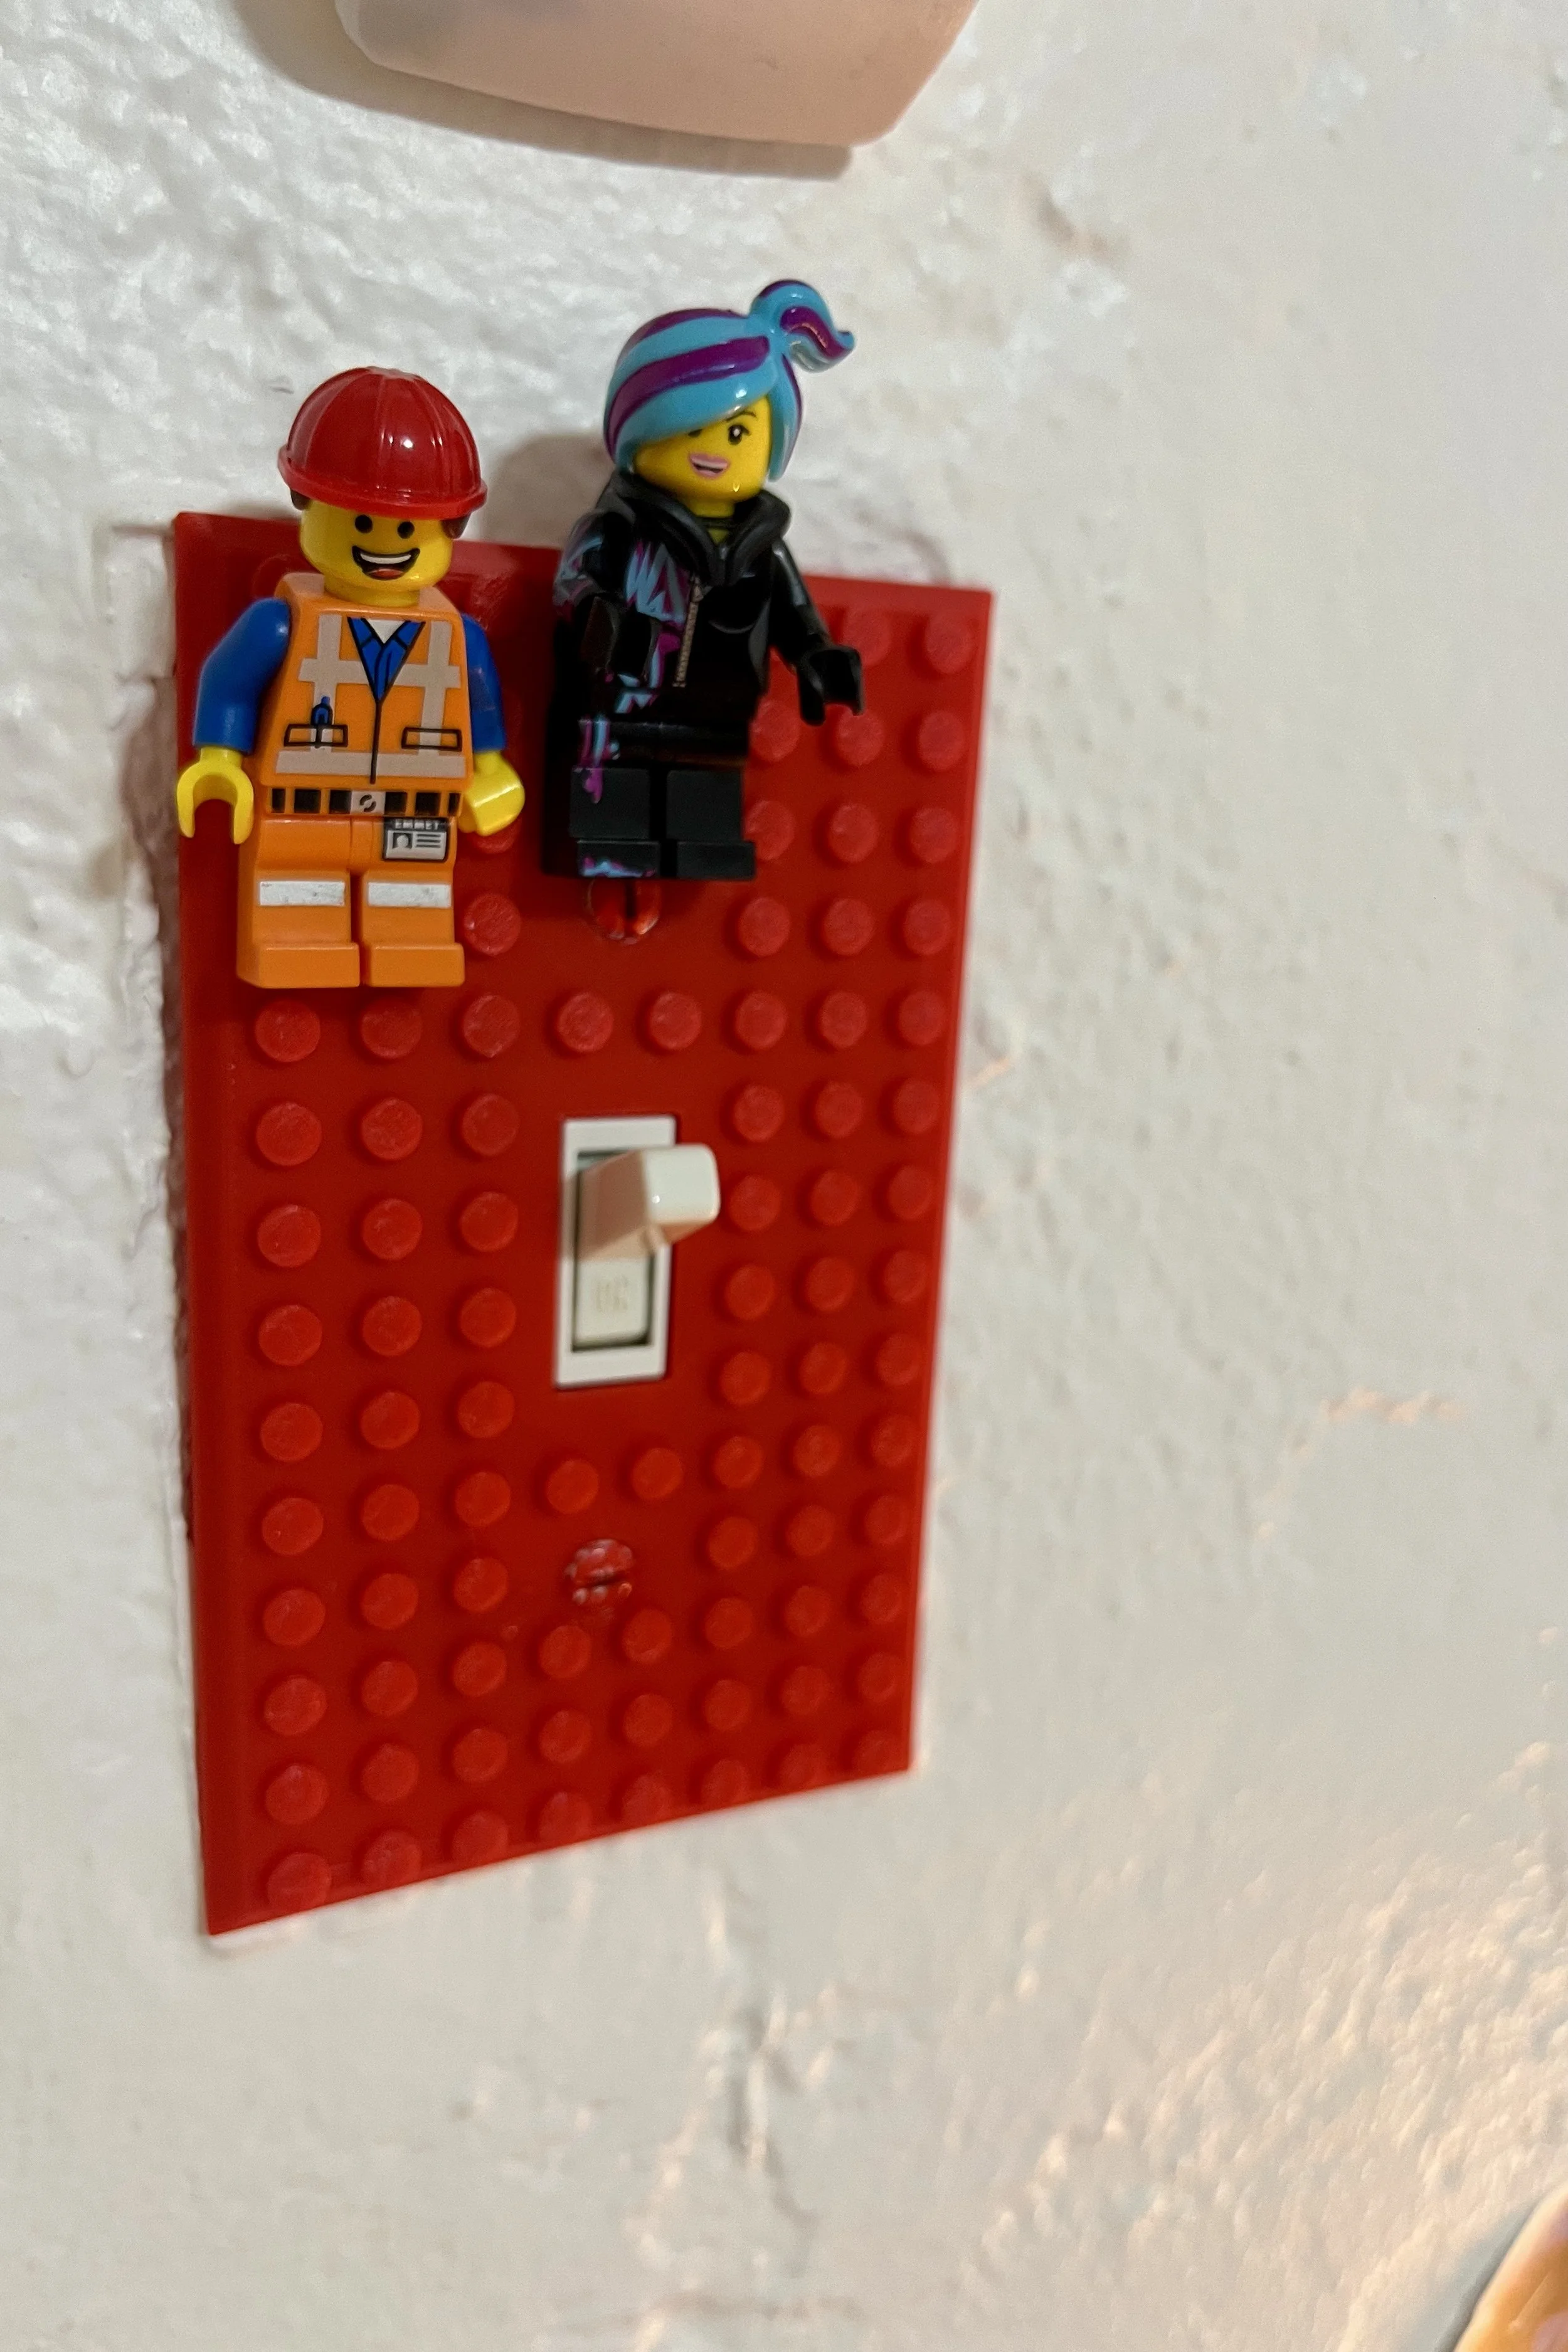
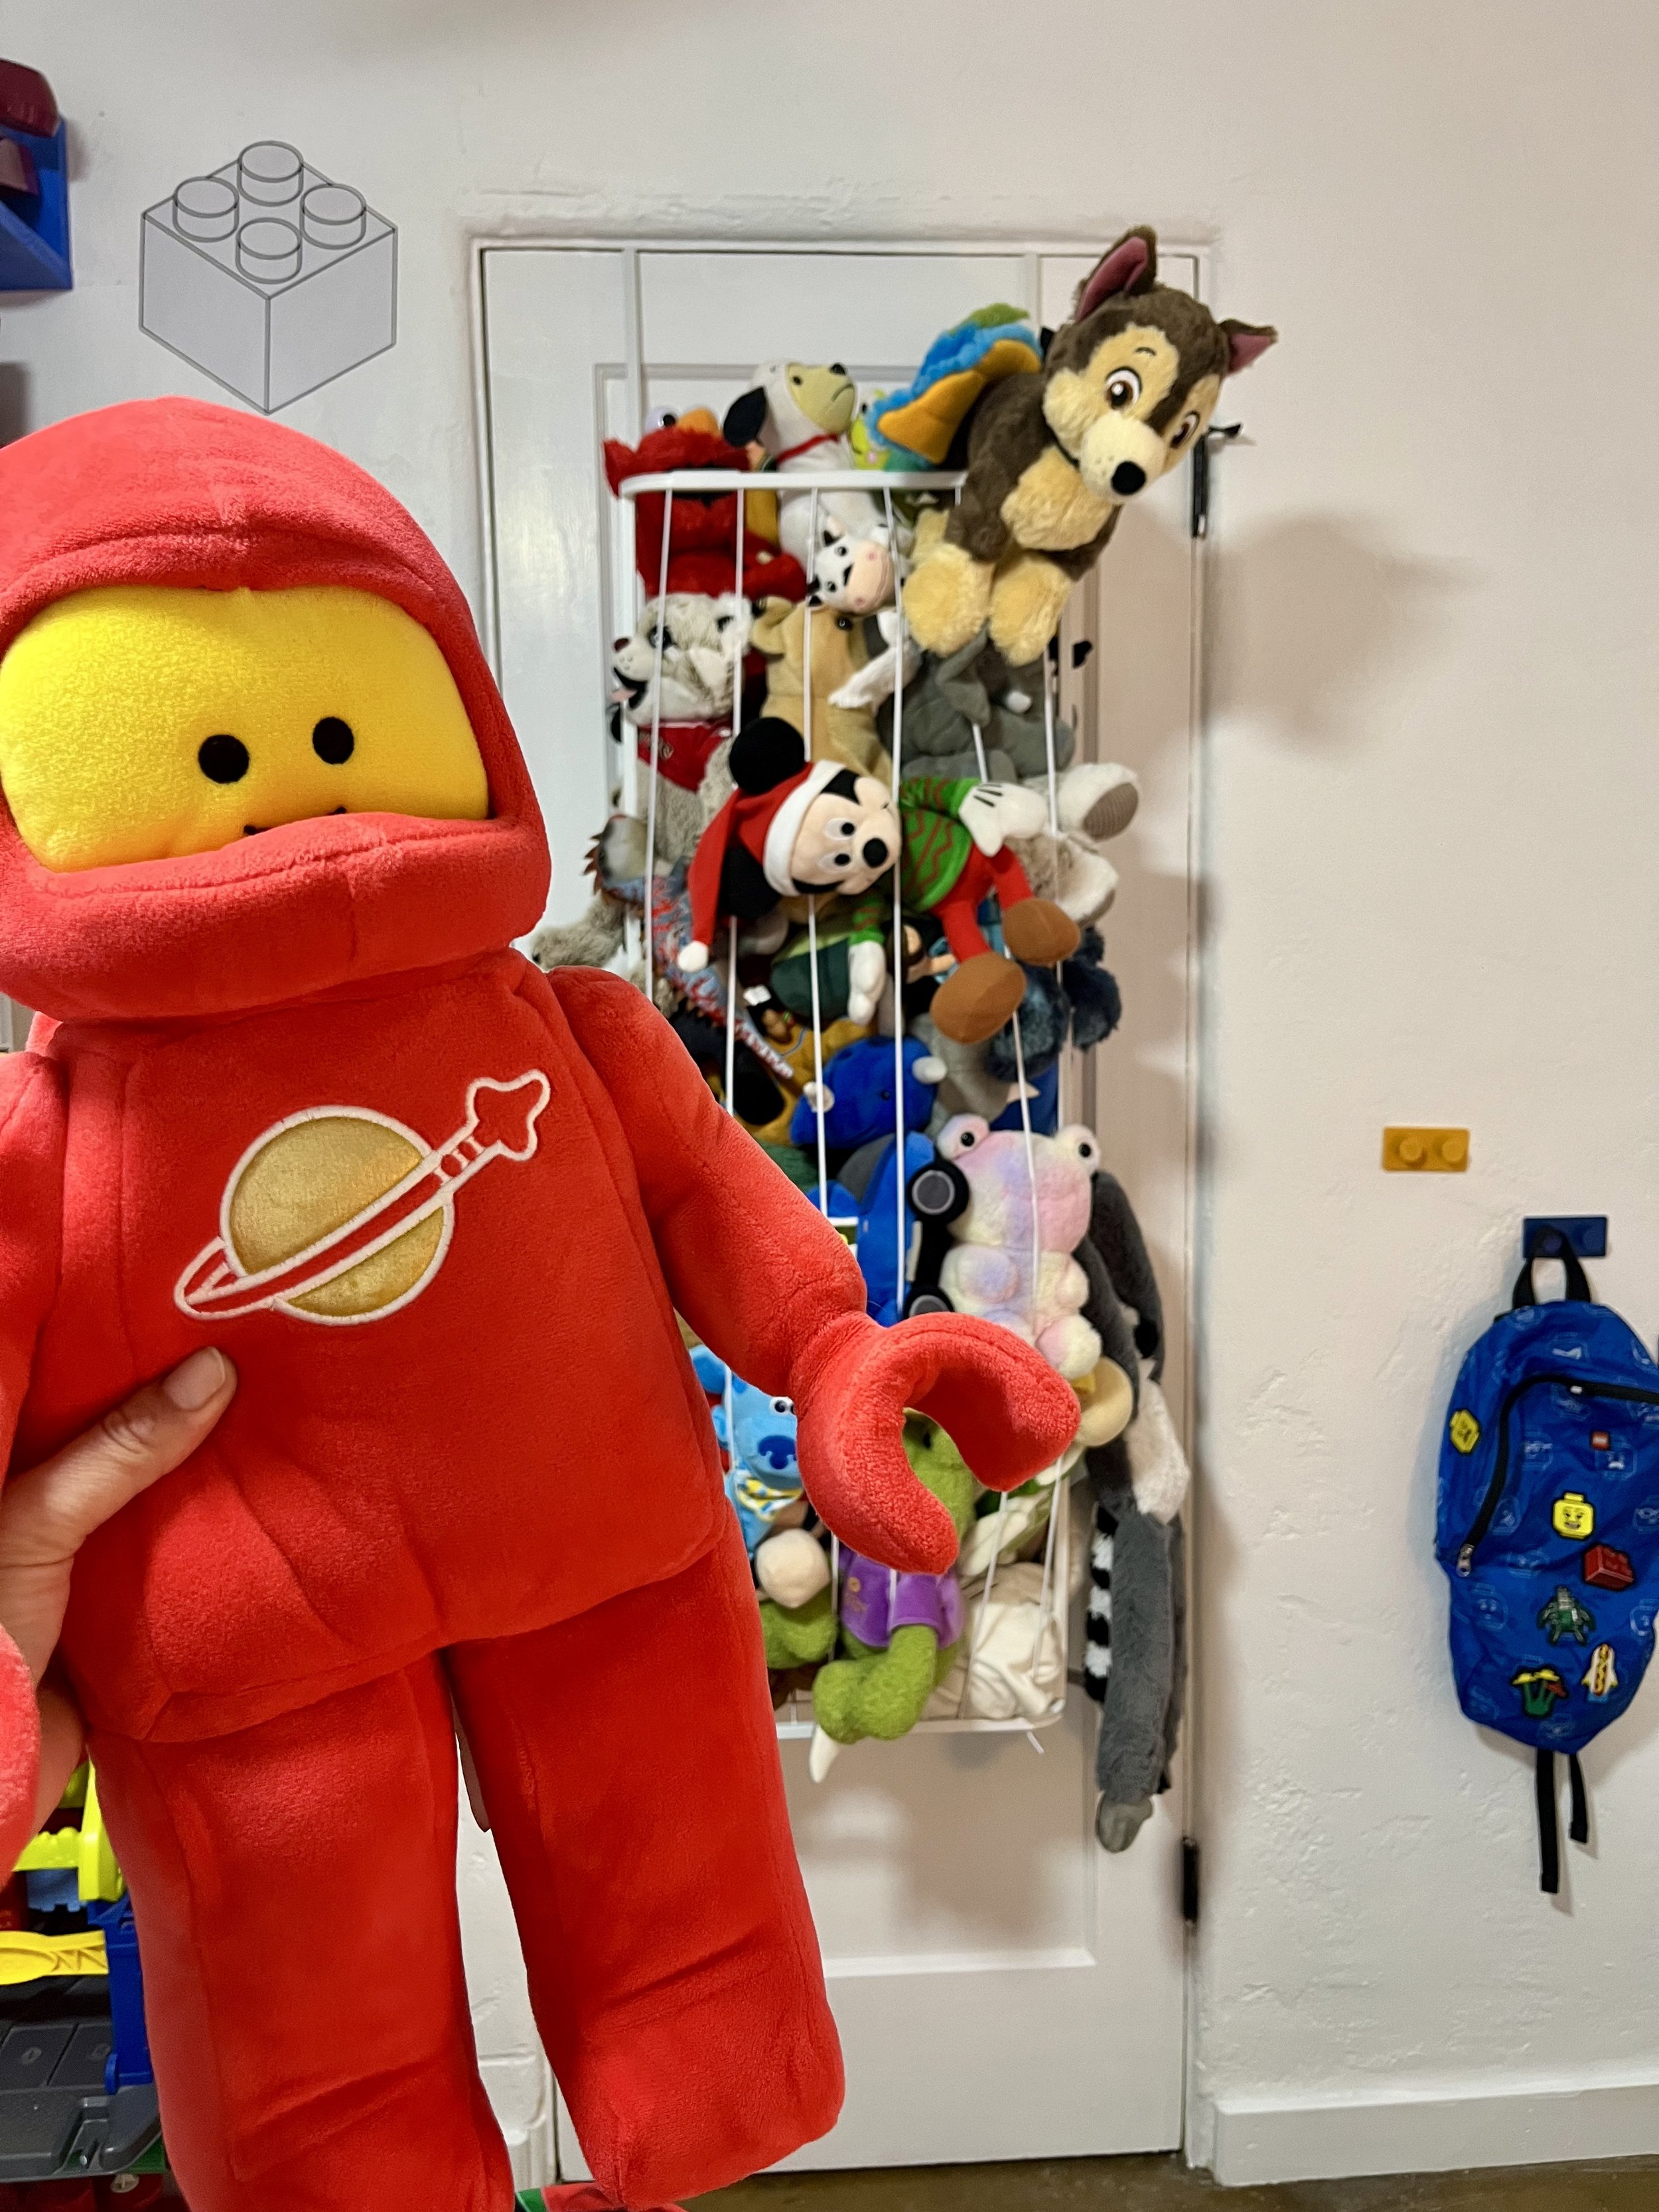
Etsy- I know, its a WIN! We ordered LEGO Vinyl wall stickers and the quality was incredible. Also, after a fail from an amazon order I had to resort to Etsy for a wall light switch and after its as installed it was touch the room needed.


I won’t sugarcoat it—there were moments.

Packages showing up daily.

Me asking, “Wait… this is eight shelves?”
The bed delay.

That 2 am night where I cried and said “I wish I had done a party instead.”
That awkward almost-finished stage where nothing feels done.

But once everything came together, it clicked. The room feels creative, functional, and full of personality. A space where he can build, imagine, rest, and feel proud of what he creates. He wont leave!

Now, I’m in my lego era too!

XoXo

Britt

 
Atlas Lego Room-1.jpeg
Atlas Lego Room-2.jpeg
Atlas Lego Room-3.jpeg
Atlas Lego Room-4.jpeg
IMG_2595.PNG
IMG_2632.jpg
IMG_2635.jpeg
IMG_2701.jpeg
IMG_2702.jpeg
IMG_2704.jpeg
IMG_2705.jpeg
IMG_2706.jpeg
IMG_2707.jpeg
IMG_2708.jpeg
IMG_2709.jpeg
IMG_2710.jpeg
IMG_2711.jpeg
IMG_2713.jpeg
IMG_2714.jpeg
IMG_2715.jpeg
IMG_2716.jpeg
IMG_2721.jpeg
IMG_2722.jpeg
IMG_2723.jpeg
IMG_2724.jpeg
IMG_2725.jpeg
In Personal Tags lego, Room, Boy, boy, baby boy, boy room, Lego Room, DIY, DIY project, Redesign
Comment

BUILT IN LIBRARY WALL

February 18, 2023 Britt Johnson
 

This has been one of the most involved projects we've worked on. Over 5 years in the concept, 1 year in the design and sourcing for 1 day install…Totally worth it! The built in library wall of my dreams!


The library consists or 2 large cabinet bases, two 3 tier bookshelf tops, and a bench nook overtop storage drawers to bring it together. The room originally had the Home Depot track shelving. Six of them. After dreaming of a built in and several trips to Ikea later, we sketched up the design. Then life happened.


A year went by and no time was found between 2 full time jobs + podcast + toddler + life ?!? Okay lets be smart about opportunity costs. Using our amazing podcast guest referrals of someone who knew someone who knew someone, Debbie, from Closets by Design was at our house.


Although the install was to be 4 months in the future, it too passed quickly. After a quick couple hours and an amazing team of installers, we have the bookshelves of our dreams. Lets just say organizing it was enough work. Over 400 books with a toddler was an activity in itself.


It is my new favorite space, I am sure you can see why. Come on over and enjoy it with us!

XoXo
Britt

 
IMG_9465.jpeg
IMG_2159.jpeg
IMG_2175.jpeg
Libraryshelf-2.jpg
Libraryshelf-1.jpg
In Home Tags DIY, Build, Custom Build, book, bookshelf, sketch up, historic, downtown, phoenix, Phoenix AZ, Phoenix, arizona, Arizona, builder, DIY project, closets, design, Interior Design, closet design, built in
Comment

DIY FOLD IN HALF WALL

November 6, 2022 Britt Johnson
 

Event backdrops you can make! Yes, that’s right! I have the recipe for the pop up walls you’ve been saving on instagram. It folds in half with a hinge, fits in most cars and is lightweight for 1 to carry! Let's get to building.


This makes 1 wall.

If you want to make a shape, slant, or curve thats on you.

How you decorate your walls is endless.

Add pegs, shelves, vinyl, paint, material, etc. 


Materials:

11/32 in. or 3/8 in. x 4 ft. x 8 ft. BC Sanded Pine Plywood

11/32 in. or 3/8 in. x 2 ft. x 4 ft.

1 in. x 3 in. x 8 ft. 

1 in. x 5 in. x 8 ft.

1 in. x 1 in. x 36 in. Pine Square Dowel

3-1/2 in. Satin Nickel 5/8 in. Radius Smooth Action Door Hinges (Five)

Wood Glue 

¾- 1 ¾ wood screws 

Sandbag

Sand

Directions:

  • Cut 4x8 into two 4x3

These are your walls- top + bottom


  • Cut 11/32 in. or 3/8 in. x 2 ft. x 4 ft. into 

Two 1’6” x 2’6” triangles for legs

2-3 inches from the base of the triangle notch out a slit for the leg connector

One 3’ 2.5” x 3” for sandbag leg connector

Two 6” x 6” squares for slat holder


  • Cut 1 in. x 3 in. x 8 ft. into 4” strips Need 6 

One on top half of cut boards, one on bottom half of cut (left, right and center)

Mark and Pre drill your door hinges make sure your screws go through your wood but not the wall, if it does you will have to grind down. Repeat three times.


  • Cut 1x1 into four 6” and two 4” for the slat holders

Glue them in a u shape on top of the the 6”x6” cuts Need 2

Pre drill and screw center of your hinges on the bottom half right at the fold


  • Cut 1 in. x 5 in. x 4 ft. into 1.5 foot flats (sand these down for tight fit)

  • Align your legs at the bottom of the wall half

Mark and Pre drill your door hinges to make sure your screws go through your wood but not the wall, if it does you will have to grind down. Repeat other leg.


  • Fill sand bag will sand and place on center of 3’ 2.5” x 3” for weighted balance.

Thank you to The Know Women for Giving me the creative space to make thesee beauties.

Thank you to my dad for home depot pop talks.

Thank you to my hubby for the CAD work + love.

If you want to catch the vlog to the wall (BONUS: it’s loaded with Atlas cuteness) it’s here:

 
IMG_9071.jpeg
IMG_9083.jpeg
Screenshot 2022-11-06 at 1.19.47 PM.png
Screenshot 2022-11-06 at 1.20.42 PM.png
Screenshot 2022-11-06 at 1.21.02 PM.png
Screenshot 2022-11-06 at 1.21.17 PM.png
Screenshot 2022-11-06 at 1.21.27 PM.png
IMG_9079.jpg
In Personal Tags DIY, Construction, Build, Custom, Wall, Event, Decor
5 Comments

MISSION CLOSET REORGANIZATION

October 8, 2020 Britt Johnson
IMG_2586.jpeg
 

They say one of the keys to a successful marriage is not sharing a closet- well we went 1 year following that rule, but now with the nursery taking over, my closet room, I am learning to share. Wish us luck as we come up on our first year wedding anniversary.


Jose was blessed with a walk in closet since we moved into the house and took to sharing very nicely. Our key elements going into the reorganization are we wanted to stay organized, size down and make sure it was esthetically pleasing. After a few weekends of work and binging the entire season of Get Organized with the Home Edit on Netflix we now have a success husband and wife closet. Here are a few tricks we followed to smooth out the process. Whether you are sharing or not here is how to live your best closet life.


1.       Eliminate- Whether you follow Marie Kondo’s “does it spark Joy?” rule or not, we went through our entire closet and asked ourselves: When is the last time you wore it? Does it fit? Is it practical? As a new mom I need to make sure I am updating my wardrobe getting rid of the trendy sweaters and graphic T’s and making full use of a wardrobe I can wear. After compiling several boxes and trash bags of donations we were able to eliminate quite a bit.


2.       Categorize- Once we had what we were keeping, we started organizing by style- shirts with shirts, pants with pants, jackets with jackets, etc. Even accessories matter too- hats, belts, shoes. It not only makes it easier to find things but also organizes for seasonal wear and an added plus, it is esthetically pleasing.


3.       Make it look good- If your closet looks good, it is a place you will enjoy being in; picking out something to wear or folding laundry wont feel like a chore when it is a place that bring you happiness. You don’t have to break the bank by hiring a third party closet organization company- instead #DIY. Two biggest tips are matching hangers and bins. The velvet hangers fit more and look great, we picked ours up from Costco, but Amazon has a great deal too, check it out here. Storage bins allow you to not have the perfect fold or throw things you don’t normally fold in like socks or ties. We picked up these from Walmart- V budget friendly.


Hope this brings some inspiration to your closet. I would love to see some before and afters in your house. As we prepare the baby room, these tips will definitely carryover and we hope to continue to keep the peace in our shared closet.

XoXo

Britt


IMG_2534.jpeg
IMG_2535.jpeg
IMG_2532.jpeg
IMG_2574.jpeg
IMG_2531.jpeg
IMG_2575.jpeg
IMG_2530.jpeg
IMG_2577.jpeg
IMG_2529.jpeg
IMG_2576.jpeg
IMG_2528.jpeg
IMG_2580.jpeg
In Home Tags Personal, Closet, Organization, Reorganization, Marie Kondo, The Home Edit, Closet Organization, DIY, Home
Comment

BUILD A WALL

May 9, 2019 Britt Johnson
IMG_4375.jpg
 

Britt the Builder here! I earned the right to call myself this! I finally finished my wall! What started from a pinterest inspo, like most, turned into an amazing, one of a kind, art wall installation. We are in the thick of Finding AZ Engagement and we are putting some serious work in our backyard for the big day. One of the biggest projects I was excited to take on was a feature wall. Repurposed. Herringbone. DIY. These are all big buzz words I was ready to take head on and now that it’s over I can share, my blood, sweat and tears.

 
THIS is the exact screen shot I took scrolling through the gram one night! If you’re not following Young House Love you need to. Great book, podcast, page & people!

THIS is the exact screen shot I took scrolling through the gram one night! If you’re not following Young House Love you need to. Great book, podcast, page & people!


I had 2 major focuses for this project: The Budget and a Custom Design. First, I wanted to use all 100% repurposed wood! I started breaking apart pallets back in February using ones from work with our weekly shipments, then I would cruise the backside of Lowes for minis I could fit in my car. Towards the end of the March I found a craigslist post for a junkyard giving away pallets, but by the final weekend in April, I was pulling old fence posts from our pool pump station. Crowbarring wood from pallets may look easy. I YouTubed how to do it and the Salvage Sister didn’t even break a sweat. Let me tell you this is where most of the blood, sweat and tears came from. I used over 150 pieces of raw pallet boards.


Next, came the custom cuts. Using a Ryobi Hand Saw for the first time was an experience. Mostly because I am left handed. I mean, if you are right handed try using ANY power tool backwards! It is like relearning muscle memory. I sliced each board 3 inches wide (not knowing about standard / mill sizes) and then 30 inches long. After my first 7 boards my arms were tired. I have never worked out like this before. This process took the longest. From setting up and clamping each board, to measuring twice and cutting once. Once I ran out of boards and thought to purchase some at a local home improvement store. I was taken back because each 1 x 3 measure 1 x 2.5! So back to custom cutting! What felt like years late, I was ready to start nailing.

 
IMG_3488.jpg
IMG_3474.jpg
IMG_3465.jpg
IMG_3492.jpg
 

I watched video after video of installing a herringbone wall and it looked so easy. Some were using peel and stick, others had pre-measured boards, but none using repurposed pallet wood and custom slices. But, they all had one thing in common. Start from the middle. I measured my exact center. T squared it off and then used my protractor to find that 45 degree angle. Once the first board was up, it was just plug, level, and play. I used a powerful nail gun with air compressor. The only type for the job because my electrical one didn’t have nearly enough power! A time lapse and a few jumps in the pool later, the easy part was done.

 
IMG_3829.jpg
57807825249__3E449E51-F559-481F-9F1C-4D248043F04B.jpg
 

Thankfully, my father showed up unexpected and unannounced from San Diego that evening and little did he know I was putting him to work on the wall the very next day! Custom sizing and recutting the outer edges came next. We had to place the board in the right puzzle place then measure twice where to make the cut. Using our Ryobi MIter Saw get the perfect 45 degree angle and make the cut. Literally every board is custom cut, some even twice. This overall took 3 days to get all the pieces up!

 
IMG_4299.jpg
IMG_4251.jpg
IMG_4301.jpg
 

After the wall was up, I took our Ryobi electric belt sander to the wall to smooth out any splinters and prep the wood for paint. I chose 3 colors based on our home shades, wedding pallet, and inspo from the photo. The cream was from the “Oops” section of Home Depot. If you don’t know about this section anytime a paint color is mixed and rejected or returned unopened it immediately goes on sale and is set in a clearance section right near the pain counter. This gallon was originally was $35 and I got it for $13.98. The perfect color match too! To simplify the paint project I primed the entire wall with this color to start. Two solid coats, then I could begin taping for the next color. “Rockspring Green,” from Glidden was the name of the next color. I taped off every 3rd board, following the design from the photo and began applying. After the green came “Almost Pink,” another Glidden color. I purchased quart amounts for these two colors and paid the same amount for each quart as I did for my gallon. I also trusted my hand and my paint brush to apply the pink free handedly. No tape, no more patience. The pink is not as pink as I would have liked, but too pink would have been too much!

 
IMG_4362.jpg
IMG_4364.jpg
IMG_4365.jpg
IMG_4368.jpg
 

Now we get to admire it, and when I step back and look at my work of art I cannot help but smile. I created it! From vision to conception. I feel like I can take on any project now. Would I create another custom herringbone wall? Yes! So if you’re in the market, hire me!

XoXo

Britt the Builder

 
IMG_4300.jpg
IMG_4306.jpg
IMG_4367.jpg
In Home Tags homeowner, Home Rennovations, Home Makeover, Herringbone, DIY, Custom Build, Photo Wall
Comment

COPYRIGHT © 2025 FINDING ARIZONA PODCAST | ALL RIGHTS RESERVED | PRIVACY POLICY