Britt the Builder here! I earned the right to call myself this! I finally finished my wall! What started from a pinterest inspo, like most, turned into an amazing, one of a kind, art wall installation. We are in the thick of Finding AZ Engagement and we are putting some serious work in our backyard for the big day. One of the biggest projects I was excited to take on was a feature wall. Repurposed. Herringbone. DIY. These are all big buzz words I was ready to take head on and now that it’s over I can share, my blood, sweat and tears.
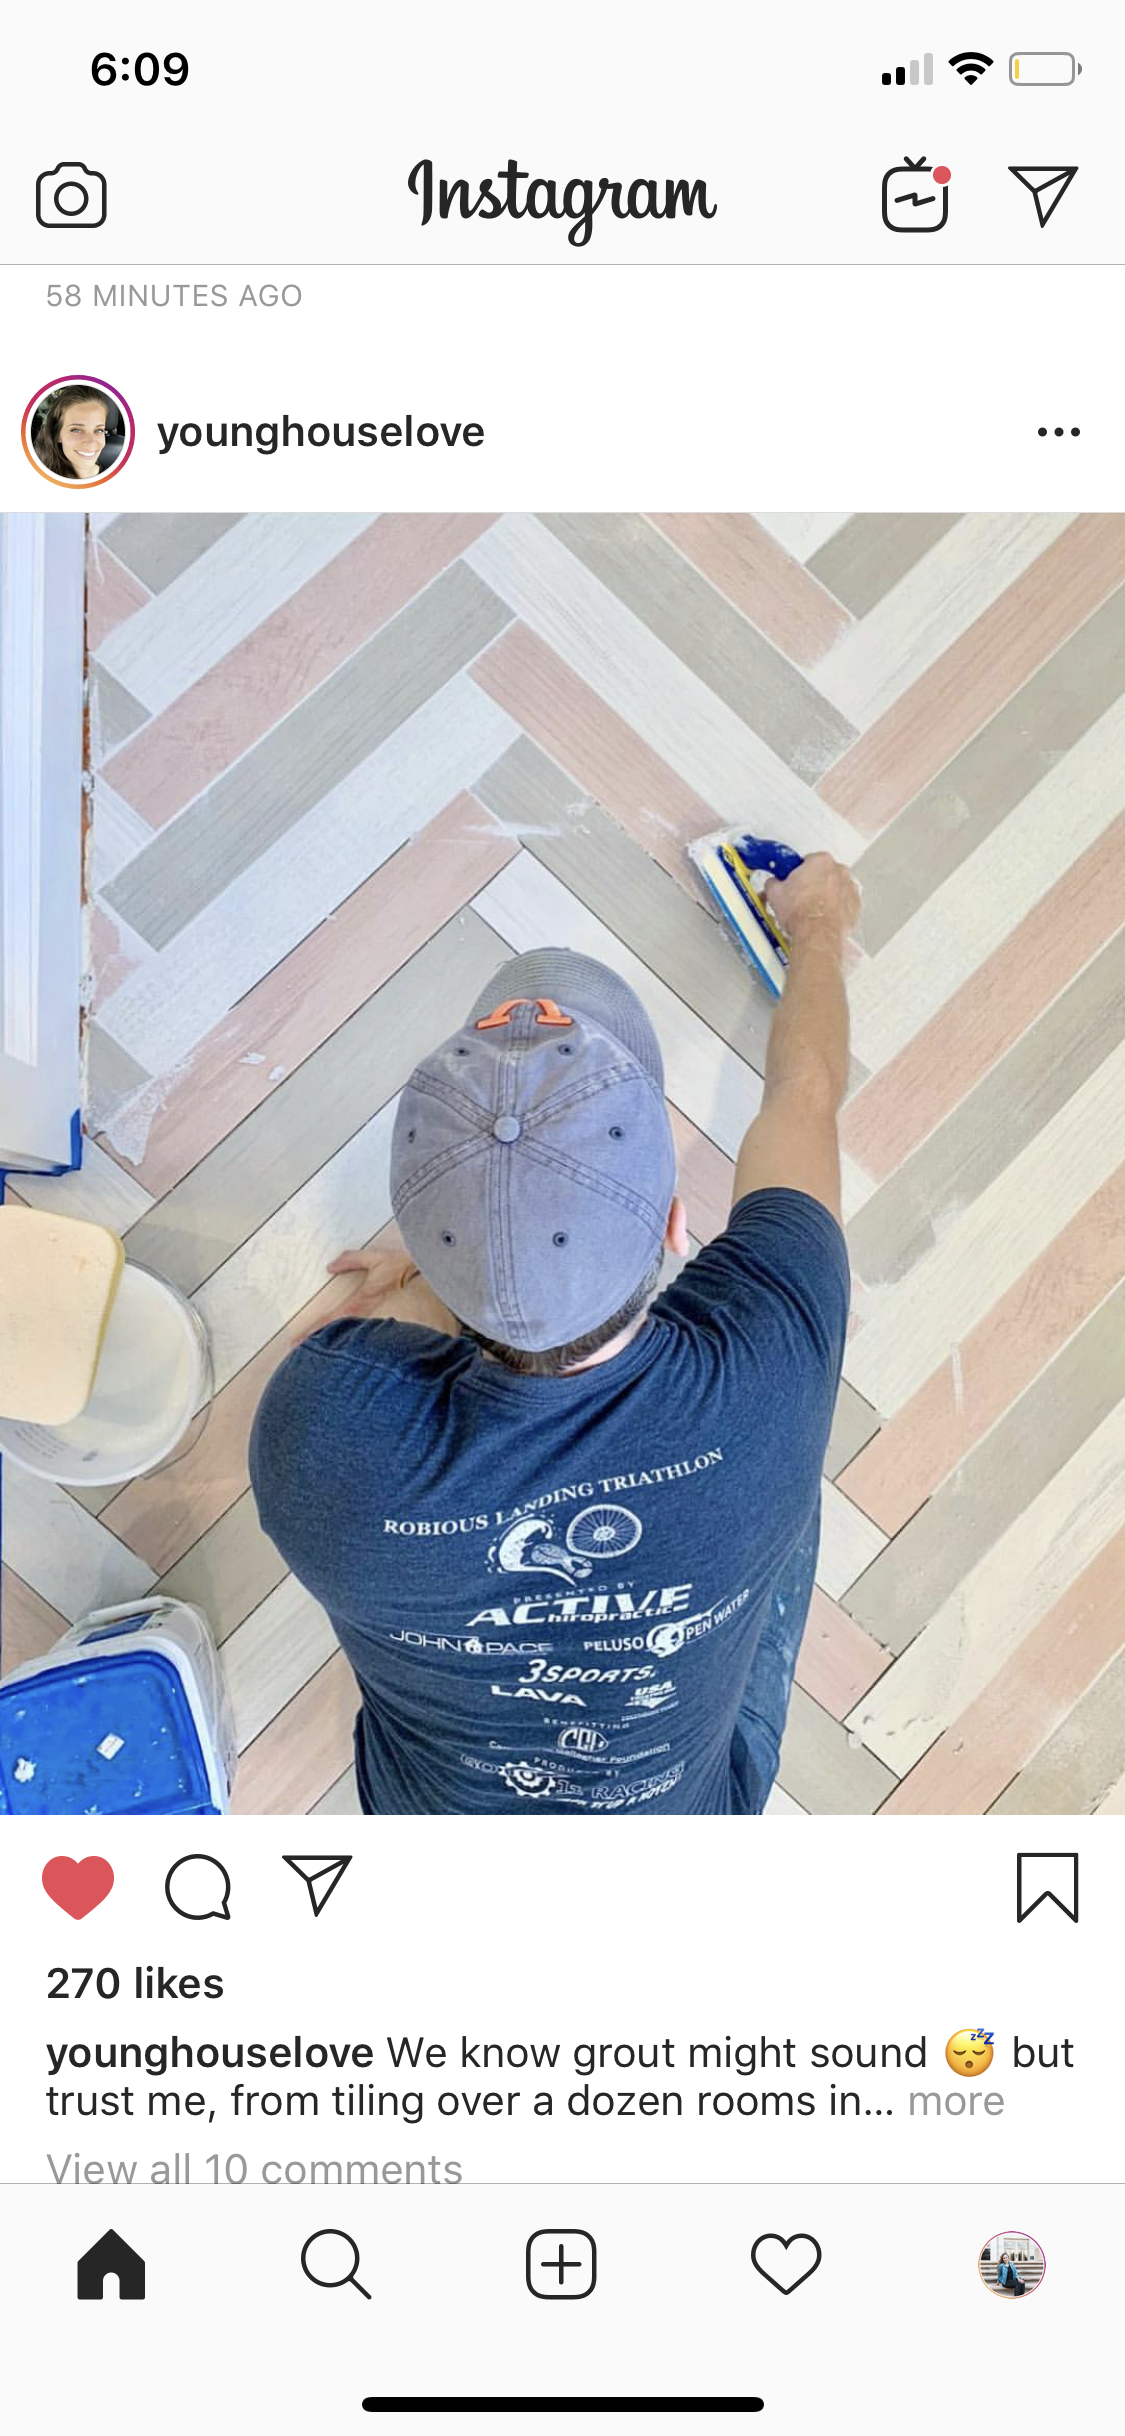
THIS is the exact screen shot I took scrolling through the gram one night! If you’re not following Young House Love you need to. Great book, podcast, page & people!
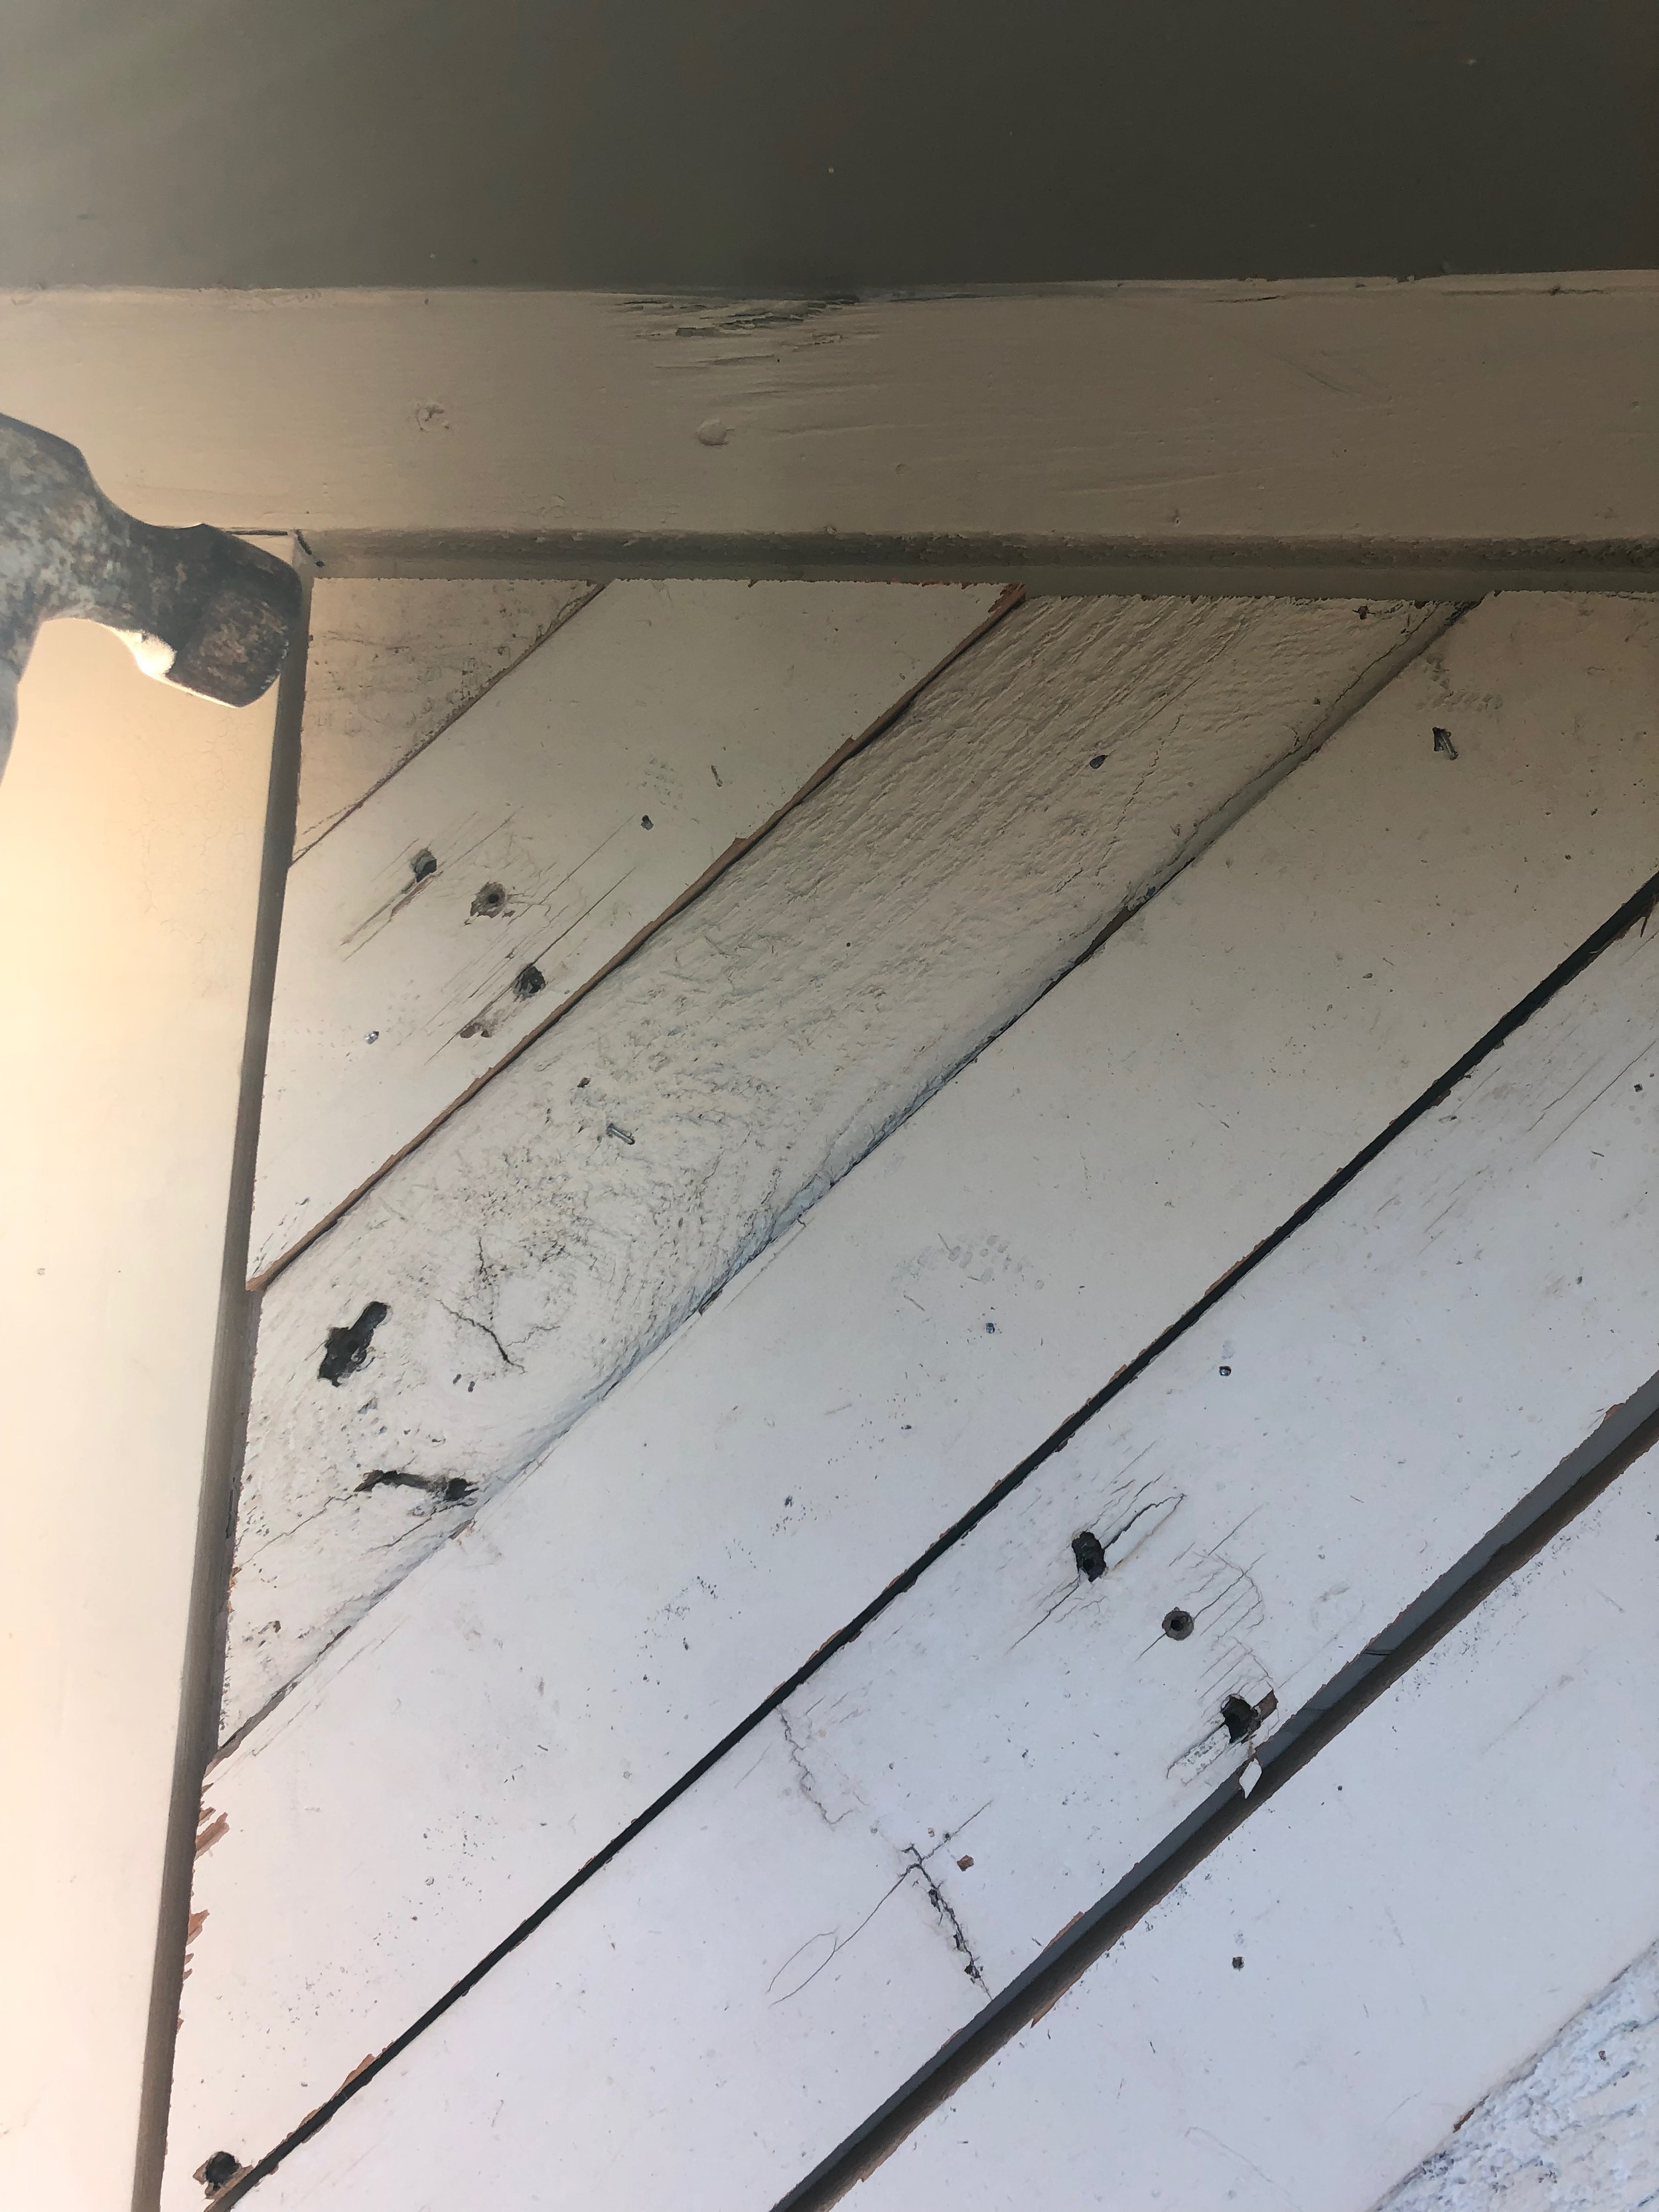
I had 2 major focuses for this project: The Budget and a Custom Design. First, I wanted to use all 100% repurposed wood! I started breaking apart pallets back in February using ones from work with our weekly shipments, then I would cruise the backside of Lowes for minis I could fit in my car. Towards the end of the March I found a craigslist post for a junkyard giving away pallets, but by the final weekend in April, I was pulling old fence posts from our pool pump station. Crowbarring wood from pallets may look easy. I YouTubed how to do it and the Salvage Sister didn’t even break a sweat. Let me tell you this is where most of the blood, sweat and tears came from. I used over 150 pieces of raw pallet boards.
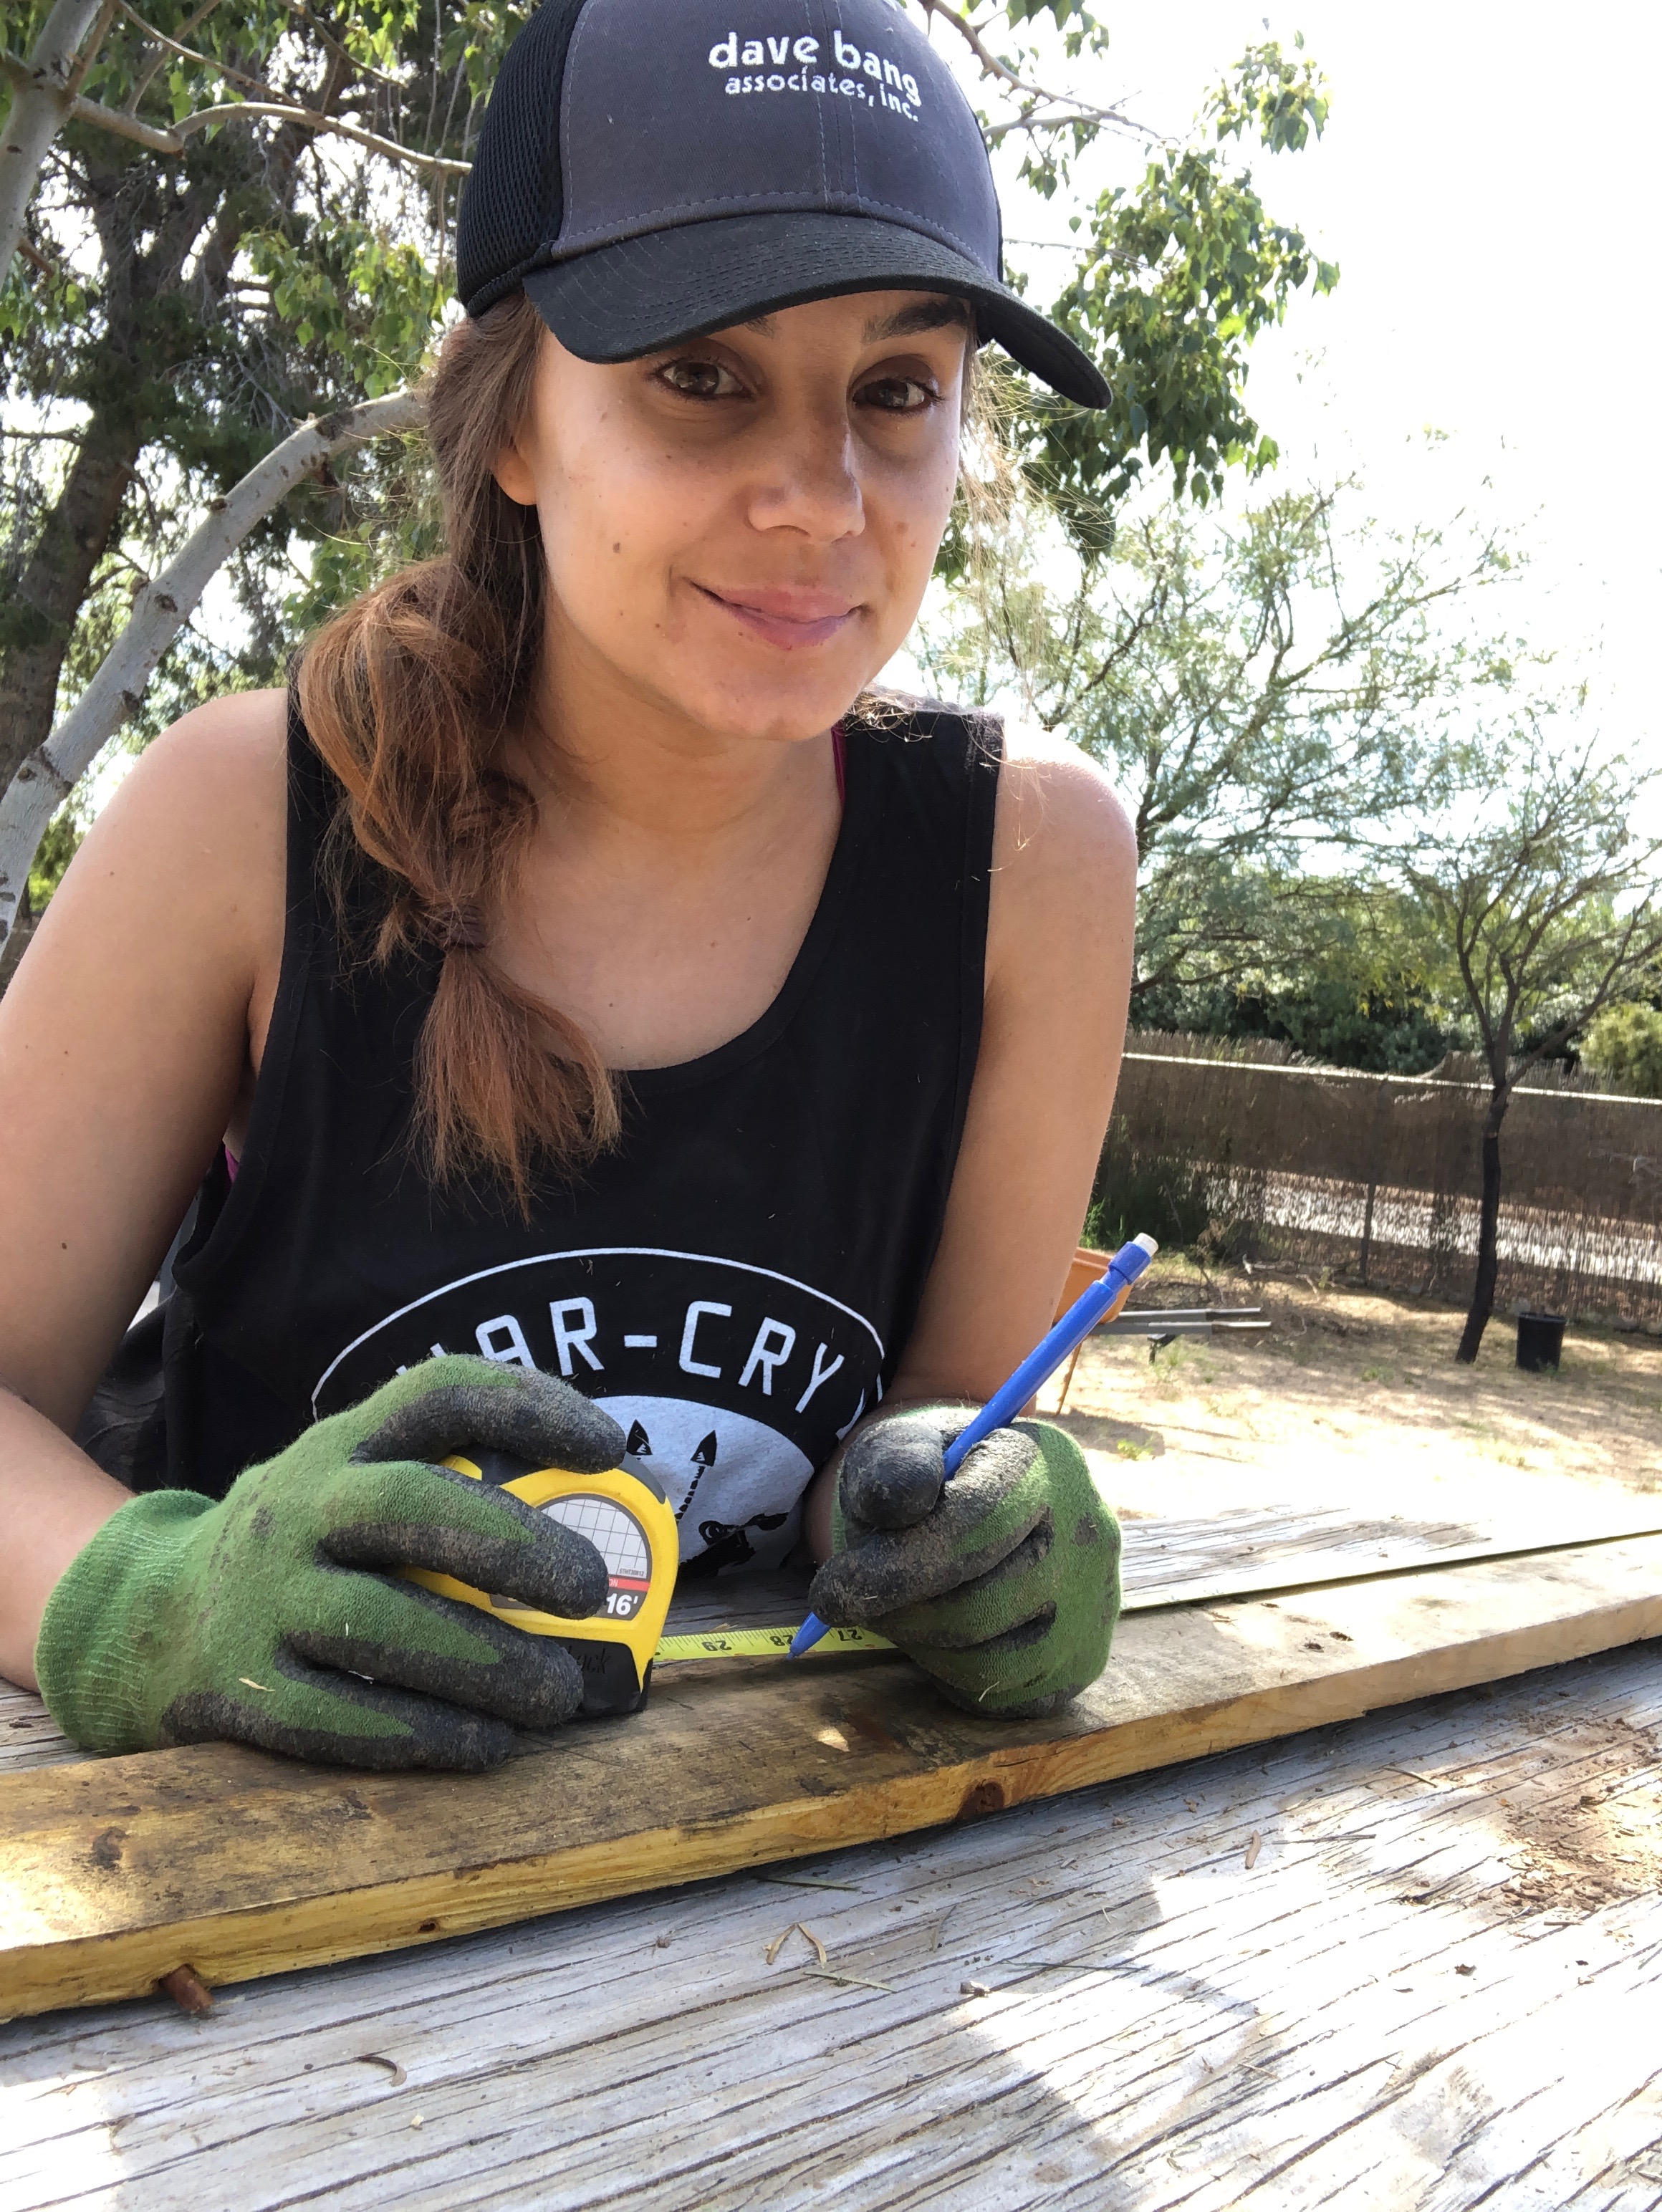
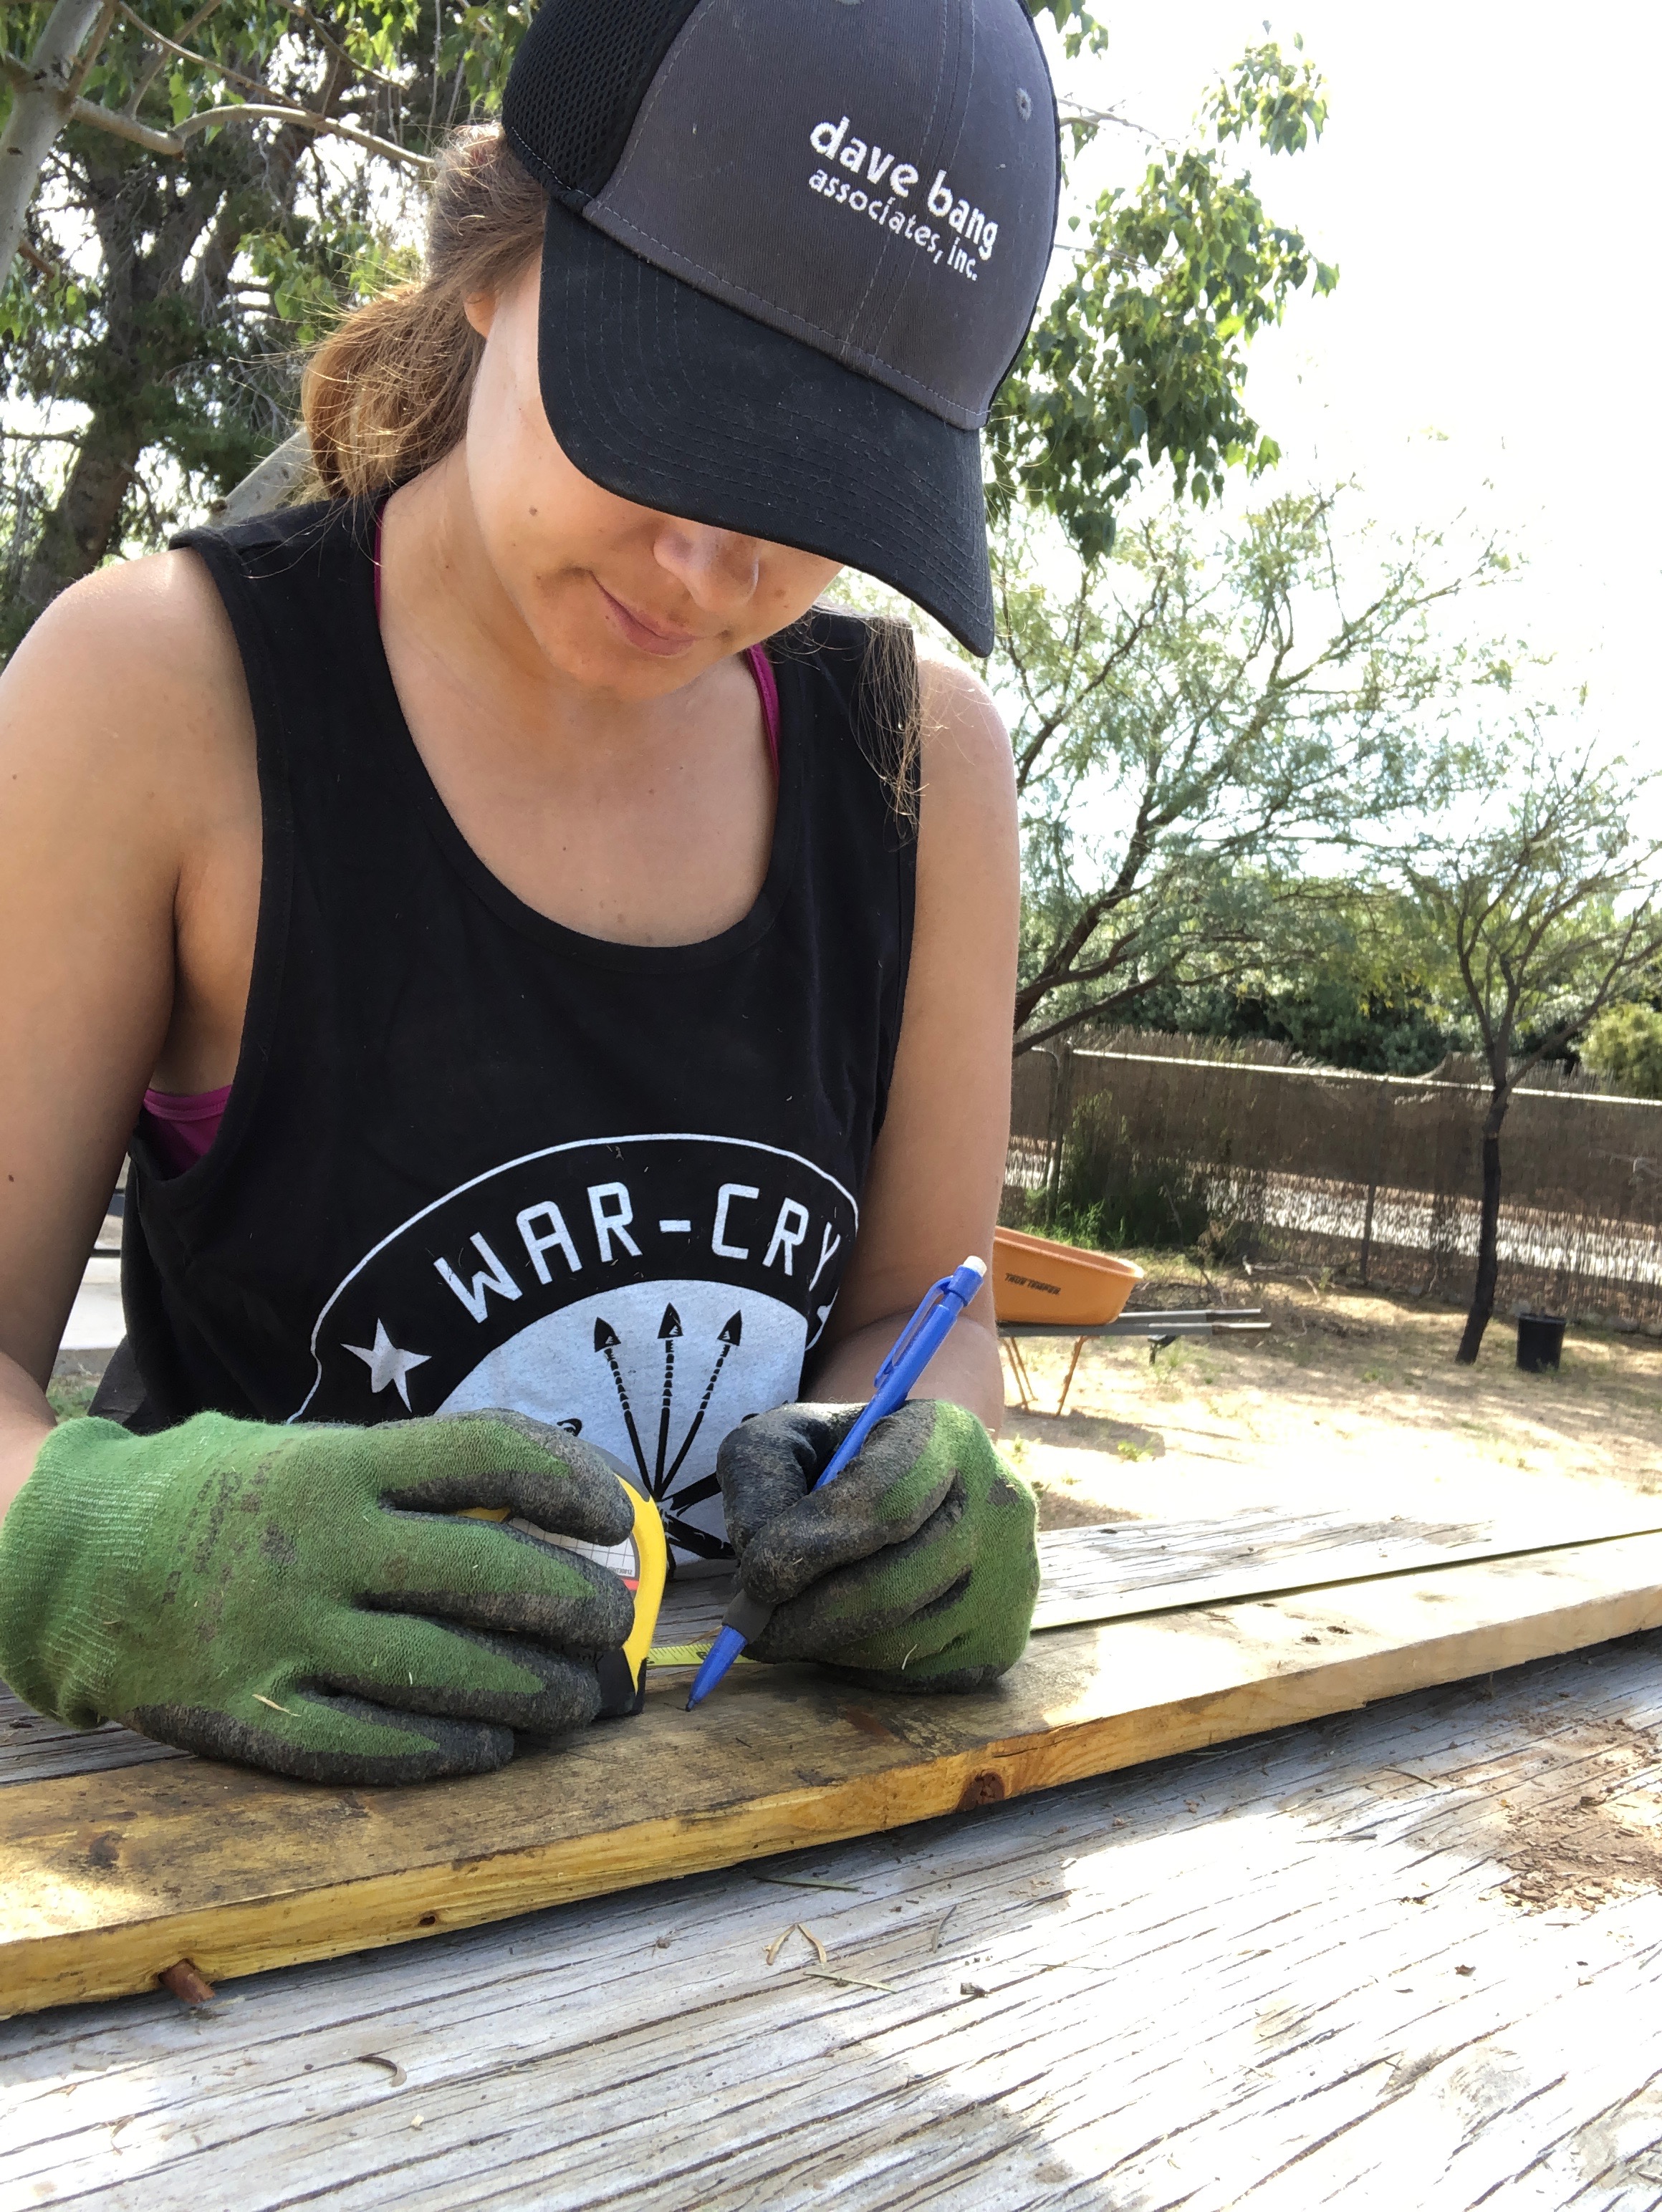
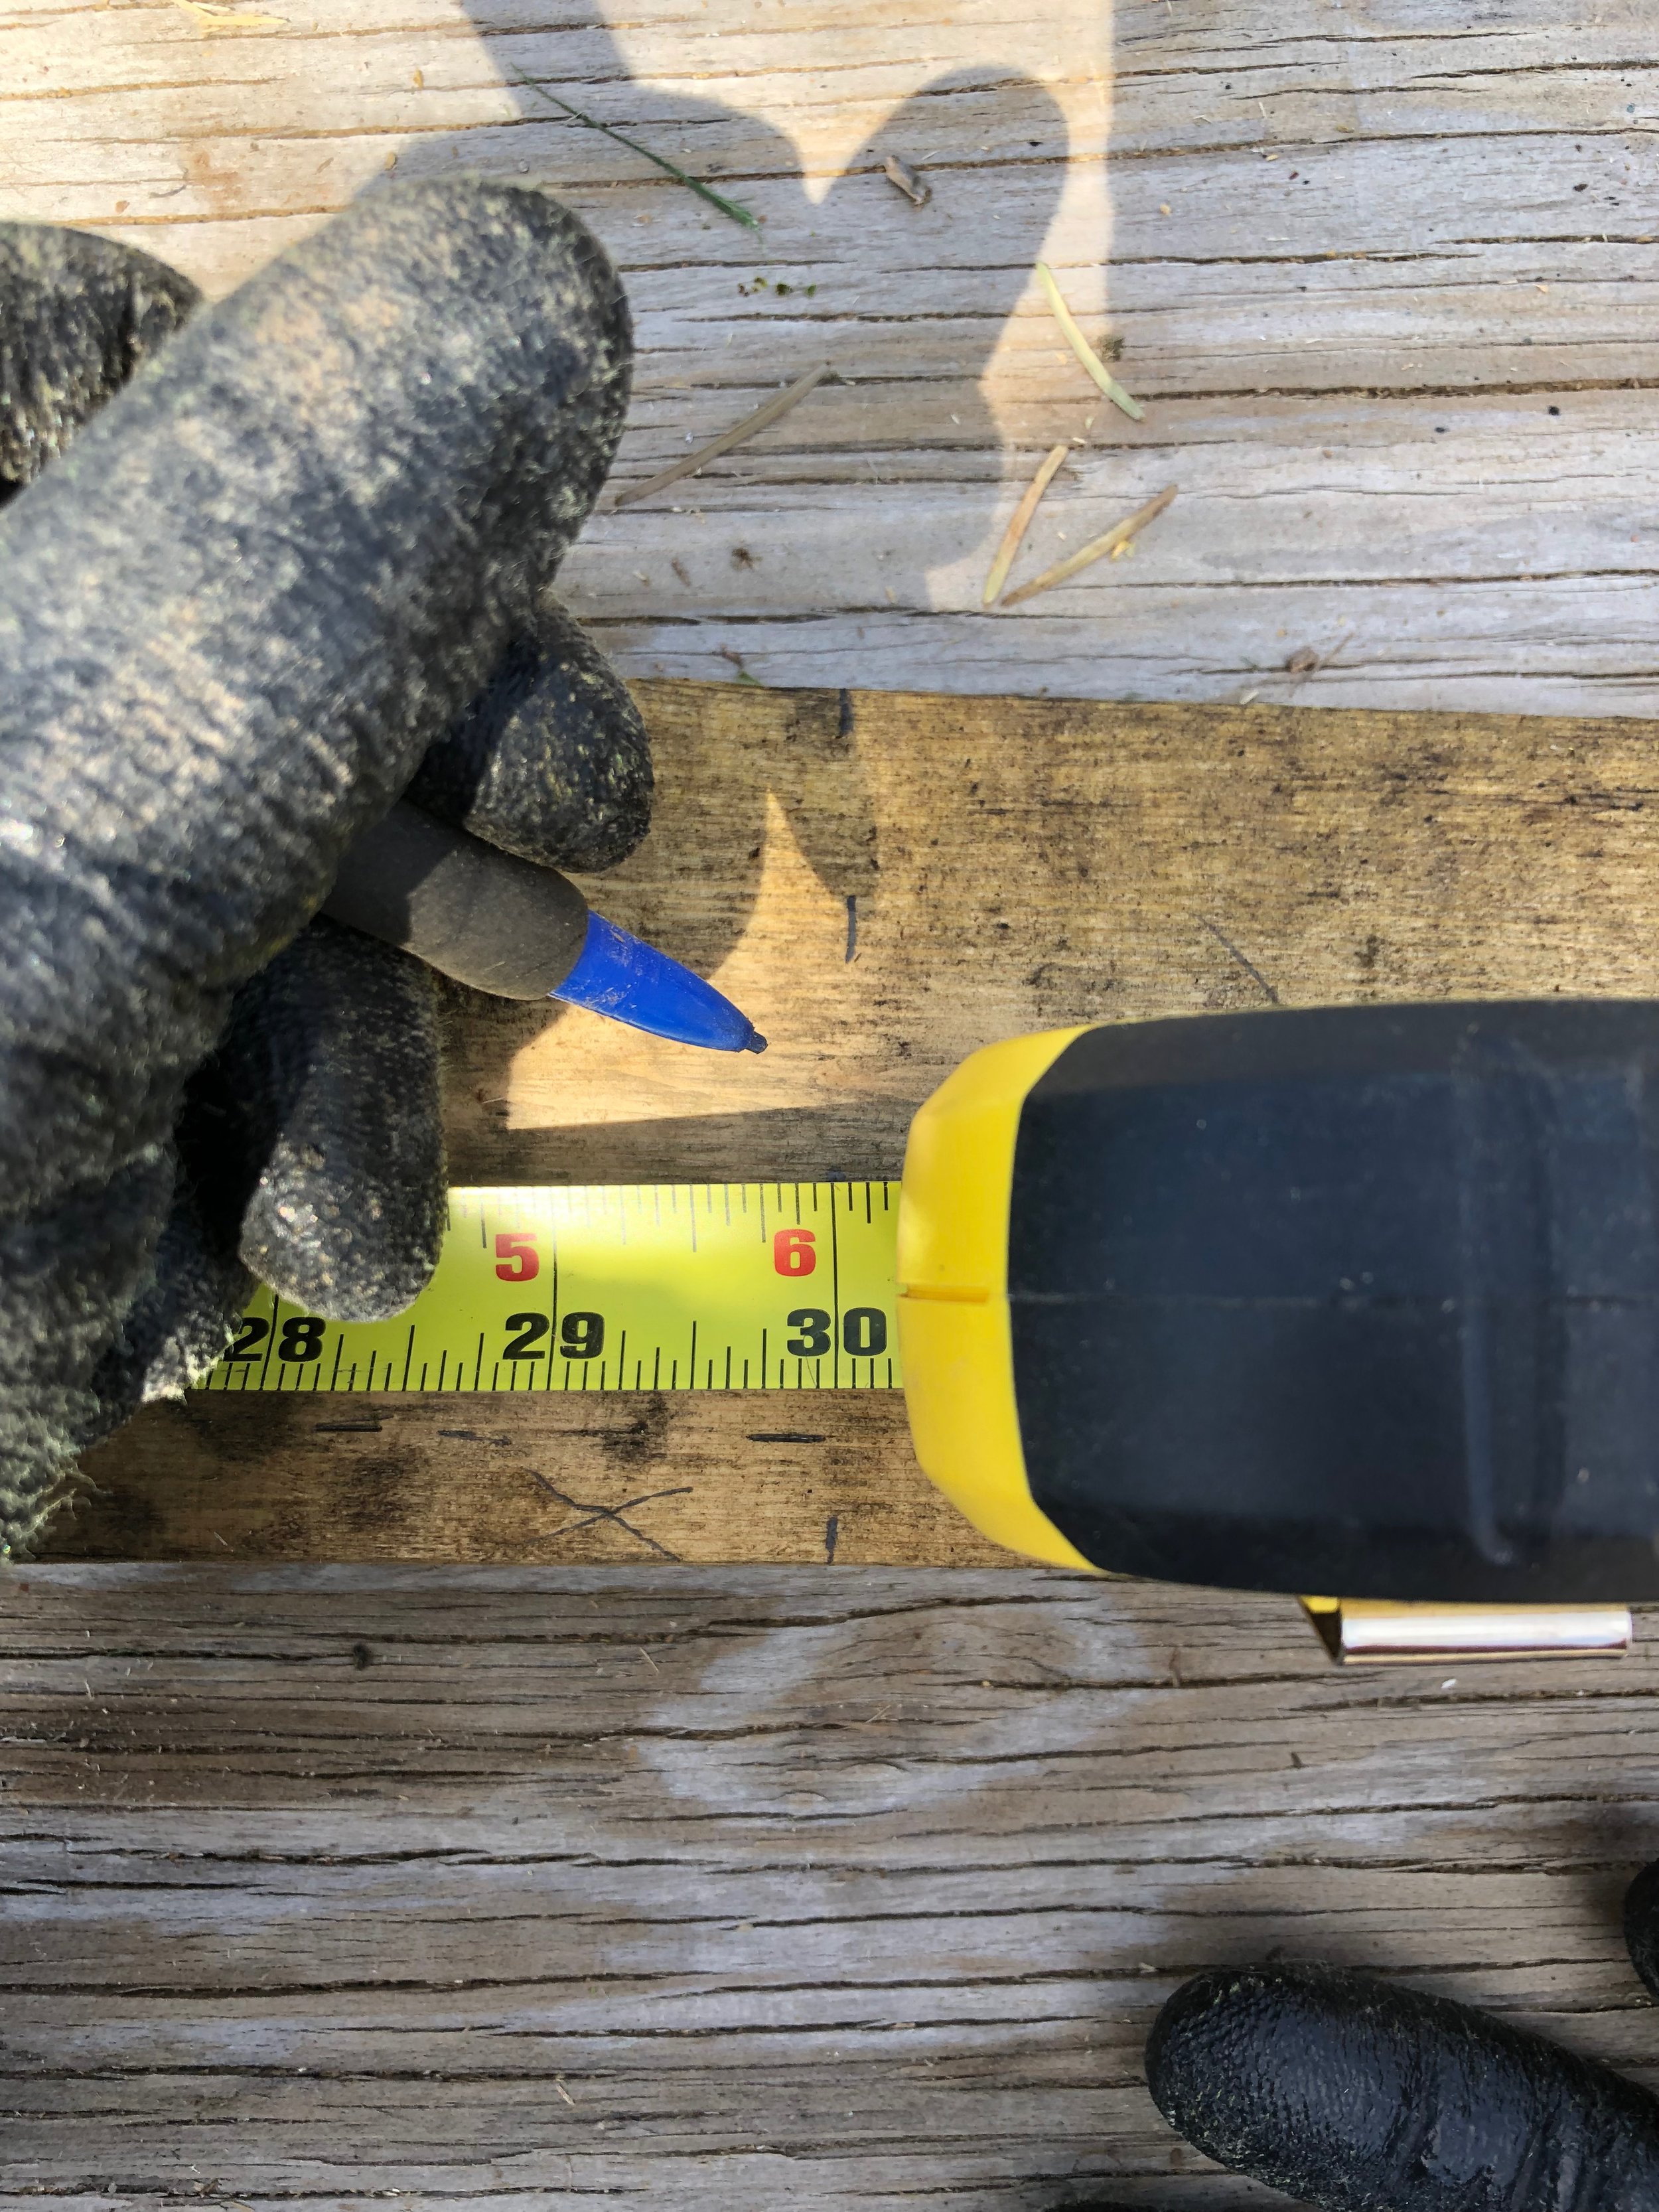
Next, came the custom cuts. Using a Ryobi Hand Saw for the first time was an experience. Mostly because I am left handed. I mean, if you are right handed try using ANY power tool backwards! It is like relearning muscle memory. I sliced each board 3 inches wide (not knowing about standard / mill sizes) and then 30 inches long. After my first 7 boards my arms were tired. I have never worked out like this before. This process took the longest. From setting up and clamping each board, to measuring twice and cutting once. Once I ran out of boards and thought to purchase some at a local home improvement store. I was taken back because each 1 x 3 measure 1 x 2.5! So back to custom cutting! What felt like years late, I was ready to start nailing.

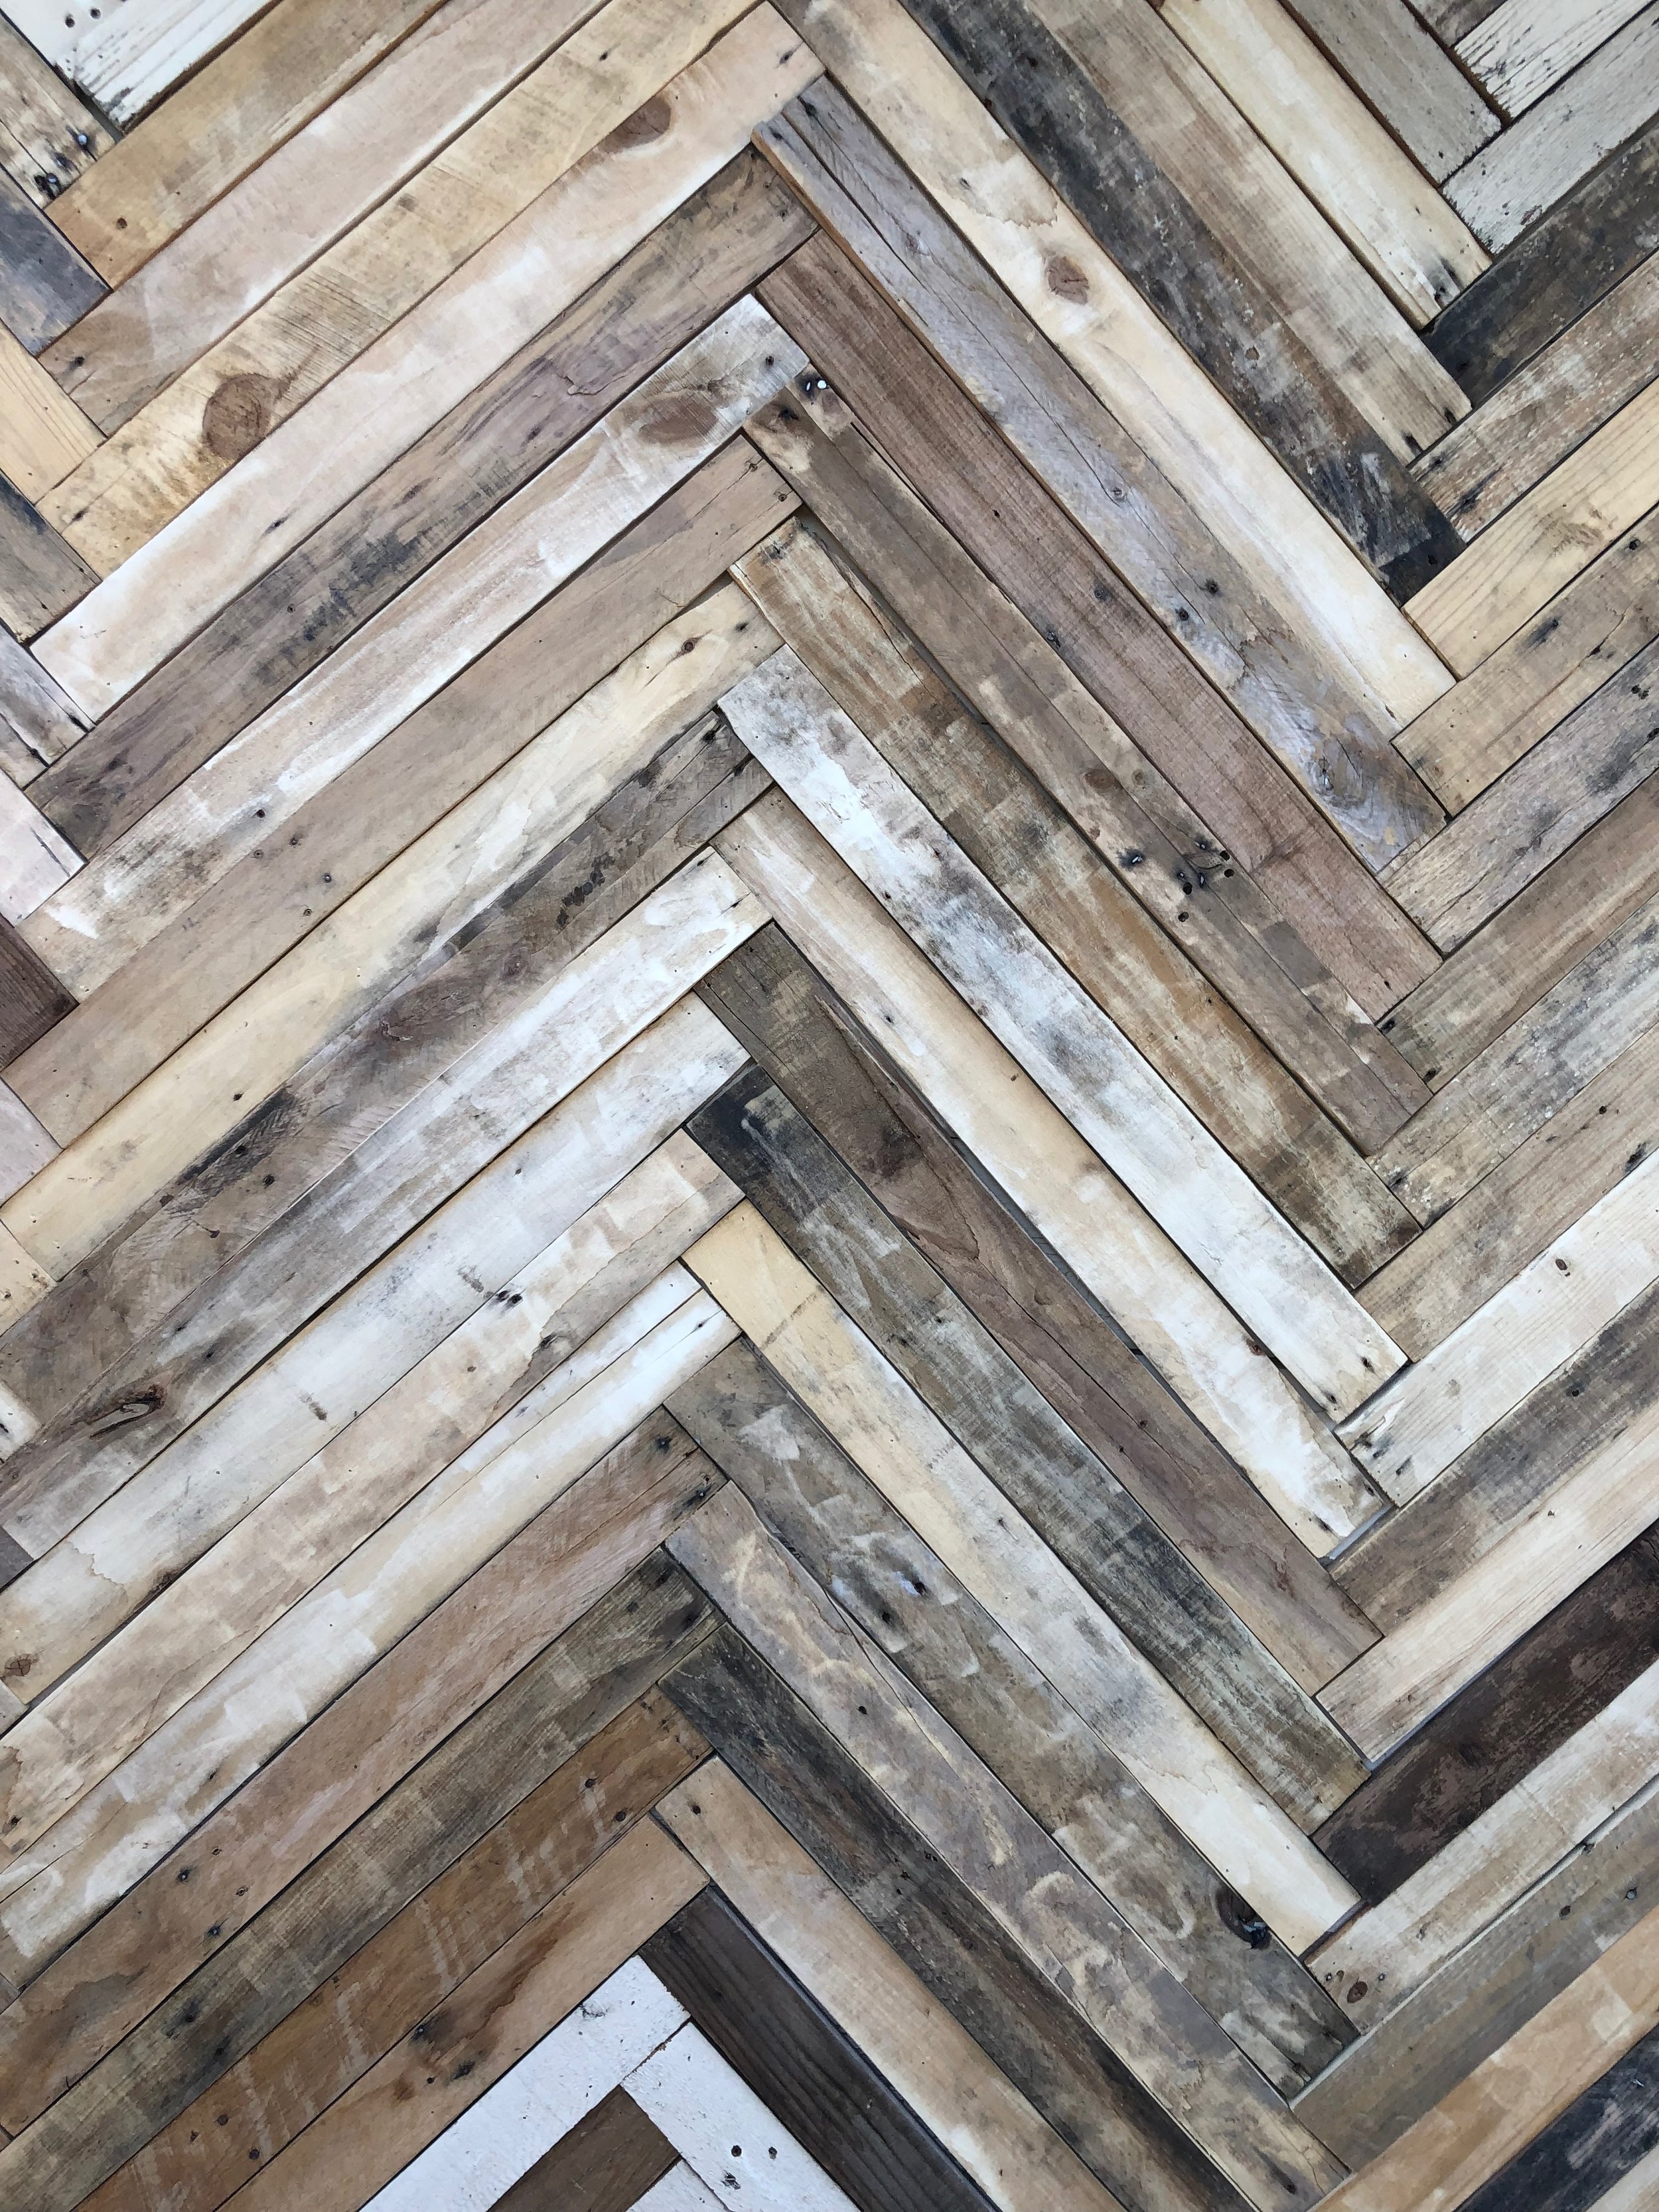
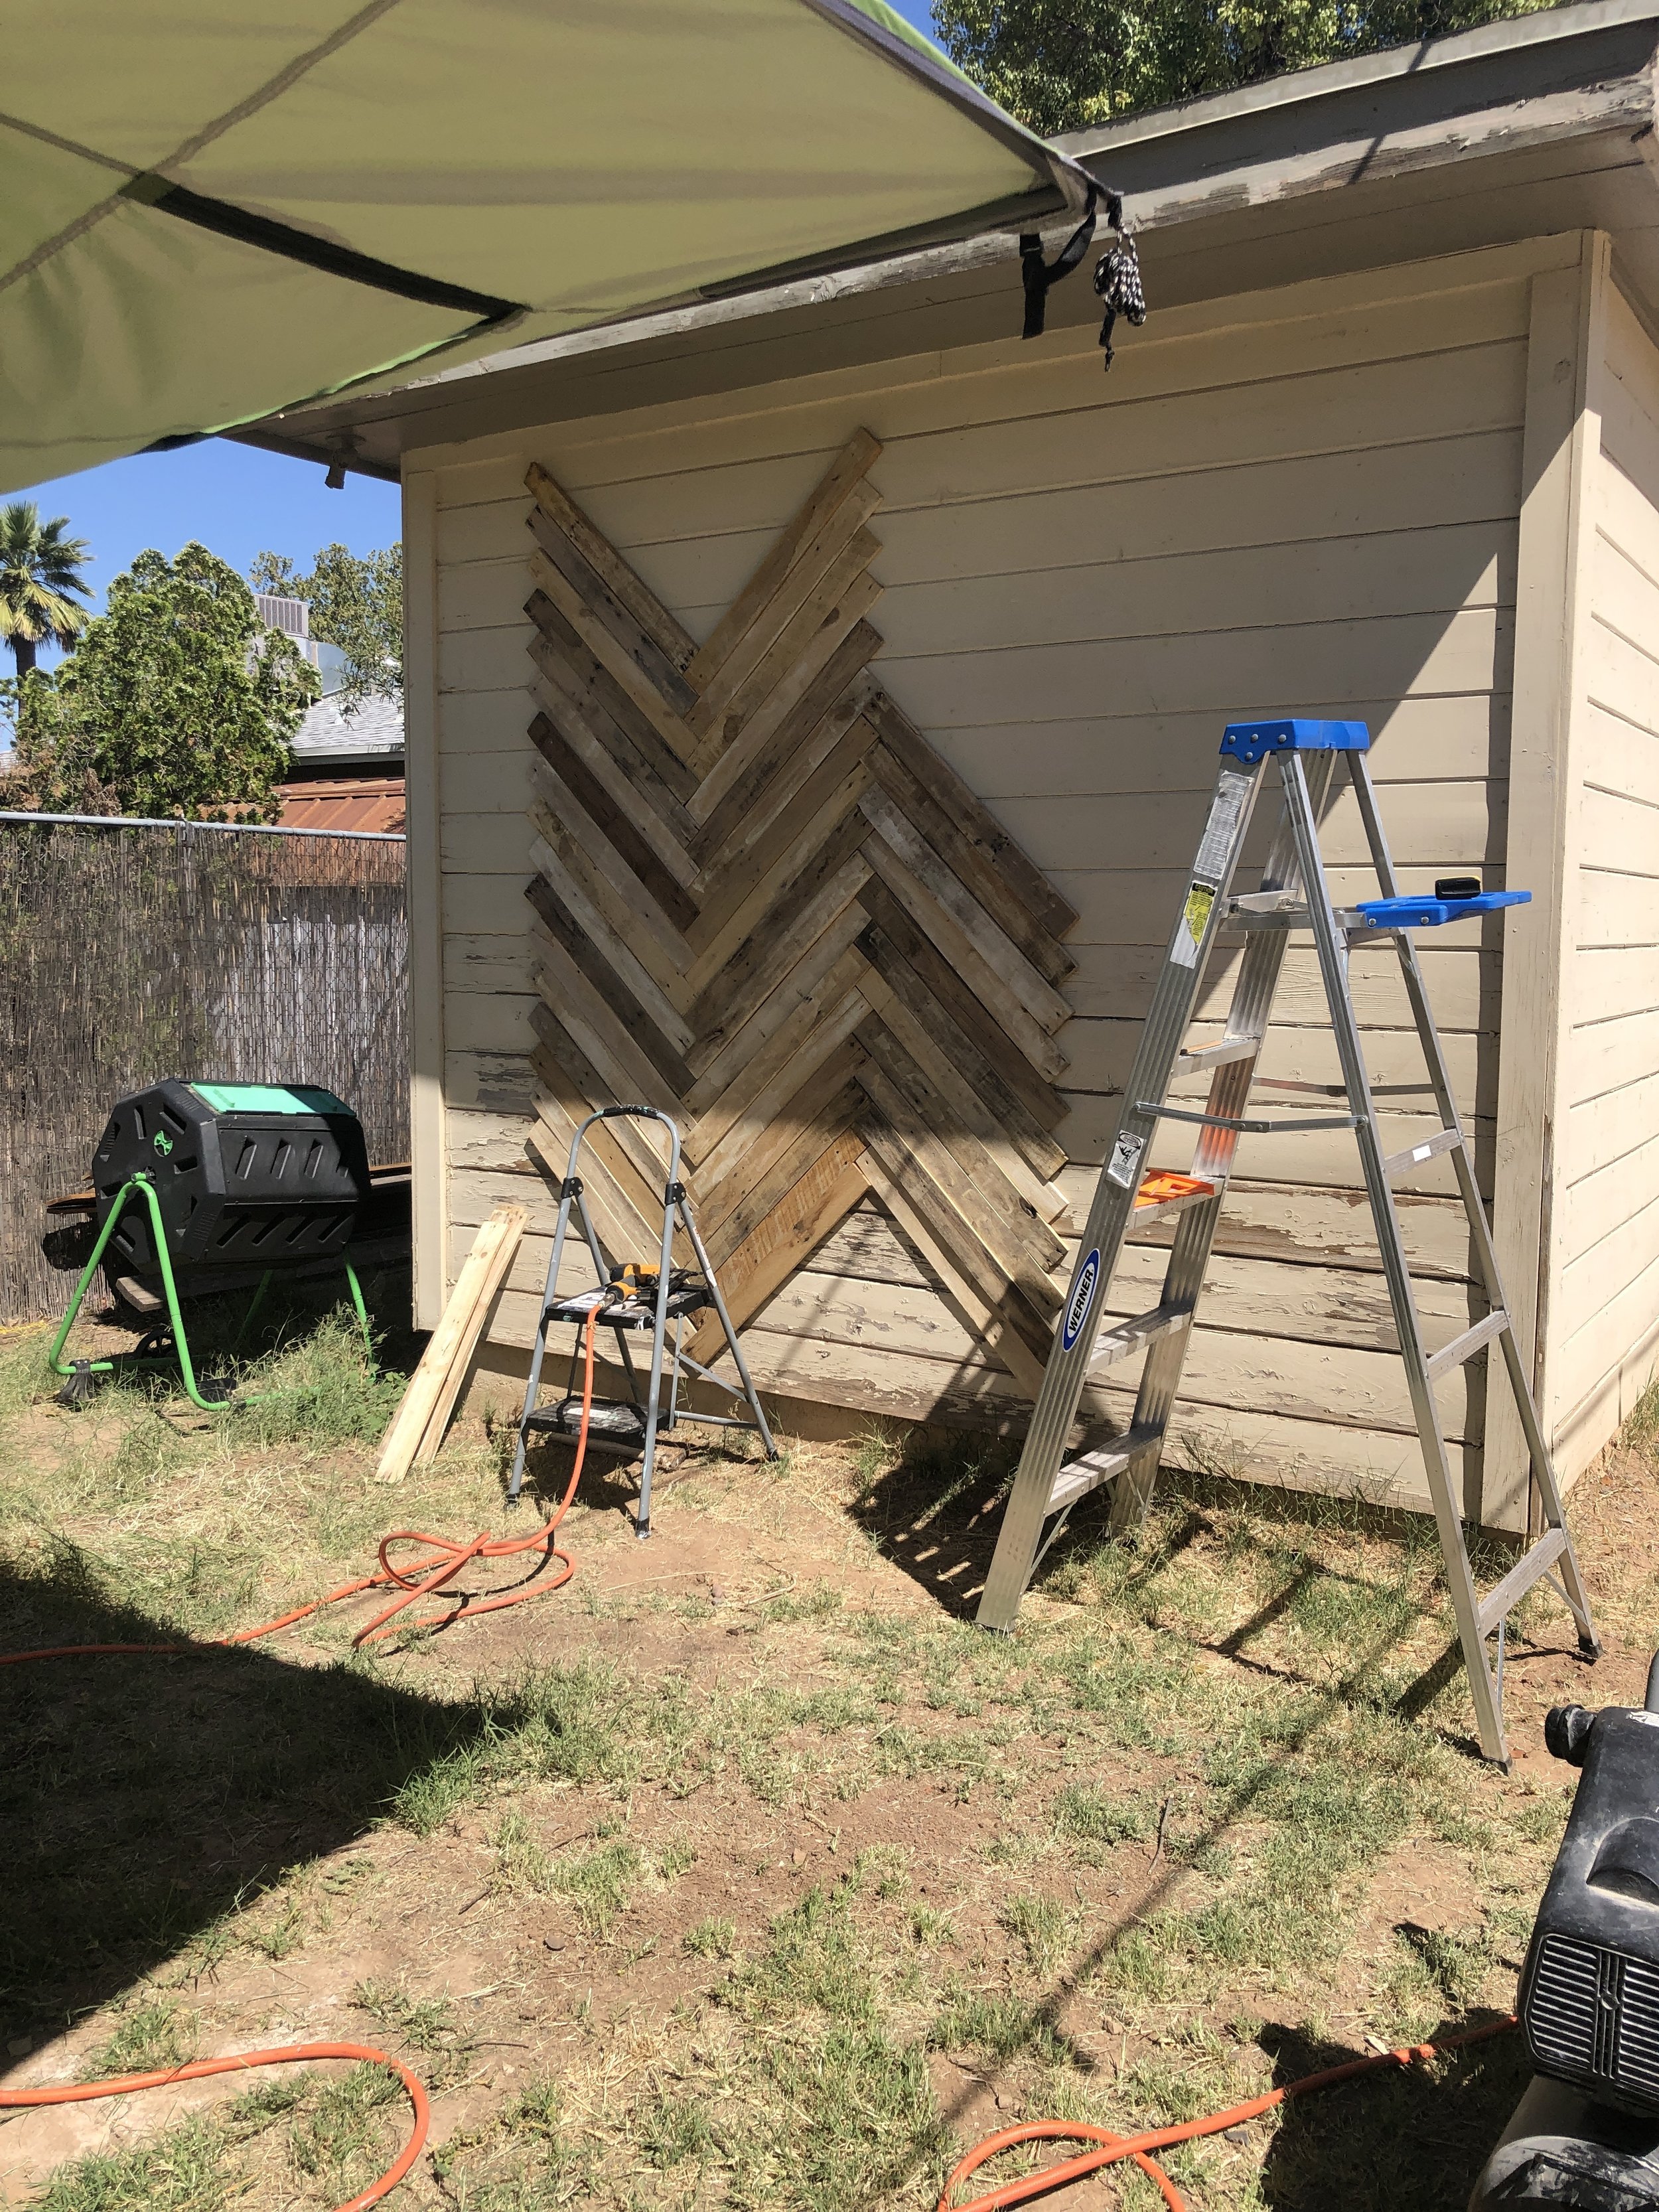
I watched video after video of installing a herringbone wall and it looked so easy. Some were using peel and stick, others had pre-measured boards, but none using repurposed pallet wood and custom slices. But, they all had one thing in common. Start from the middle. I measured my exact center. T squared it off and then used my protractor to find that 45 degree angle. Once the first board was up, it was just plug, level, and play. I used a powerful nail gun with air compressor. The only type for the job because my electrical one didn’t have nearly enough power! A time lapse and a few jumps in the pool later, the easy part was done.

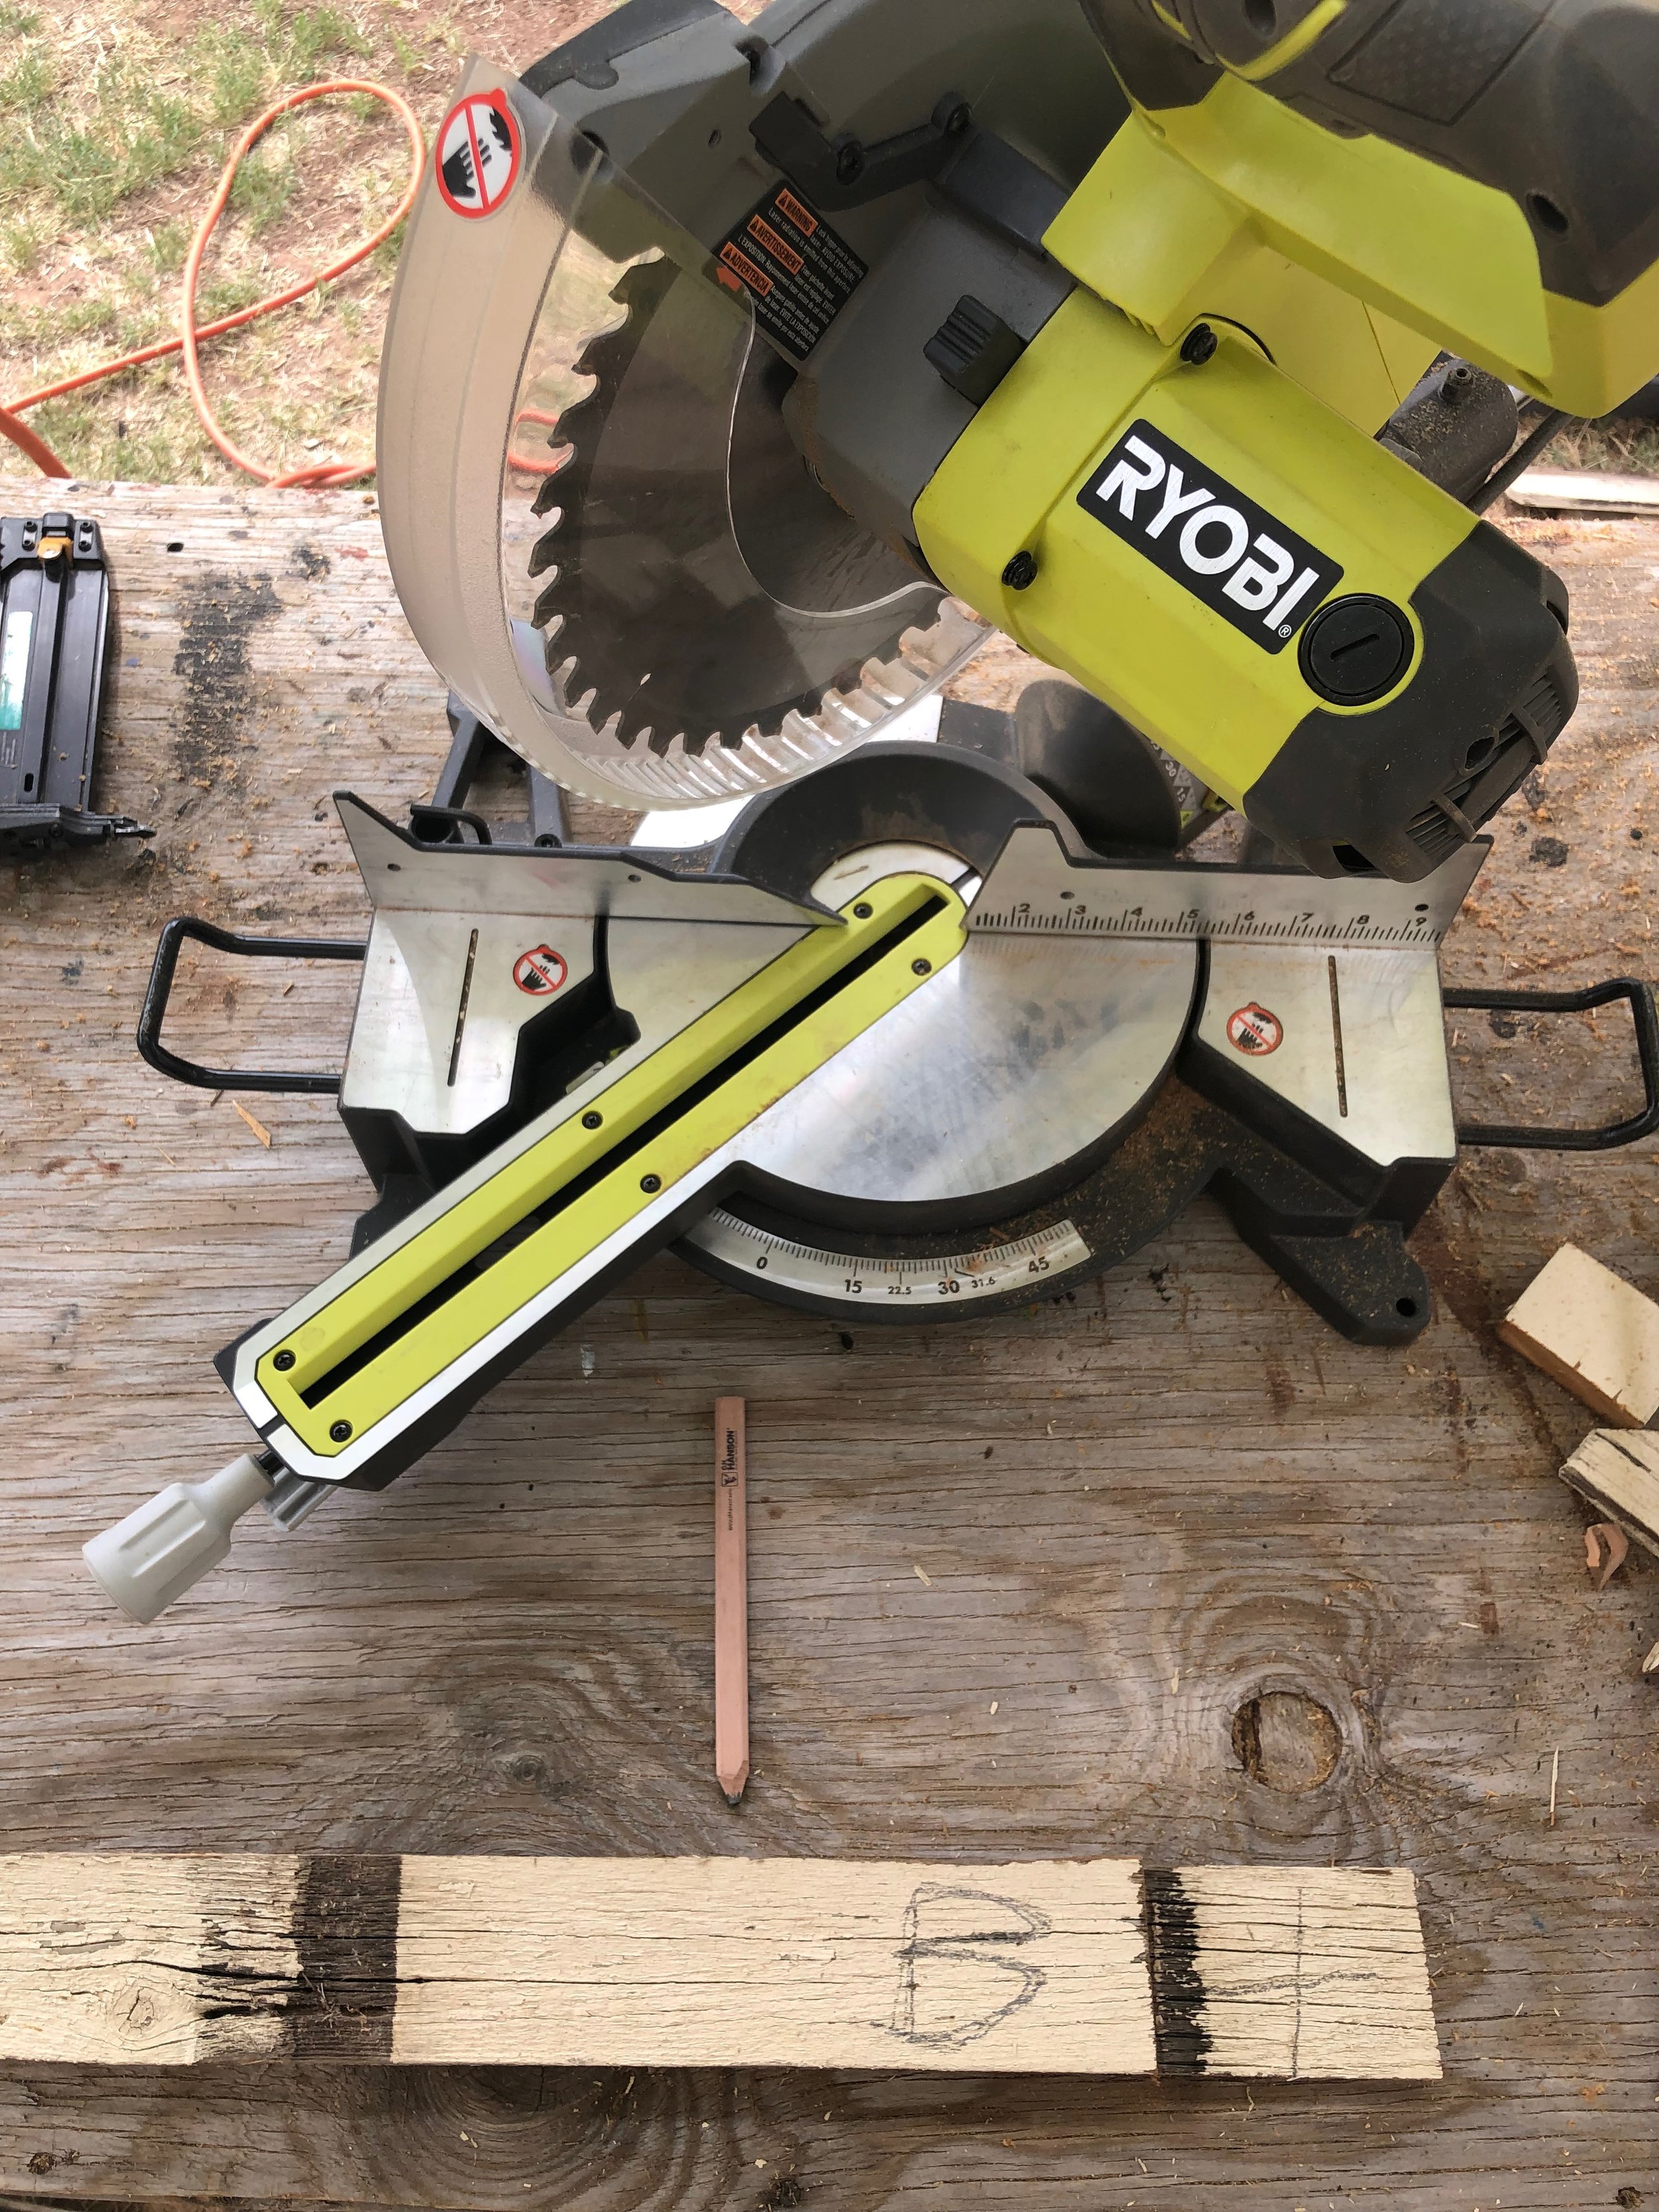
Thankfully, my father showed up unexpected and unannounced from San Diego that evening and little did he know I was putting him to work on the wall the very next day! Custom sizing and recutting the outer edges came next. We had to place the board in the right puzzle place then measure twice where to make the cut. Using our Ryobi MIter Saw get the perfect 45 degree angle and make the cut. Literally every board is custom cut, some even twice. This overall took 3 days to get all the pieces up!
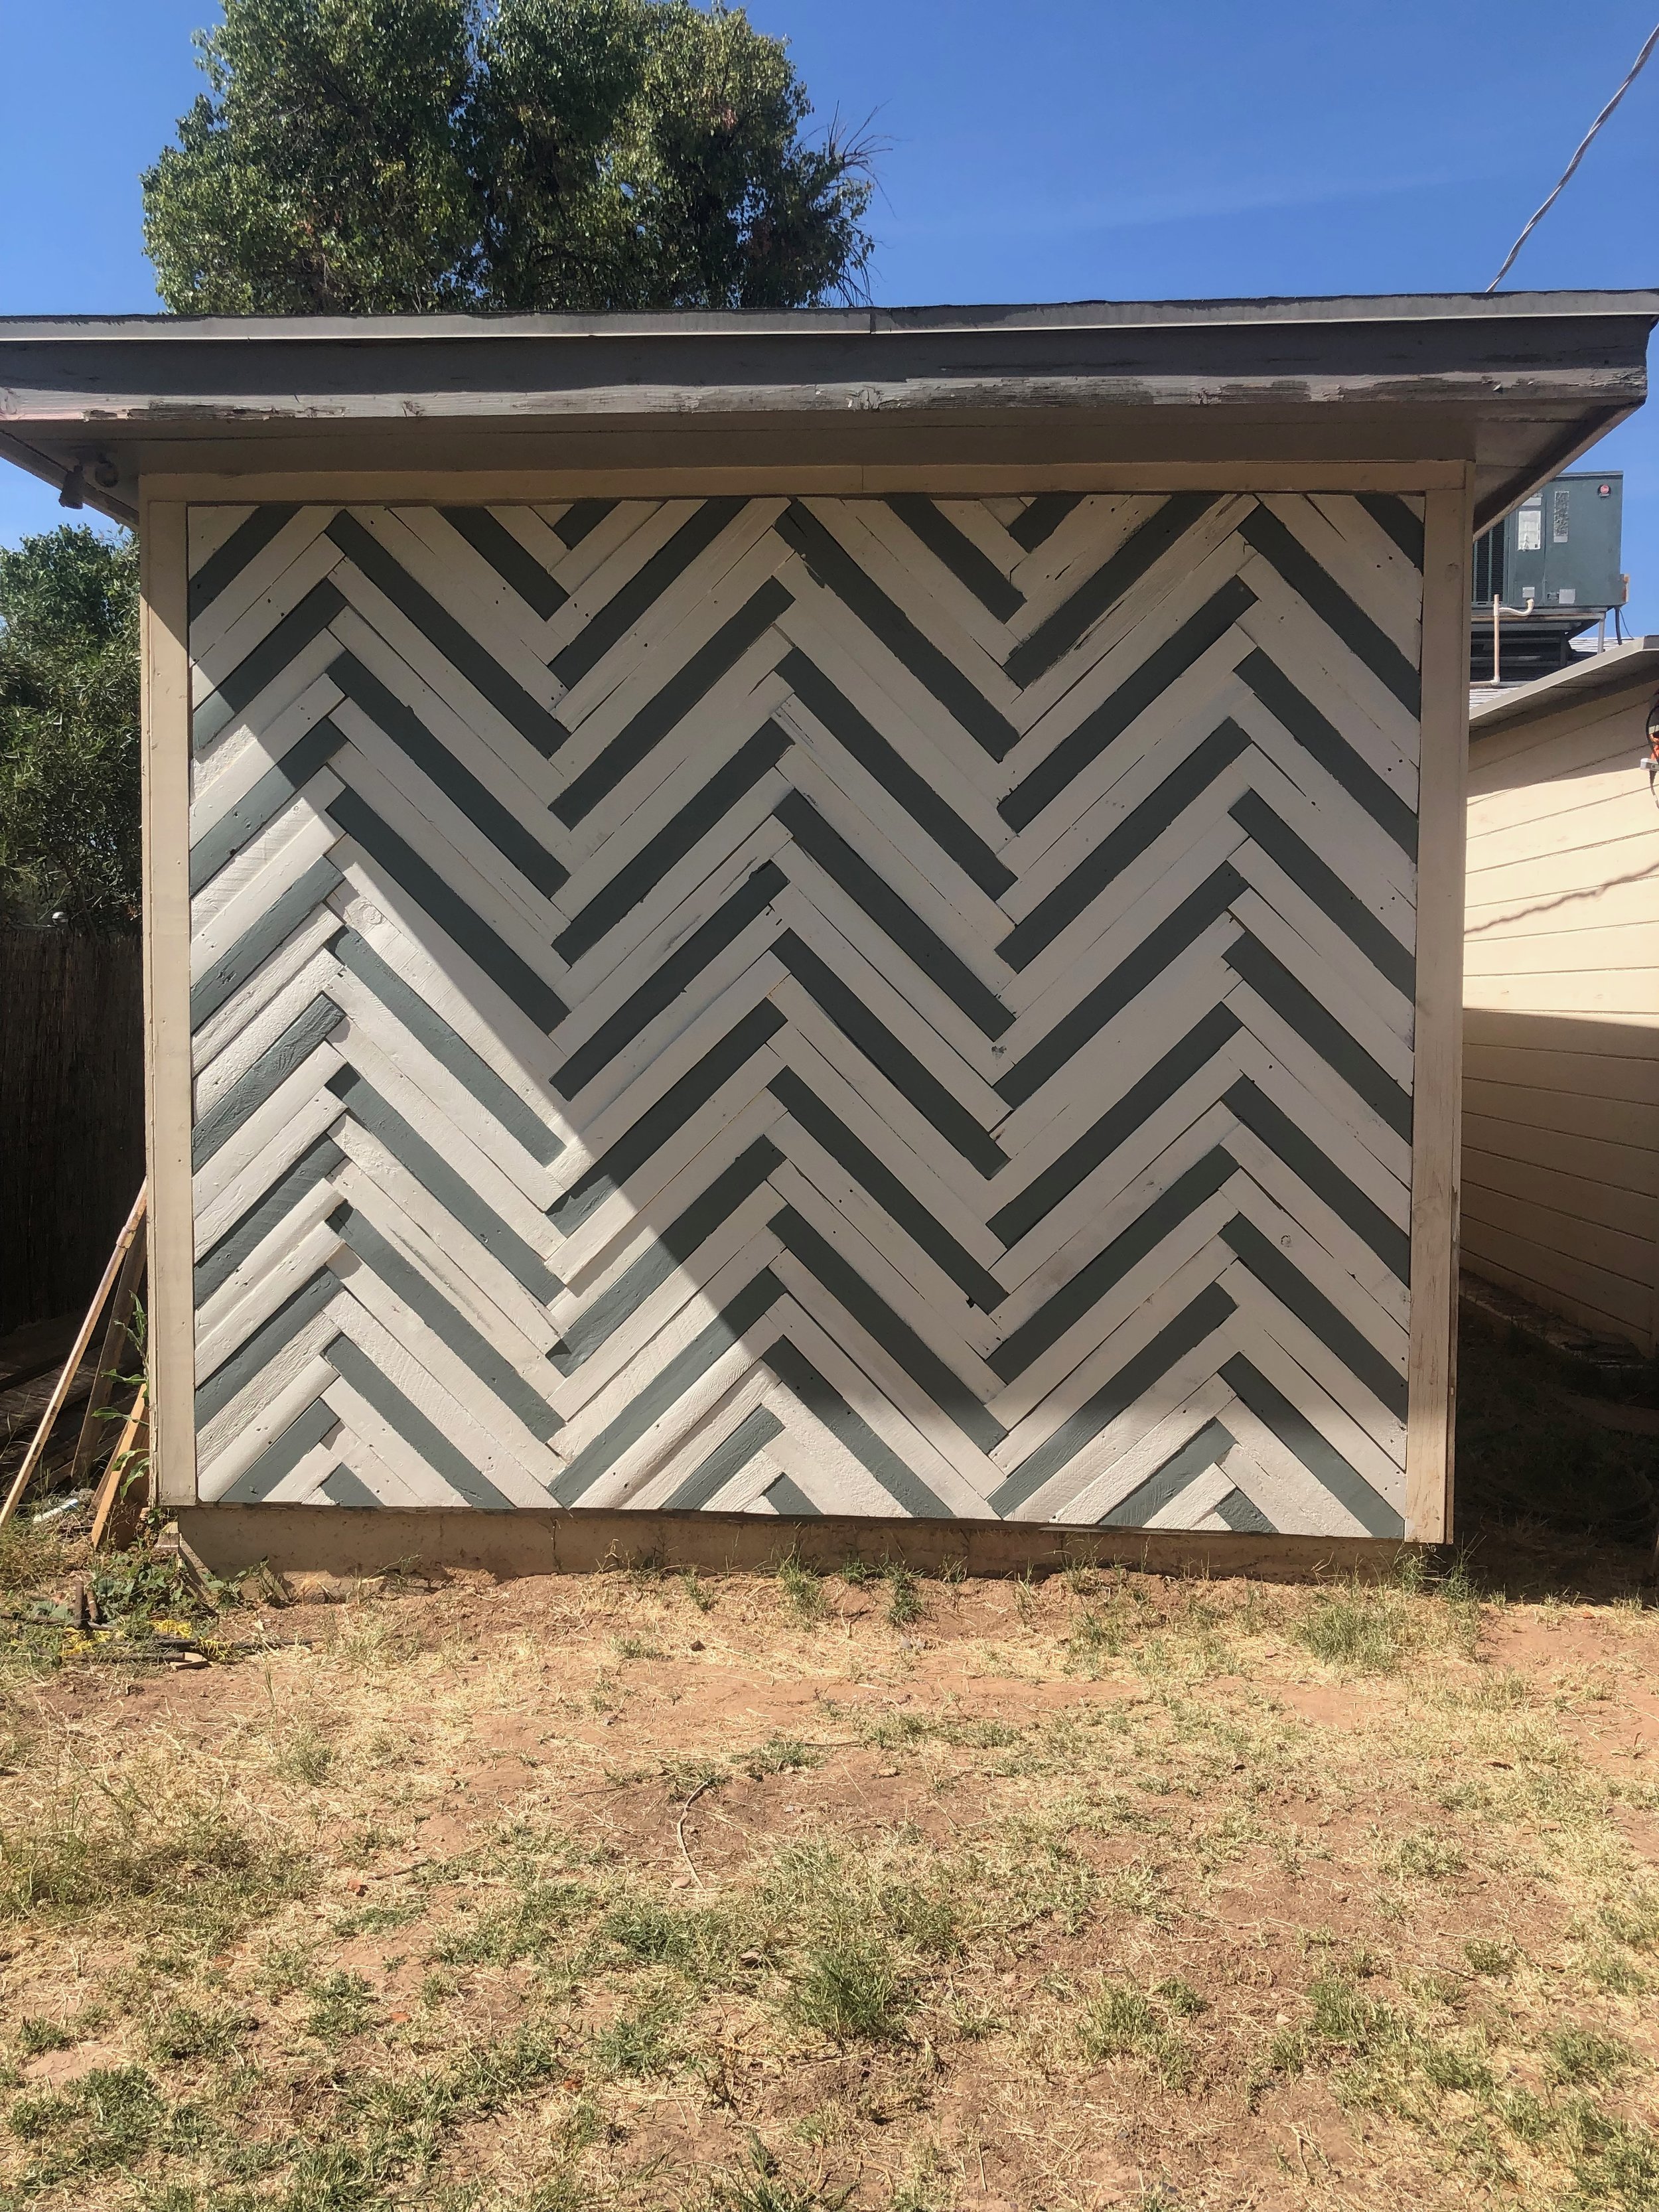
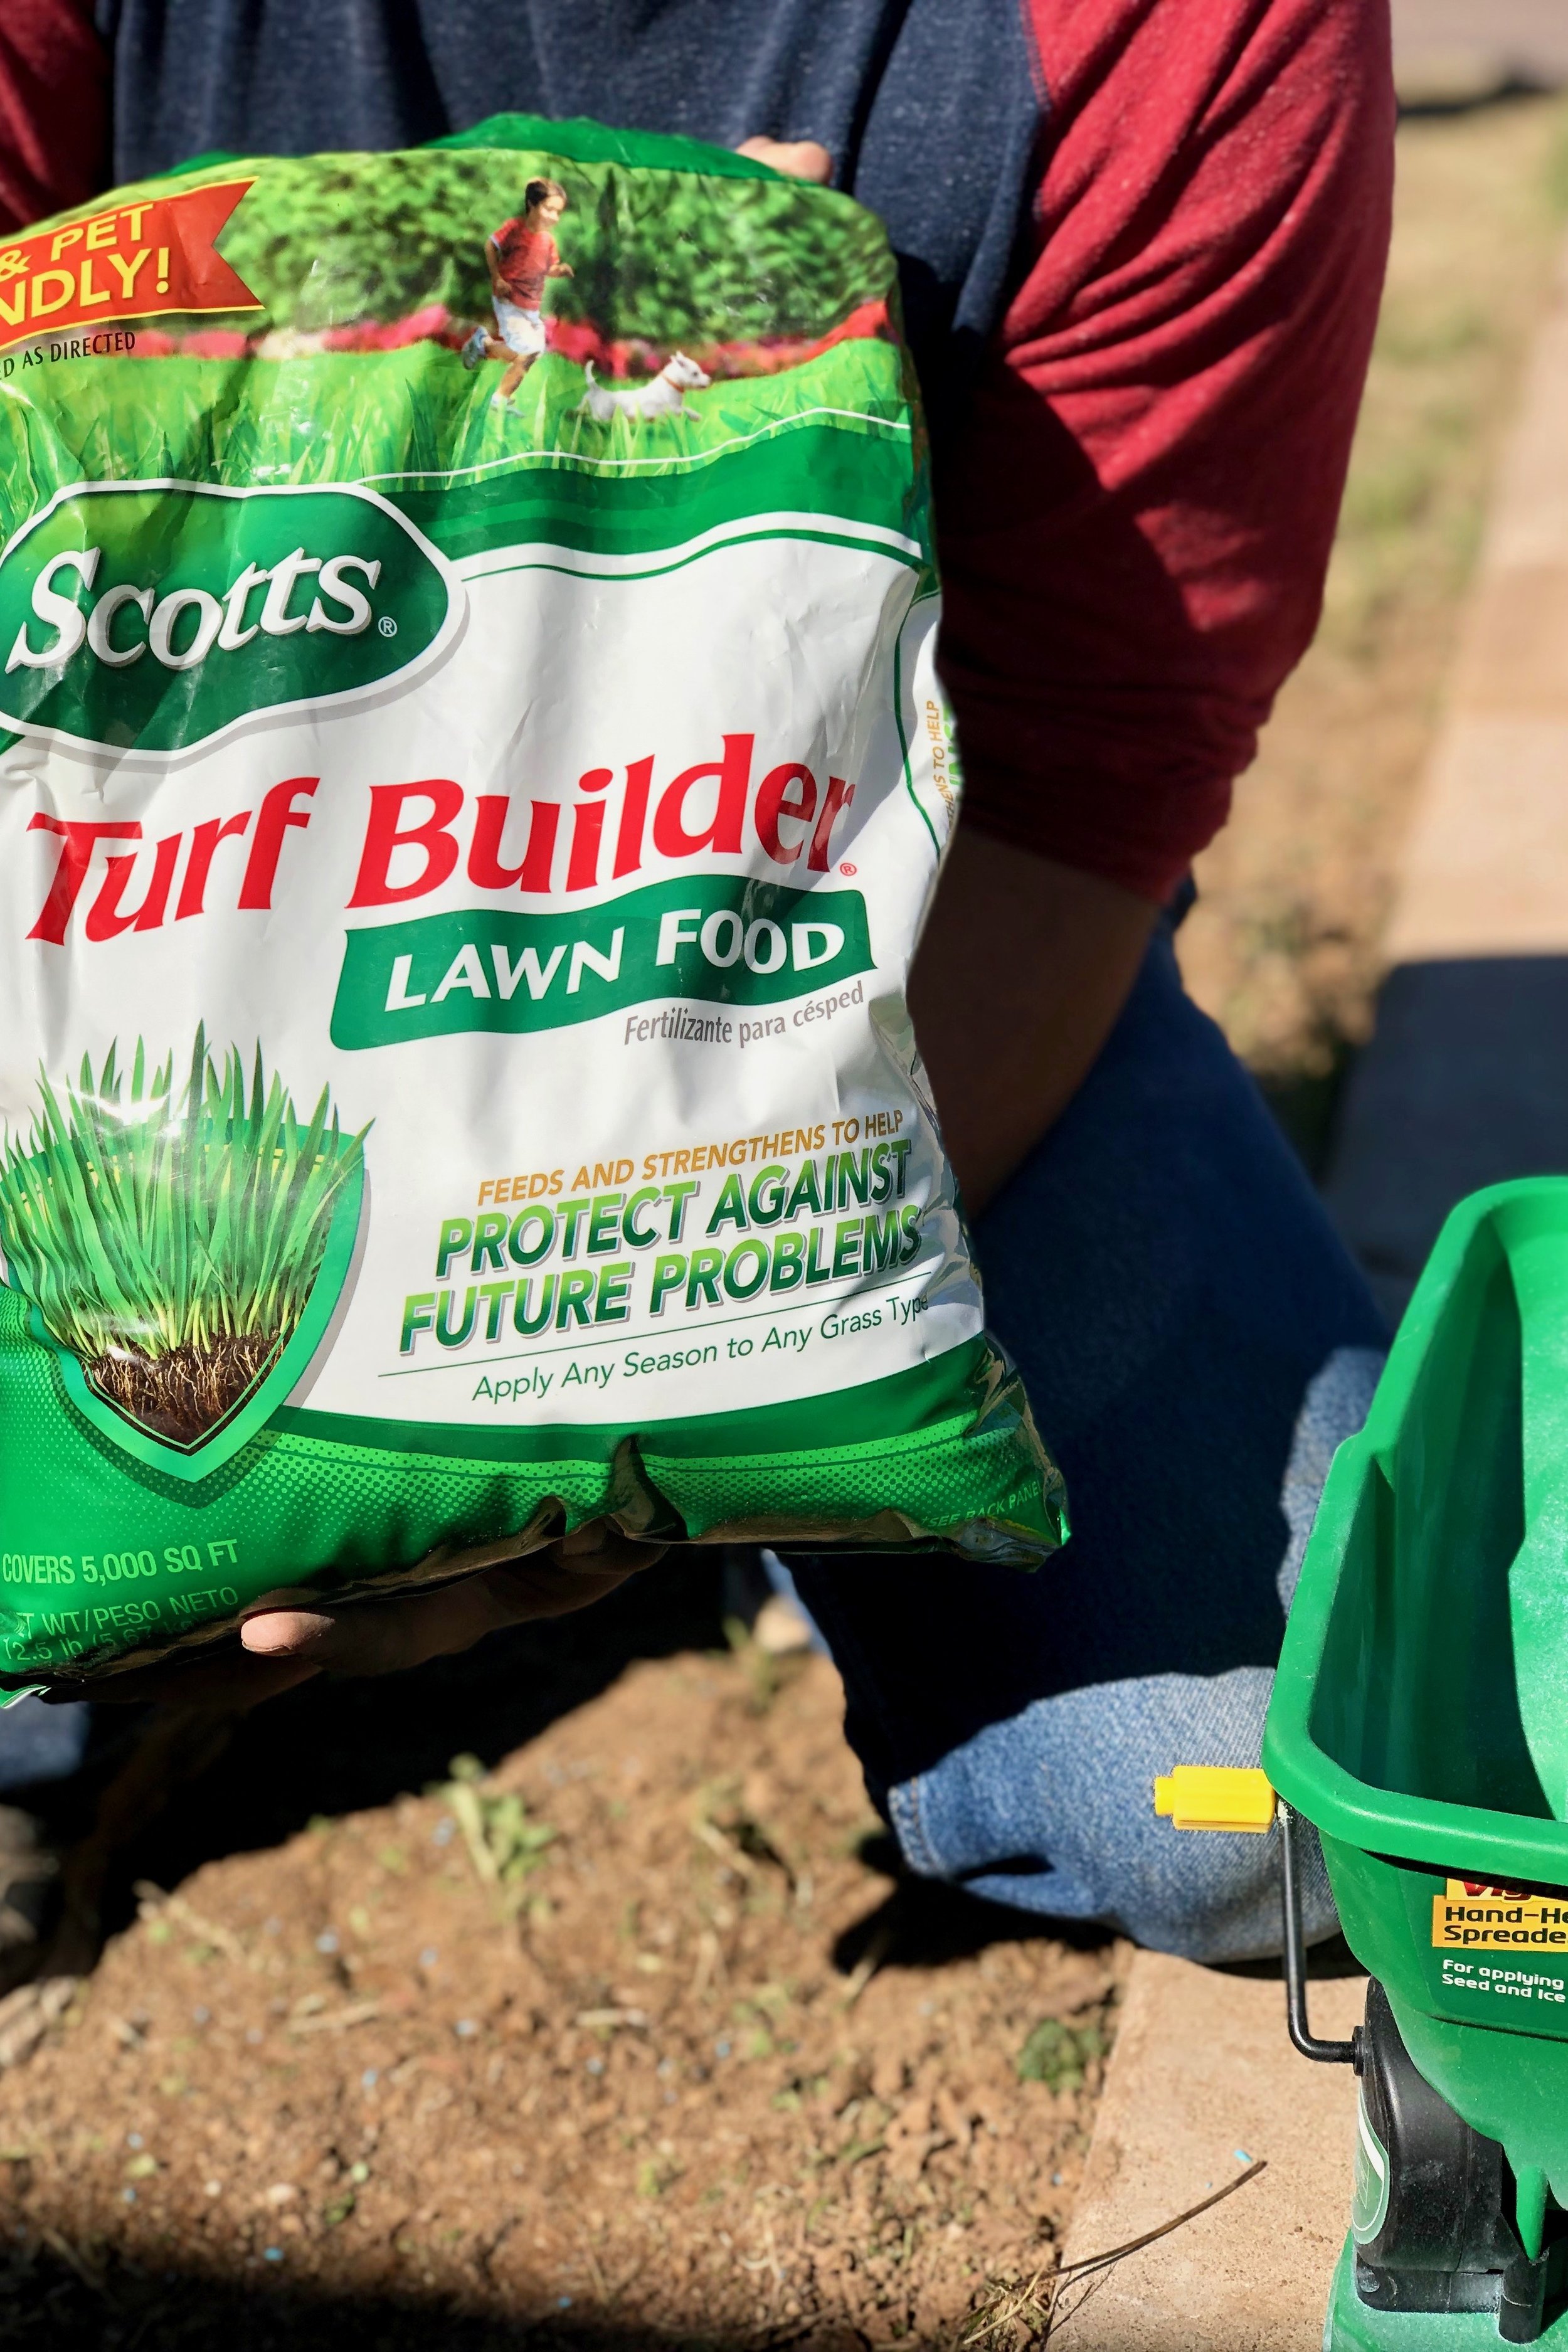
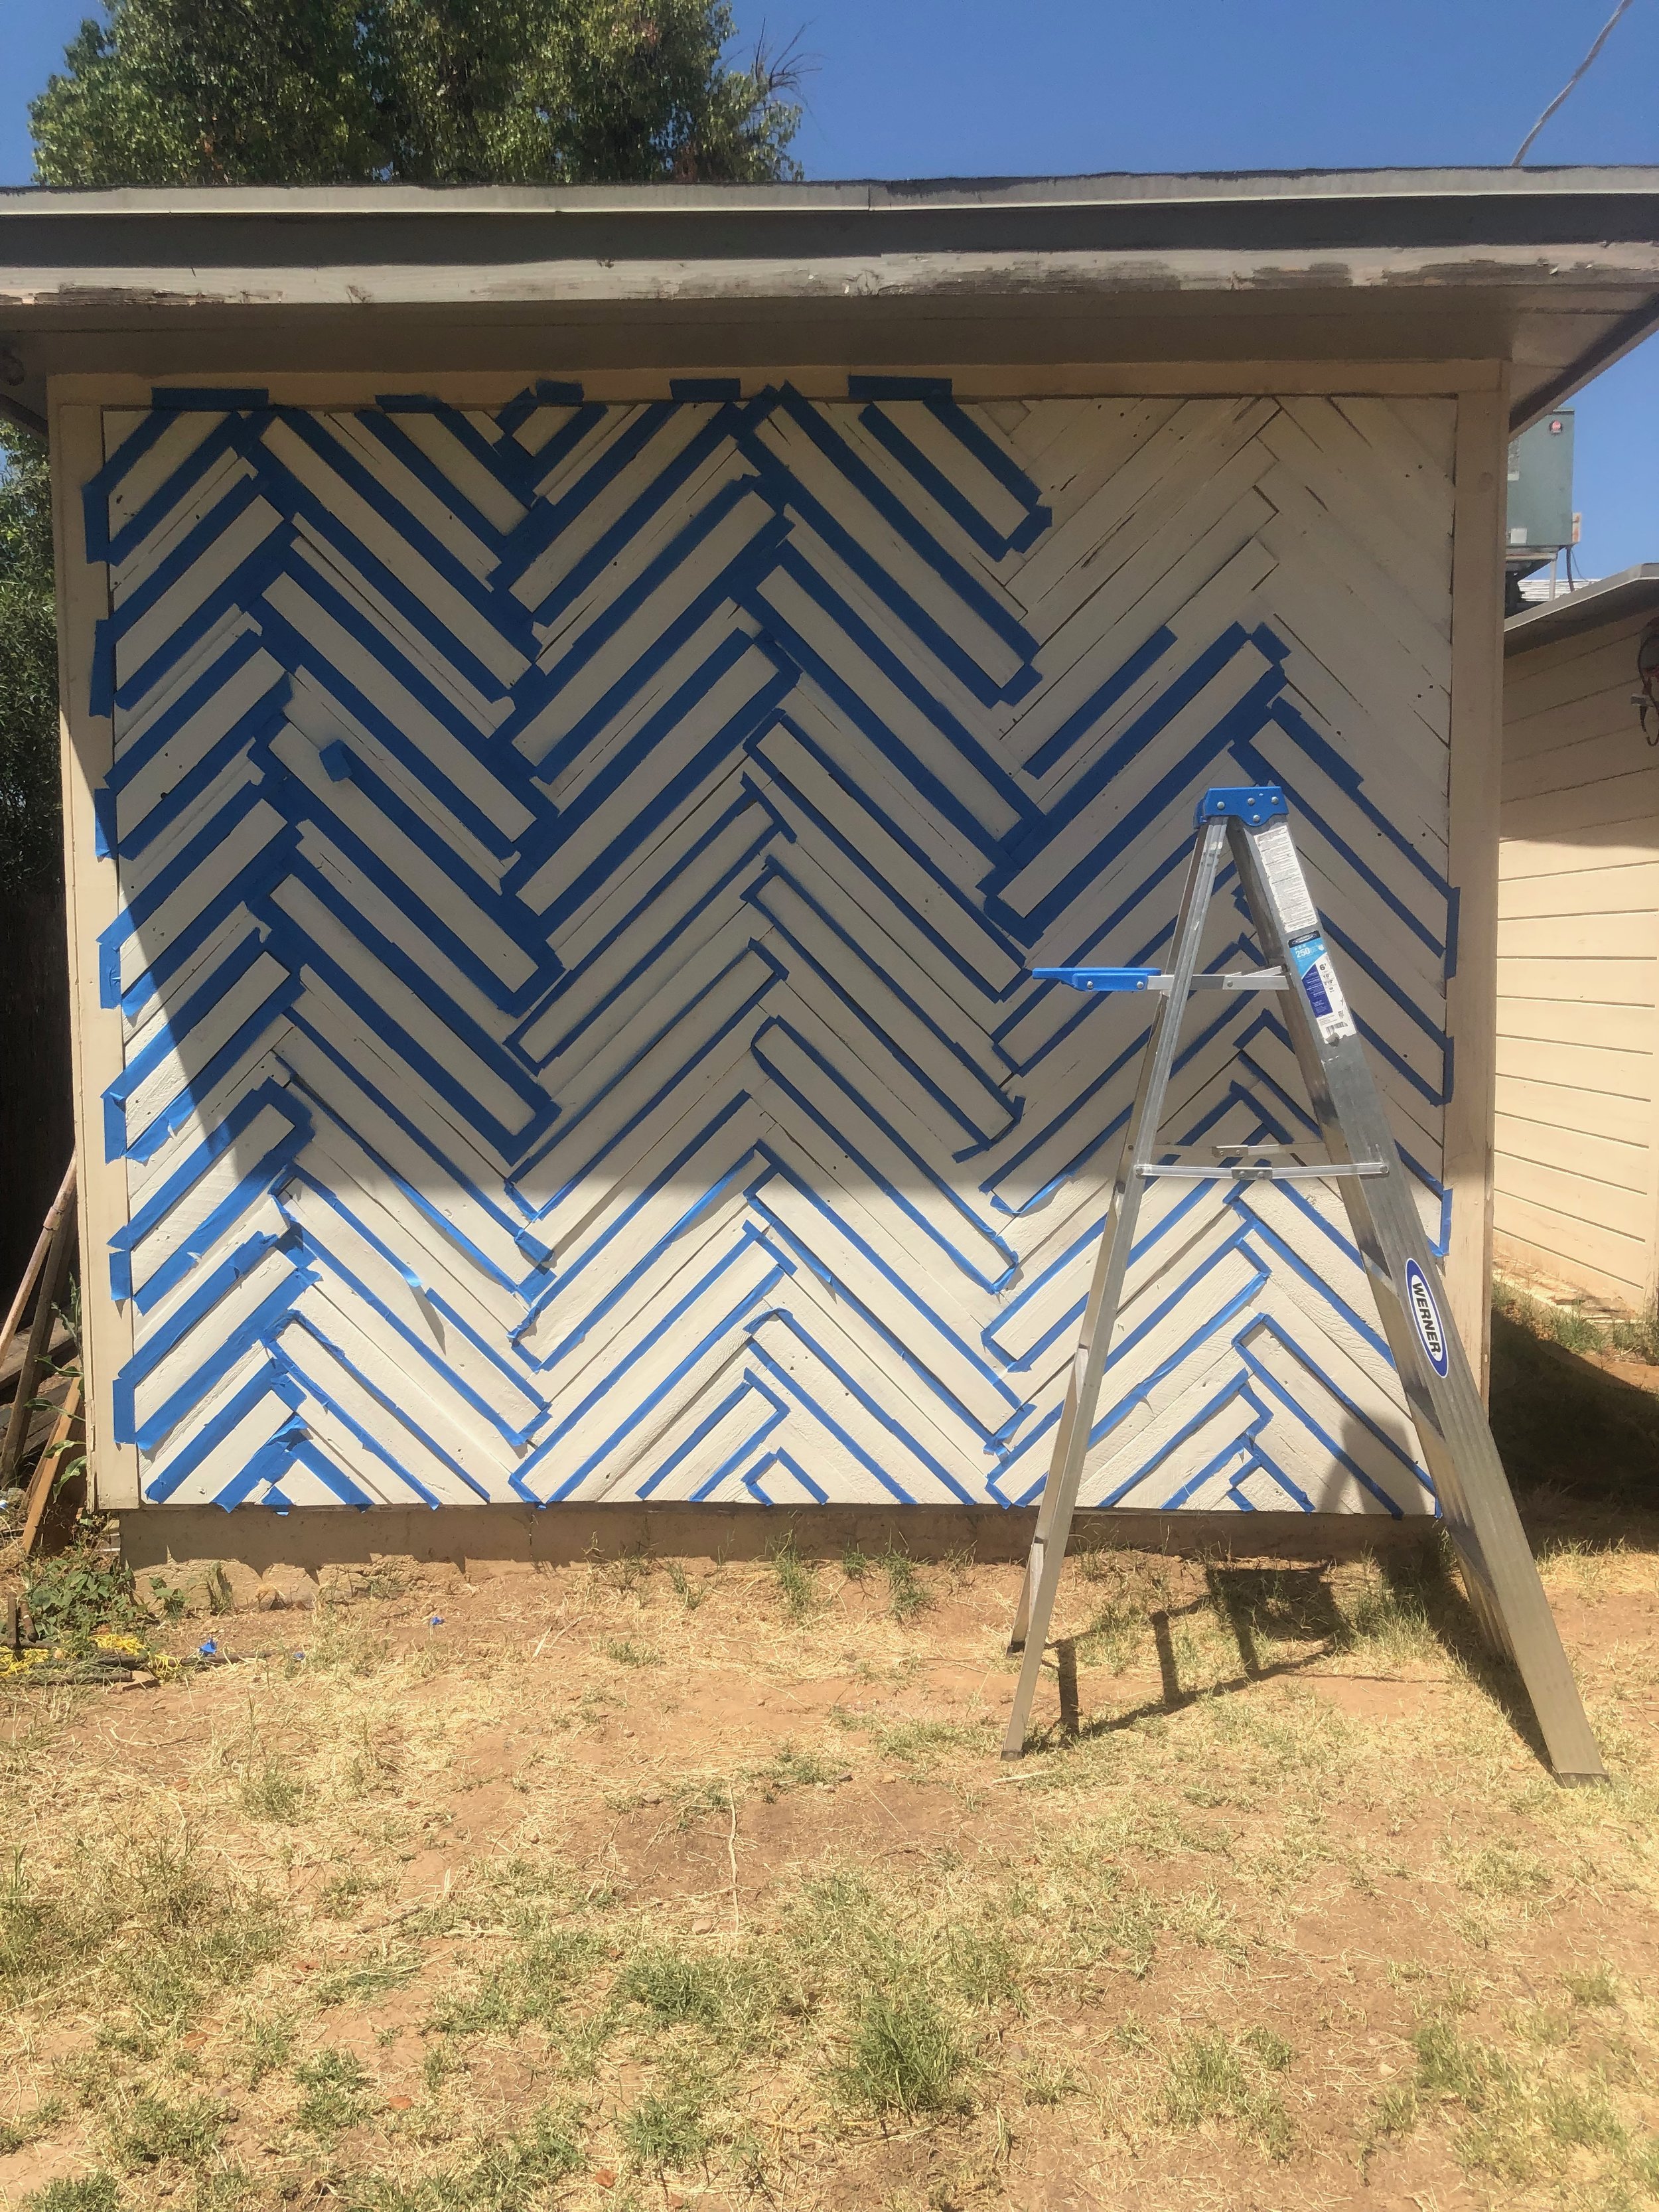
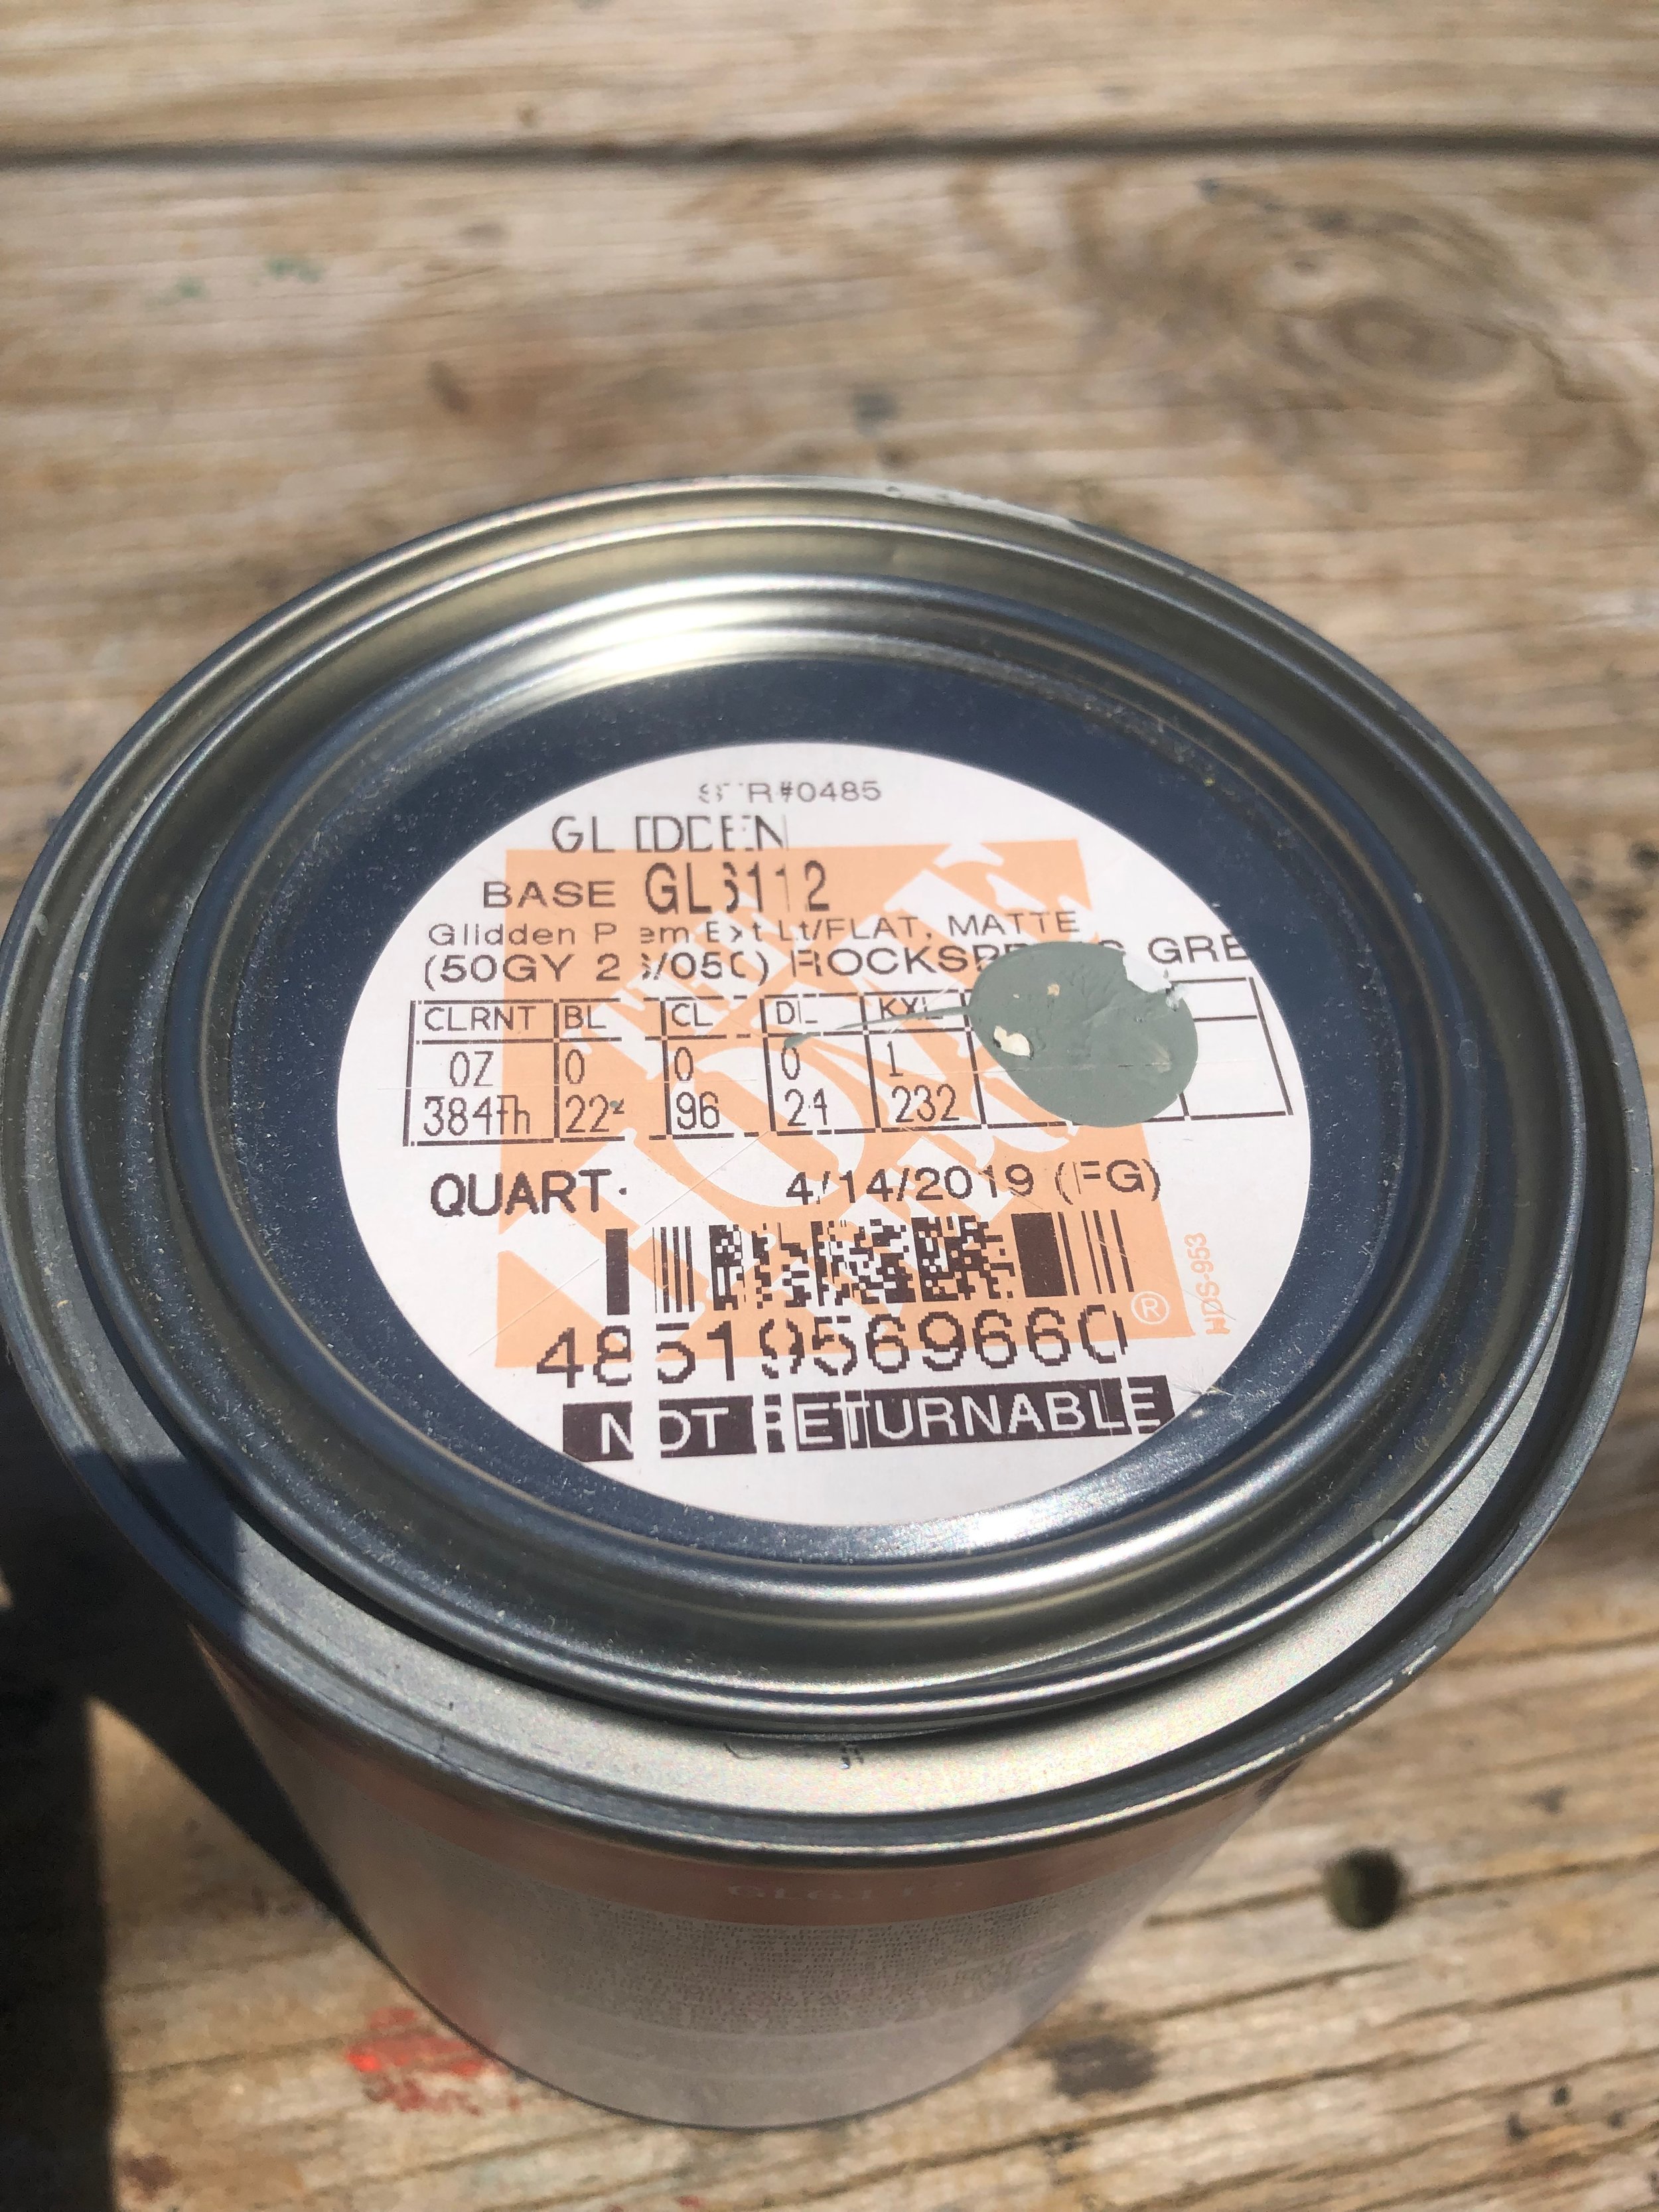
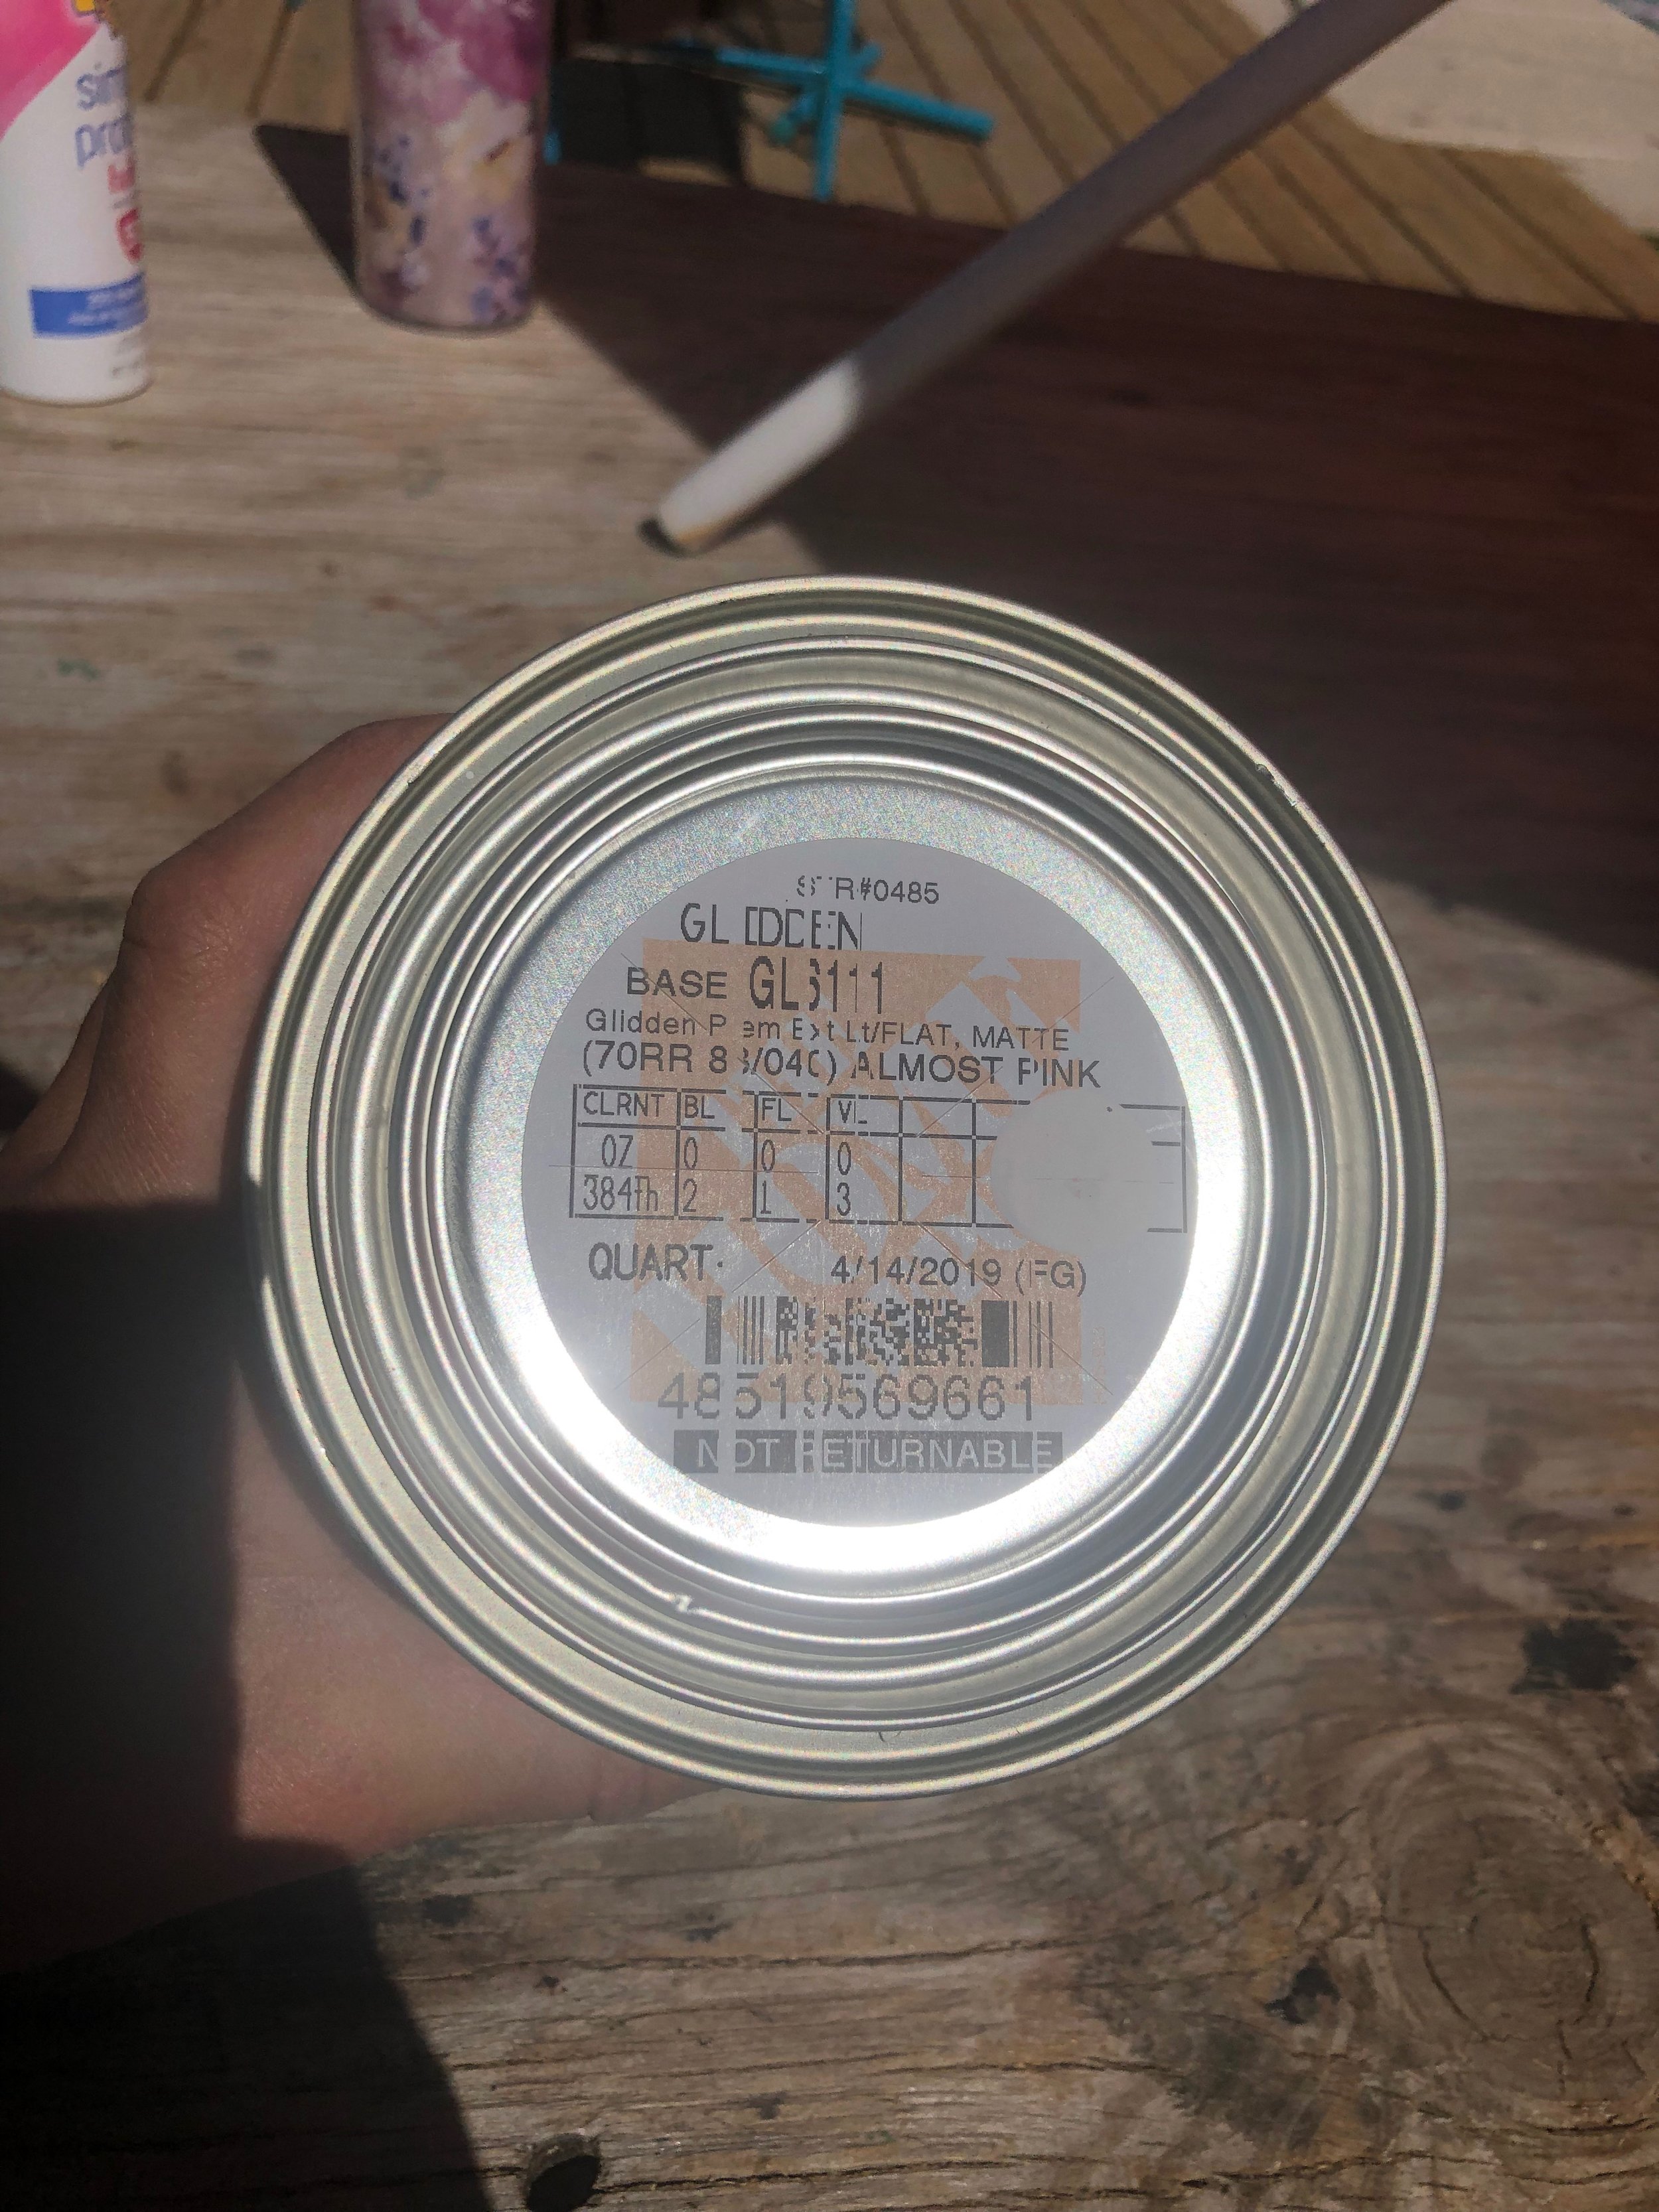
After the wall was up, I took our Ryobi electric belt sander to the wall to smooth out any splinters and prep the wood for paint. I chose 3 colors based on our home shades, wedding pallet, and inspo from the photo. The cream was from the “Oops” section of Home Depot. If you don’t know about this section anytime a paint color is mixed and rejected or returned unopened it immediately goes on sale and is set in a clearance section right near the pain counter. This gallon was originally was $35 and I got it for $13.98. The perfect color match too! To simplify the paint project I primed the entire wall with this color to start. Two solid coats, then I could begin taping for the next color. “Rockspring Green,” from Glidden was the name of the next color. I taped off every 3rd board, following the design from the photo and began applying. After the green came “Almost Pink,” another Glidden color. I purchased quart amounts for these two colors and paid the same amount for each quart as I did for my gallon. I also trusted my hand and my paint brush to apply the pink free handedly. No tape, no more patience. The pink is not as pink as I would have liked, but too pink would have been too much!
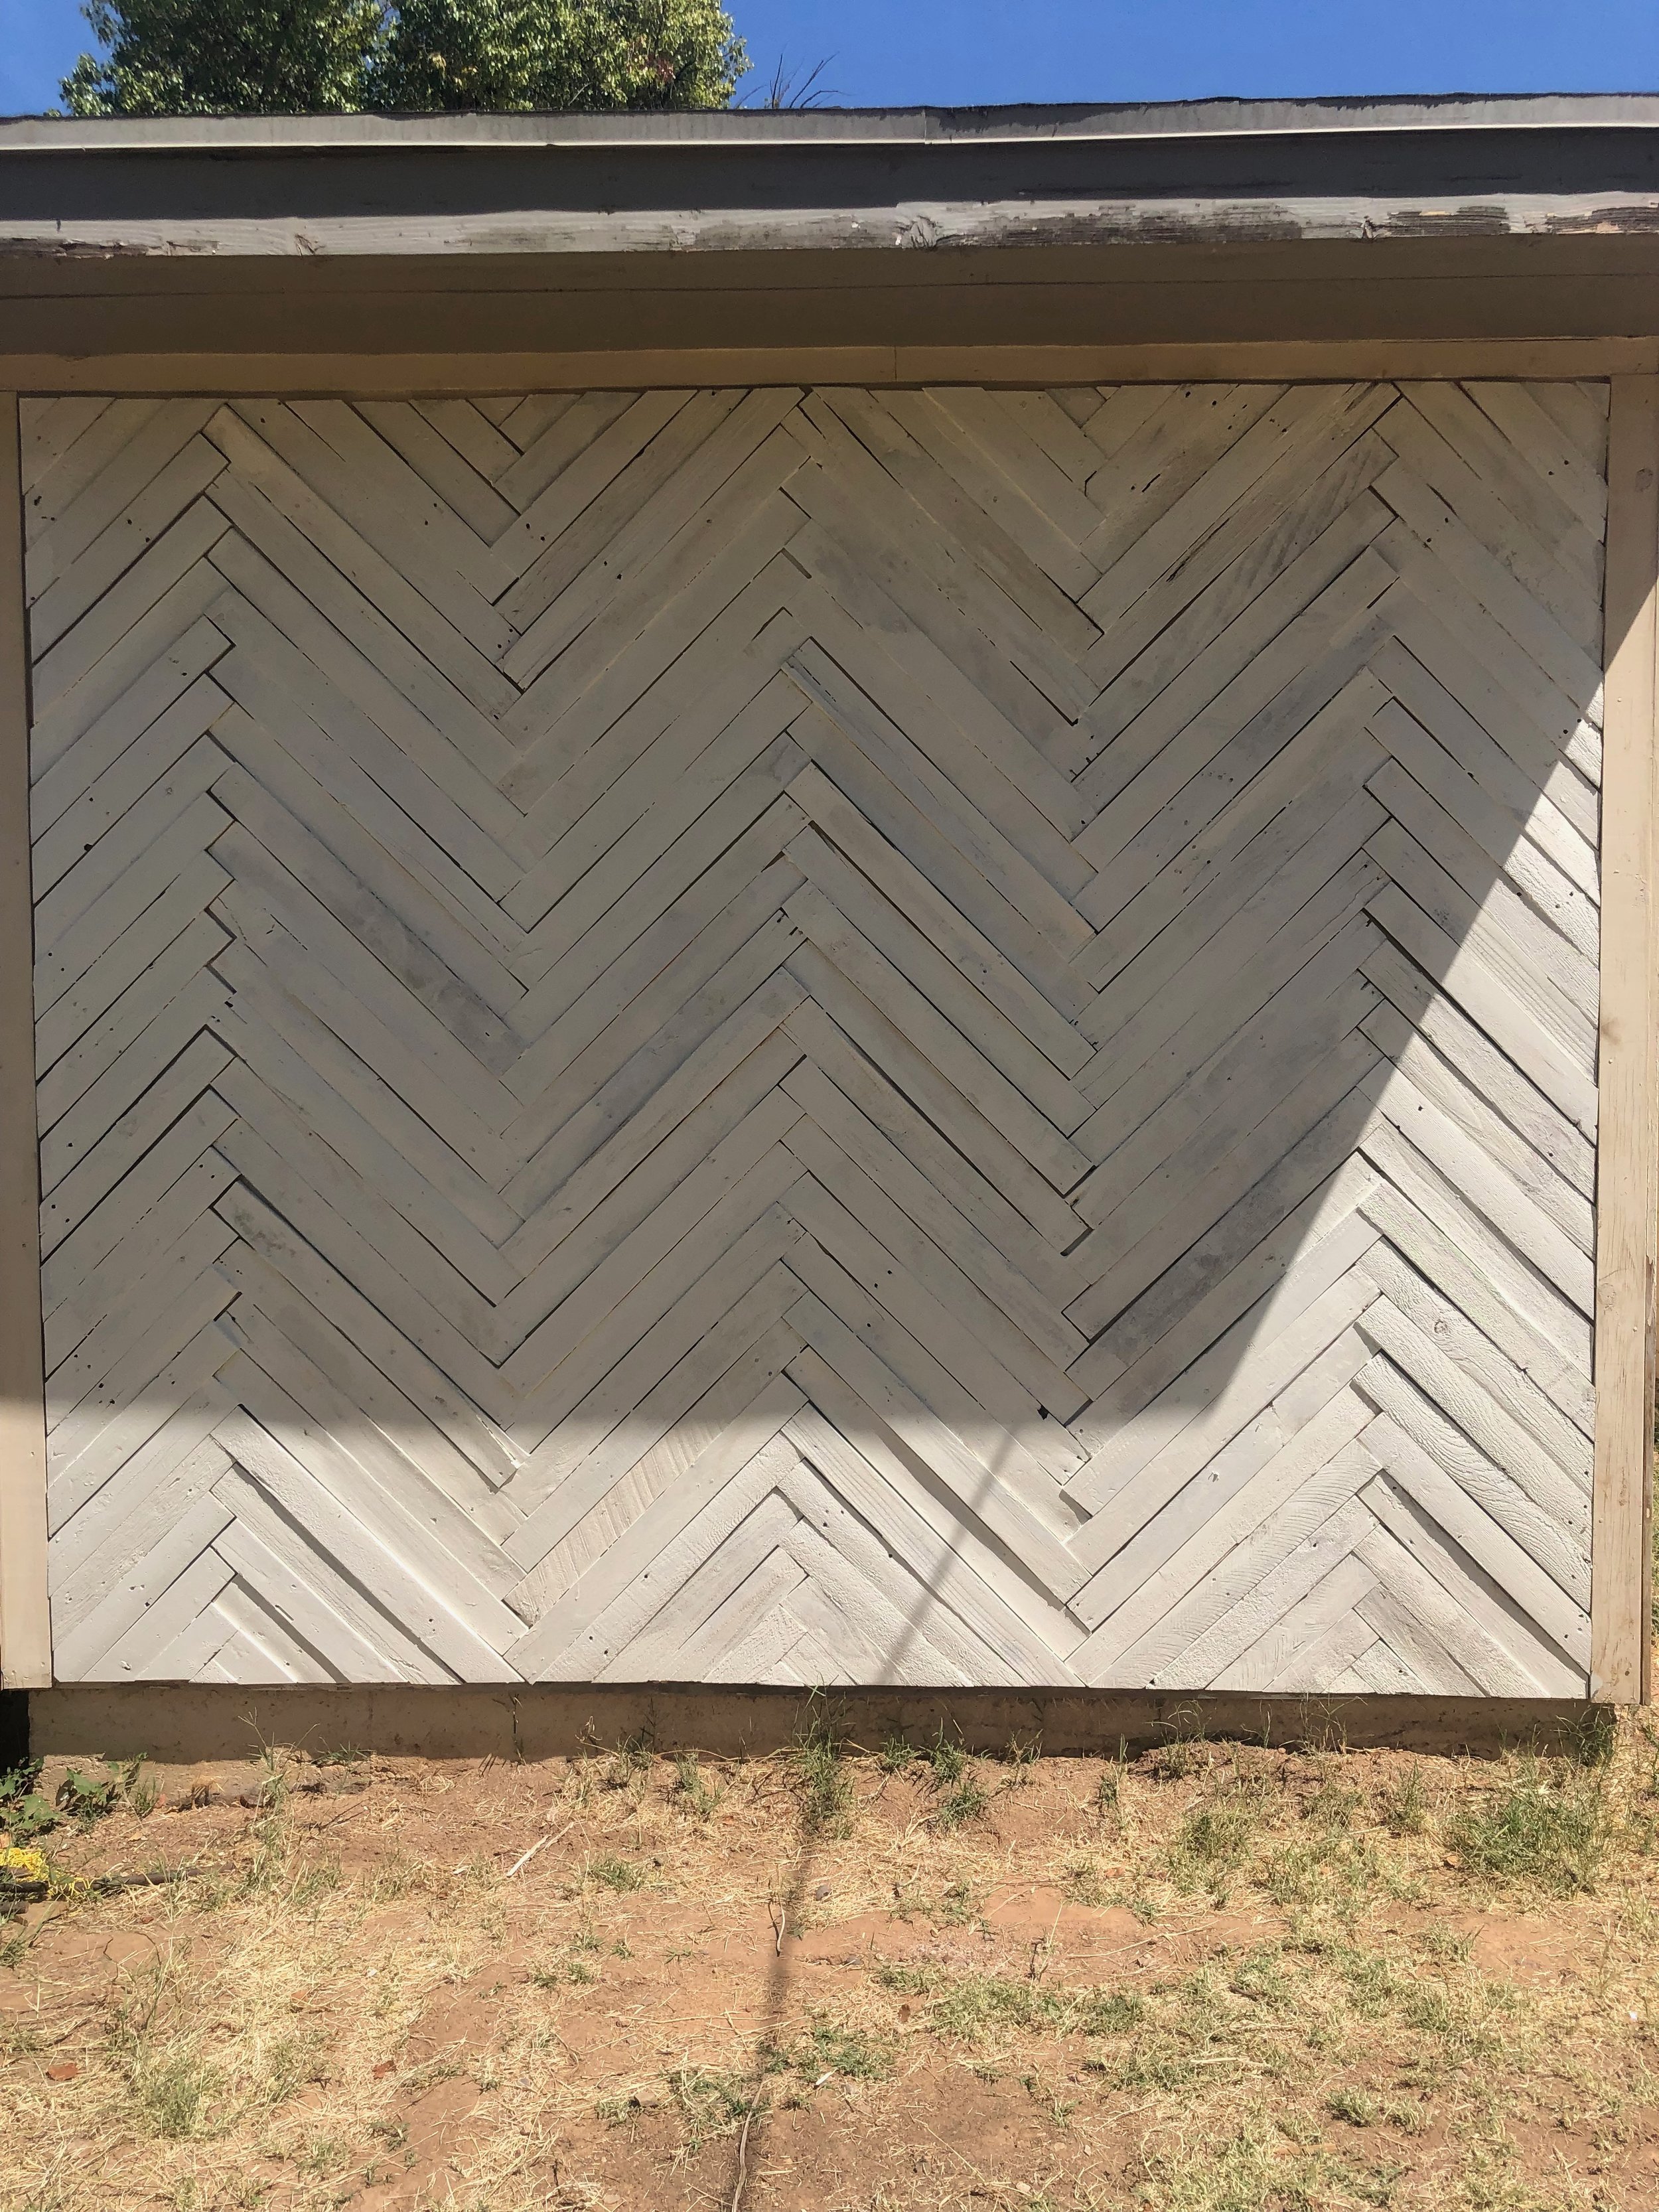
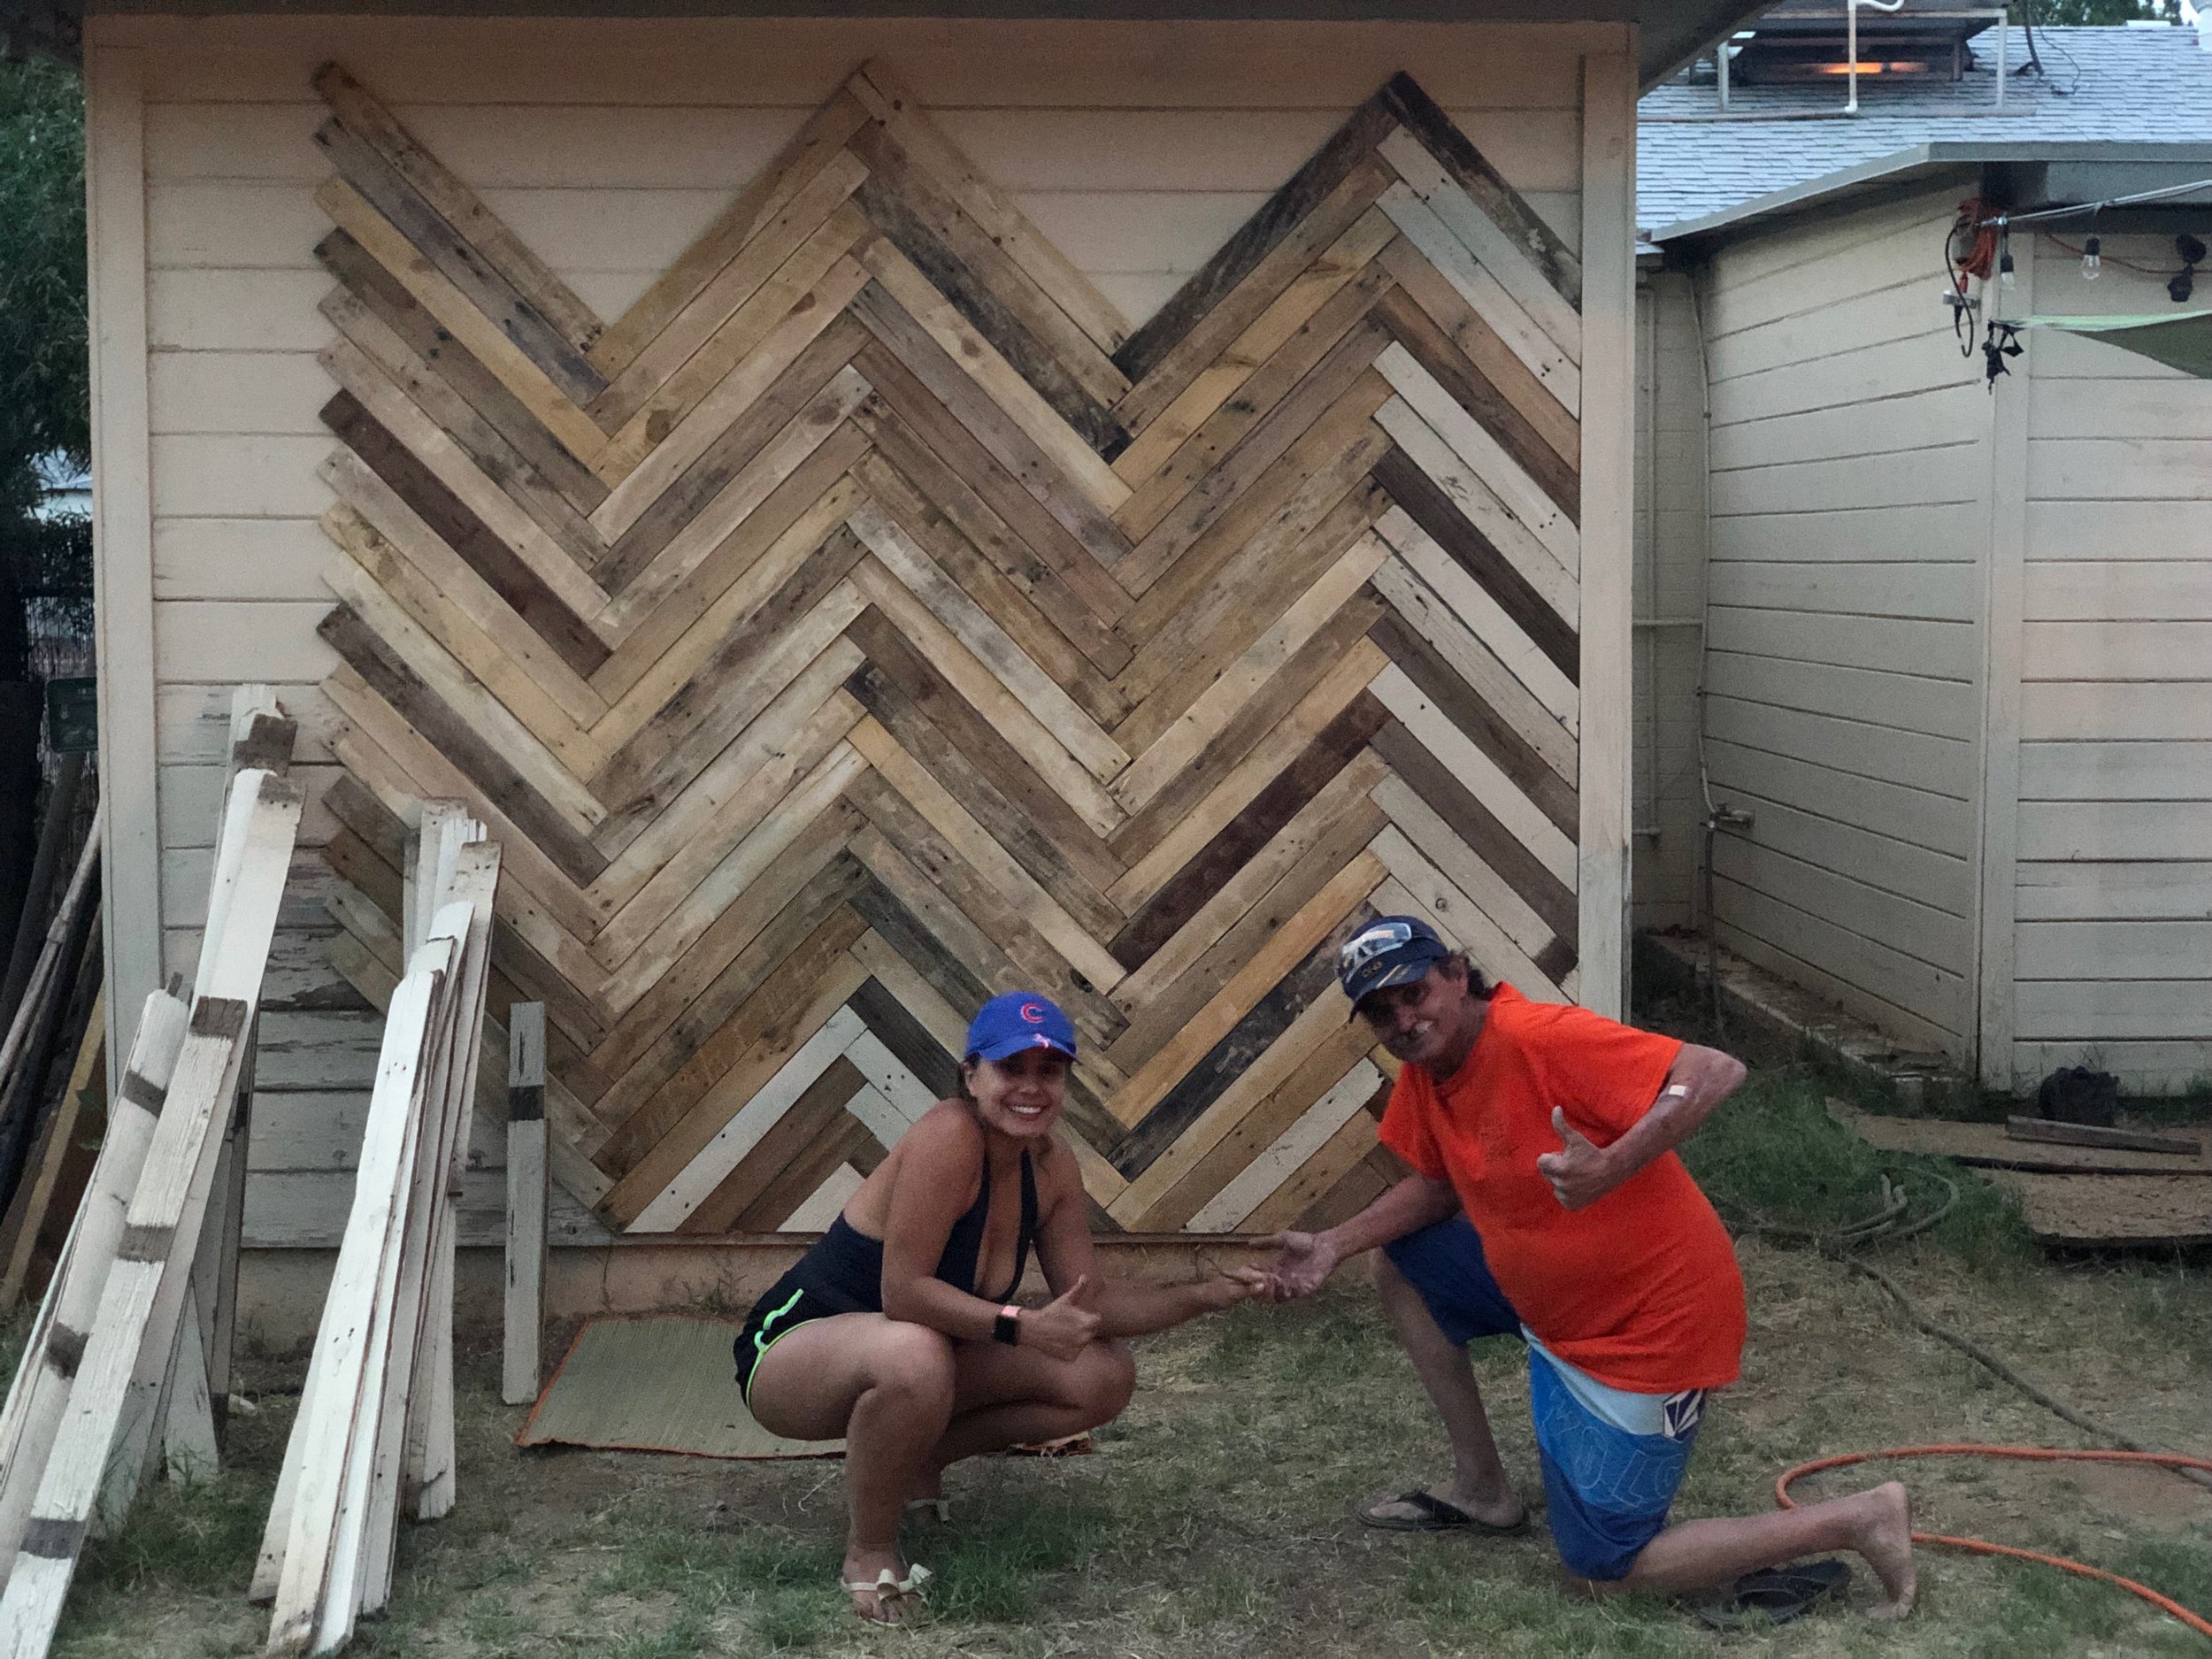
Now we get to admire it, and when I step back and look at my work of art I cannot help but smile. I created it! From vision to conception. I feel like I can take on any project now. Would I create another custom herringbone wall? Yes! So if you’re in the market, hire me!
XoXo
Britt the Builder